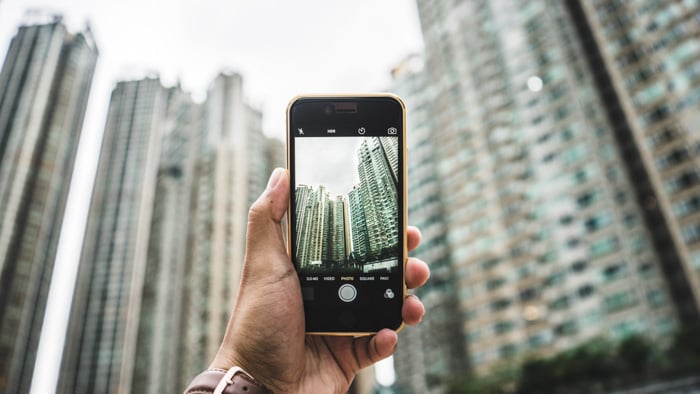
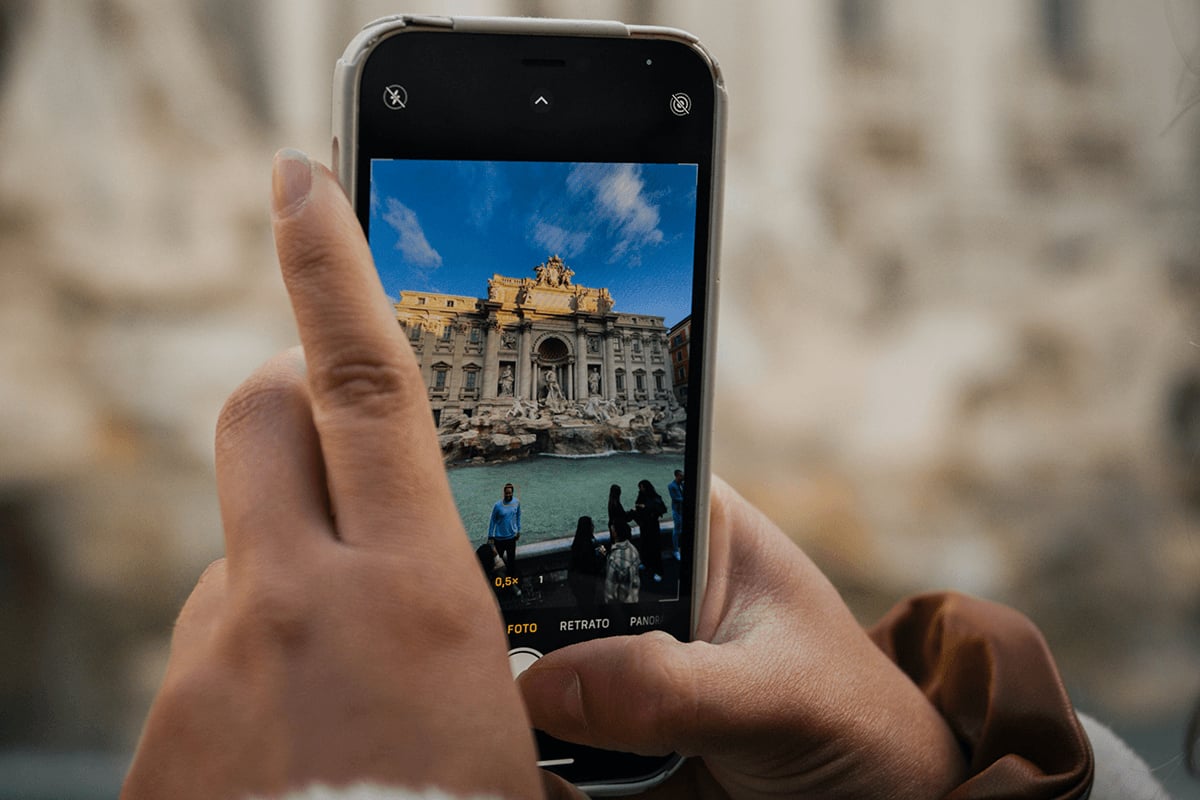
If you’re looking for ways to improve your smartphone photography, then you’re in luck! In this article, we’ll show you ten great smartphone photo editing tips that will help you take your photos to the next level. We’ll discuss how to use filters, effects, and other tools to enhance your photos, and we’ll provide some tips on how to get the most out of each one.
10. Smartphone Photo Editing: 10 Tips for Not Relying on Editing to Fix Your Photos
I know, I know. This is a post about photo editing tips. But this must be said. A bad photo will always be a bad photo no matter how much you try to alter it.
Skillful picture-taking should always have priority over editing. After all, editing can sometimes ruin your picture.
Make it a habit to check your composition and exposure before taking a picture. The less you make changes to the file, the better you can retain its quality.

9. Why You Should Calibrate Your Touchscreen
Before editing pictures on your iPhone, consider calibrating the touchscreen first.
Doing so lets you make more precise adjustments when it comes to retouching your work. For the most part, iPhone displays are accurate.
However, the newer models (iPhone 8, X, etc.) have features that automatically adjust settings.
The brightness and the color temperature of your screen may affect your editing.
You need to disable them to ensure your colors are consistent. One feature you need to turn off is your phone's Auto Brightness.
First, go to your Settings and tap General. Then look for Accessibility Panel and select Display Accommodations. Now, look for Auto Brightness and switch it off.
Finally, go back to Settings and look for Display and Brightness. You may now adjust the Brightness slider to your preferred setting.
Place it in the middle or set it to the maximum and keep it there for consistency.
New iPhones also have a feature called True Tone that automatically adjusts the color temperature based on ambient light.
Since it changes the tone of your screen, you may not always get accurate color representation while you're editing.
To disable it, go to Display and Brightness, look for True Tone and switch it off.

8. Use Your Phone’s Native Editing Apps
You can use your phone’s own editing app exclusively. It may be simple, but it gets the job done.
To learn how to edit photos on iPhone 6, the first step is to tap the Edit button on the upper right corner of your screen.
A few icons will then show up under the image to let you make simple exposure adjustments.
The first icon (the one that looks like a grid) lets you straighten and crop your photo.
The second one offers different color and black and white filters that you can apply to your image.
And the third one allows you to adjust the Light, Color, and B&W settings of your picture.
If you don't feel like making any changes yourself, you can also tap the Magic Wand icon on the upper right corner.
Once you enable it, it will make adjustments for you automatically.
Admittedly, you have limited options when you use your phone’s editing app.
In fact, it even lacks a few essential elements such as temperature, contrast, and highlights to let you properly adjust your photo’s exposure.
So, if you want more flexibility than your device’s editing app, feel free to try the other options we offer in this article.

7. Download Third Party Editing Apps
There are a lot of third-party apps for smartphone photography out there, but we'd like to share with you the 3 options that we like best.
VSCO
If you want to add vibrant filters to your image, this is the best app to use. It has a user-friendly interface that lets you edit your pictures quickly. It features dozens of color and black and white presets that work so much better than the ones from Instagram.
Of course, it also lets you change various settings such as Exposure, Contrast, Tone, Fade, and more.
Snapseed
This is an advanced app that allows you to create professional-level edits on your phone. It’s non-destructive, which means you can produce significant changes on your files without ruining them.
It does this by applying stacks (layers) to your picture where you can add effects and adjust them independently. You can even save these stacks as Looks (presets) which you can use on other images.
Adobe
There are two main apps from Adobe which you can use on your phone: Photoshop Express and Lightroom.
Let’s go through them one by one.
Photoshop Express
This app is a simplified version of Photoshop. Apart from various exposure adjustments, it also has other useful tools such as Presets, Crop, Redeye, and Borders. Furthermore, it has a healing tool and even and a magic wand to enable automatic adjustments.
But that's really all that it offers for the most part.
Lightroom
Surprisingly, Lightroom performs better than Photoshop as far as mobile editing is concerned. It has the usual editing tools such as Presets, Effects, Crop, Light, Color, and Details.
However, if you upgrade, you get to use advanced features such as selective adjustments and healing brush among many other cool tools. It even has a Geometry slider for adjusting perspective in architecture photography.
Most of all, it lets you take photos in real time and edit them directly from the app.

6. Try Other Apps to Apply Different Effects
The apps we mentioned are perfect for standard editing. However, there are also other options you can use if you want to incorporate different effects for your photos. Below are just a few examples:
Canva
If you’re going to add text or simple graphics to your photos, this is the app to use. It has dozens of templates available ranging from photo collages to social media banners. It also has various fonts and icons which you can tap and drag to include in your design.
Glitchr
Sometimes regular filters look boring. So if you need to spice up the look of your photo, Glitchr app is for you. Its simple interface lets you choose fun effects including VHS, 3D, and even the 8-bit goodness of NES and Gameboy.
Mirrorlabs
For creating surreal photographs, consider using Mirrorlabs. It lets you choose from different effects from kaleidoscopes to glitch art. You can manipulate these filters furthermore by tapping and dragging your finger across the screen.

5. Don't Overdo It
It's true that the higher resolution of today's phones significantly improves the quality of your image.
Nevertheless, your device's sensor is still considerably smaller than a compact digital camera.
It can only capture so much light and visual information when taking pictures – despite the megapixel count.
Consequently, you can only alter so much of a smartphone image before the quality starts to disintegrate.
For instance, whenever you crop an image to fix lousy composition, you make it smaller and reduce its quality significantly. The same is true when it comes to exposure.
If your photo is too dark or too bright, you might lose details when you change it. So whenever you're editing, just do subtle adjustments to your picture.
When you start seeing artifacts, pixelation, and noise, that means you need to tone it down a bit.

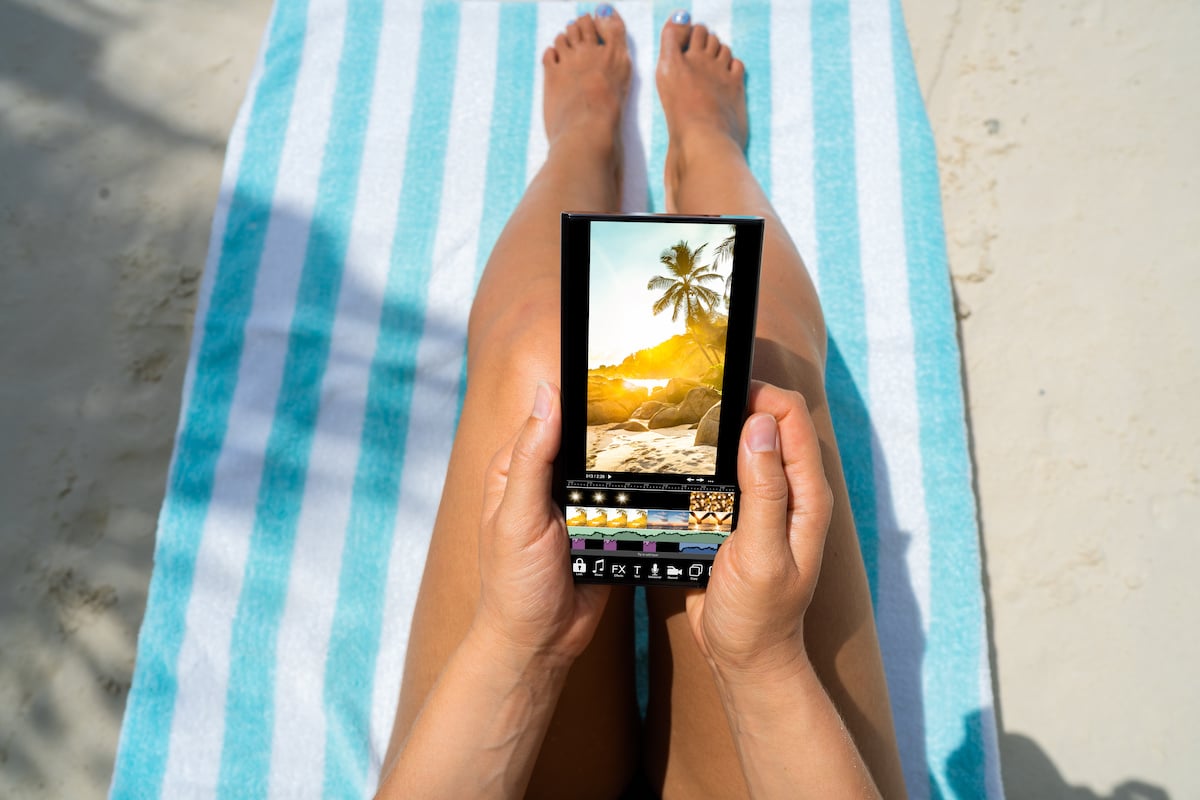
4. Save Your Edits Separately
After editing your photo, don't make the mistake of deleting your original file.
When you keep the unedited version, you can rework it any time you want to change how it looks.
To avoid confusion, organize your images into folders. Collect the unedited files into one group, and place the edited ones into another.
Doing so helps you avoid any confusion especially if you have hundreds or even thousands of photos to choose from.

3. Back Up Your Photos
When it comes to photography, backing up your images should always be standard procedure. Creating redundancy protects you from corrupted data and even losing files.
Therefore, we suggest you sync your smartphone to the cloud if you don’t want to lose all your precious photos.
Apart from copying your files online, the cloud lets you access your pictures and edit them on your computer.
This is extremely helpful if you want to retouch your snapshots more meticulously using a real photo editing suite.
If you're using an iPhone, go to Settings, scroll down and tap iCloud. Once you see a list come up, look for Photos, and make sure it's turned on.
Doing so ensures that your phone automatically transfers the files to your online storage. For Android, you can transfer your files using Google Photos.
Once the gallery loads, tap the icon with three dots found on the upper left-hand corner of the screen and select Settings.
Next, scroll down and turn on the folders that you'd like to copy. When you’re done, click on Backup & Sync and turn it on.

2. Try Using RAW
Shooting in RAW is arguably among the most crucial photo editing tips you encounter all the time.
Unlike JPEG, this format retains all the visual information you'll need when making changes to your photo.
As a result, your end product looks more vivid and more detailed than other file types.
Unfortunately, most of today's smartphones still don’t give you the ability to shoot RAW, yet.
Nevertheless, some third-party apps such as Adobe Lightroom and Snapseed now allow you to work with this format on your device, so try to take advantage of it.
If you want to edit a RAW file transferred from a digital camera, then Snapseed is your best choice.
It has the most editing features for an app, which lets you create complicated effects.
However, if you want to take RAW photos straight from your smartphone, then try the upgraded version of Lightroom.
Once you turn on the camera within the app, you can turn on RAW and shoot in that format.
You can then edit the images directly on the device without diminishing the quality of your photos.
Switching to RAW is exceptionally beneficial especially since phone cameras have a low dynamic range.
Therefore, it's essential that you use this format to retain the limited colors and details your smartphone captures.

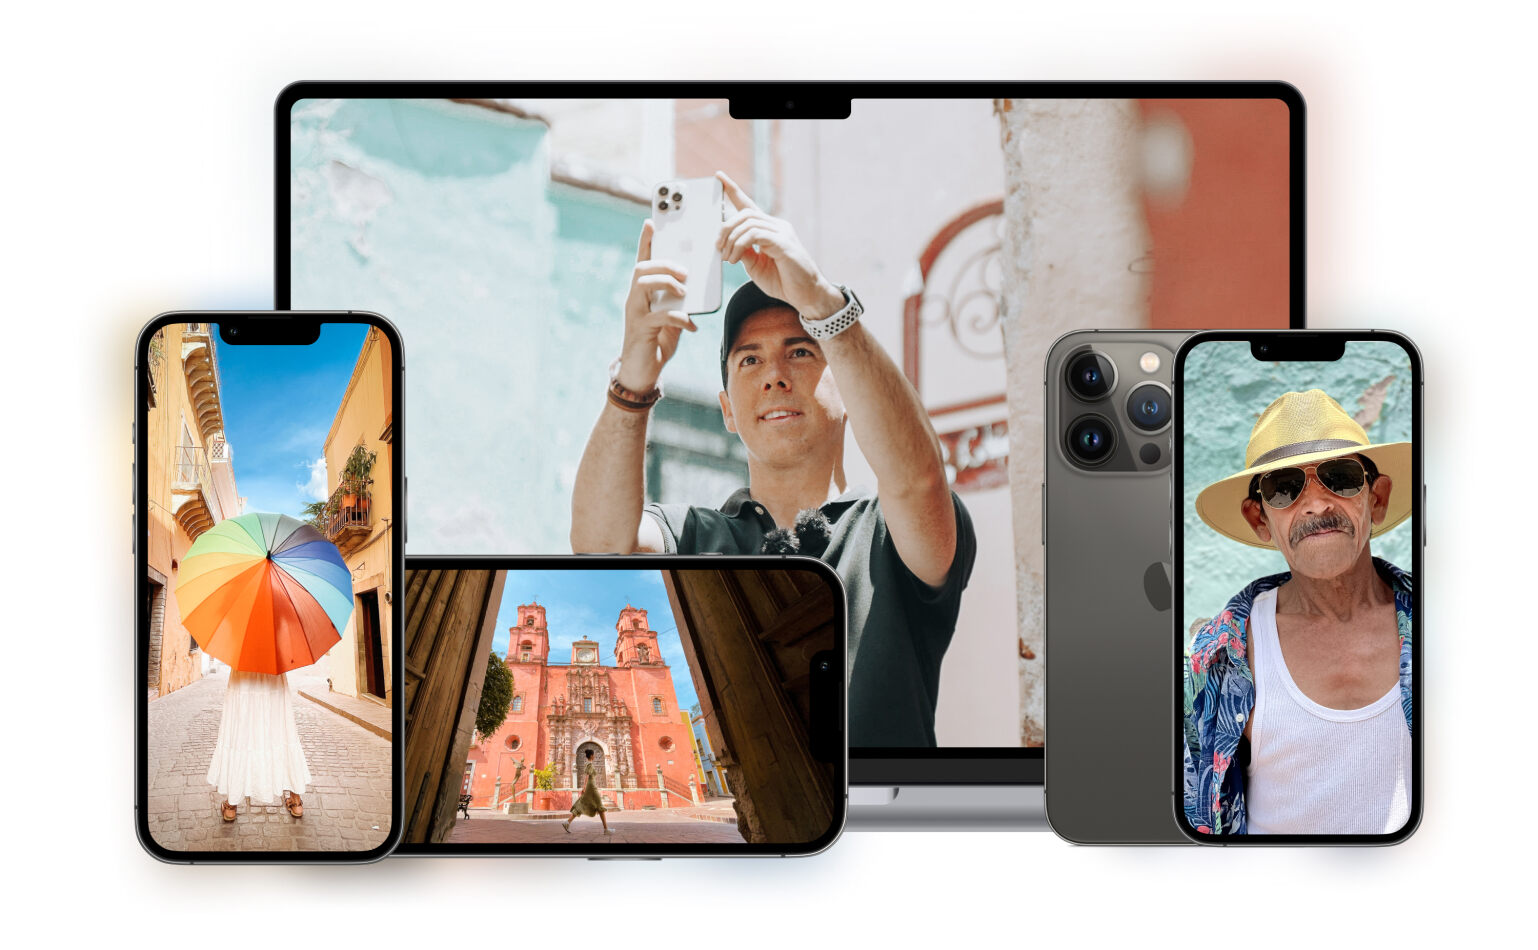
1. Connect Your Camera to Your Phone
If you want more professional-looking results, you can also hook up your camera to your mobile phone wirelessly.
This is arguably among a few smartphone photography tips that people would have considered impossible just a few years ago. But now, just about anyone can try it.
Syncing your devices allows you to transfer high-quality RAW images that you can edit with RAW-compatible apps such as Snapseed or Lightroom.
If you have a new camera, chances are it's already WiFi-enabled. To activate it, all you have to do is download the mobile app from your manufacturer.
For Nikon, you have Nikon Mobile Utility and for Canon, Camera Connect. Other brands also have their own apps which you can easily find on your app store.
Once you have the app, turn on your camera's Wi-Fi and write down the password it gives you.
Next, go to your phone's Settings, look for your camera name under Wi-Fi and tap it. Once the password panel appears, type in the password and tap Connect.
Once your devices are synced, you can now take photos and view them straight from your device.
But what if you have an older camera? Well, don’t fret since you can also buy a Wi-Fi adaptor you can snap on your DSLR to connect with your phone.
Although you have to attach it to your device, it still works just like the built-in Wi-Fi from newer models.

Conclusion
You can create a lot once you incorporate the photography editing tips we just shared with you.
However, you should also remember that knowing how to take photos is just as important.
Once you learn how to use these two skills together, you'll see just how much your photography will improve.
Looking for more editing tips? Check out our new post about how to edit Instagram photos next!