If you want to take your photography skills to the next level, you need to start using the Canon Camera Remote app. This app allows you to control your camera from a distance, which is perfect for taking photos of yourself or landscapes. In this article, we will show you how to use the Canon Camera Remote app for perfect photos every time.
What is the Canon Camera Connect App and Canon Camera Remote?
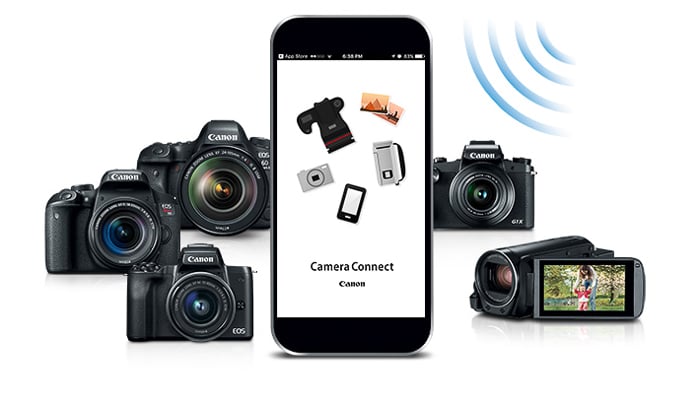
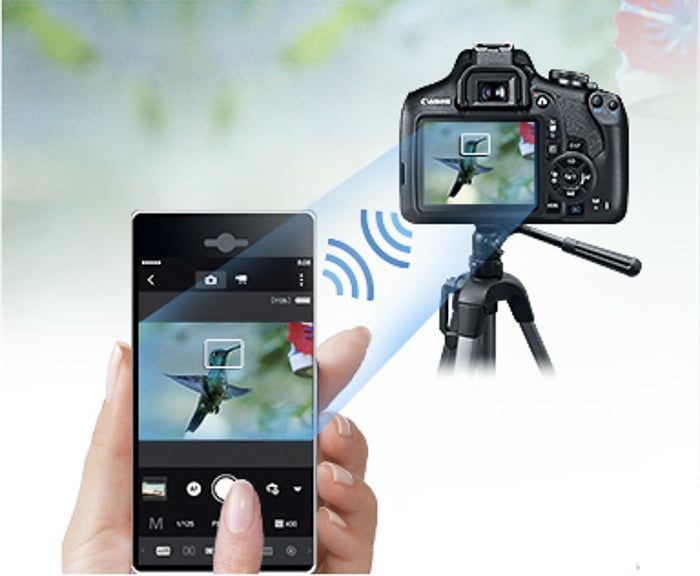
The Canon Camera Connect App is a nifty application available for all smartphones (Android, Apple, Google, Microsoft, etc). It allows you to operate the camera or camcorder without touching it.
The Canon Camera Connect app turns your phone into a wireless remote or trigger for any Canon camera or camcorder. It just needs to be Wi-Fi, NFC, or Bluetooth enabled.
If you're a tablet user, you might still be able to use the Canon Camera Connect App.

You can see if your device is Wi-Fi, NFC, or Bluetooth capable in its product description or menu.
Luckily, almost all recent Canon models have Wi-Fi or Bluetooth connection capabilities. If in doubt, Canon has a full list of compatible models on their website.
An app to control a camera isn't a new idea. Canon had previous applications that allowed you to control your camera called EOS Remote and Canon CameraWindow. These applications were considered difficult to use and not very user-friendly.
The Canon Camera Connect App is a simpler way to connect to your camera.
The Features and Benefits of the Canon Camera Connect App
The Canon Camera Connect App has a lot of useful features. These include taking self-portraits or transferring photographs directly to your cell phone.
The biggest key is being able to turn your phone into a larger LCD screen. You now have a bigger screen to see what you're photographing or videoing. You don’t have to contend with a small LCD.
For those learning photography, you can see how your image changes in real-time. This allows you to get more familiar with your camera’s settings.
The main benefit is wireless control. Through the Canon Camera Connect App, you can adjust all the same settings that are a button on your camera. All from your smartphone’s screen.
These settings include shutter speed, ISO, white balance, aperture (when applicable depending on the lens), exposure compensation, drive mode, and focus mode.
You can choose to shoot in JPEG, RAW, or JPEG + RAW (just like on your camera).
As well as this, you can use the phone screen to tap on what you want to be in focus. This allows you to properly compose the shot to your liking.
Going even further than this, you can even set the zoom. This, of course, depends on the type of camera and lens you’re using.

If you’ve ever tried doing a self-portrait with a timer, you know the hassle of it. You have to set your focus point and then run to the spot before the timer goes off. And then you have to hope that you’re in the right place for focus.
No more of this with the Canon Camera Connect app. You can set the timer after settling in your place, focus right on yourself, and then put the phone down.
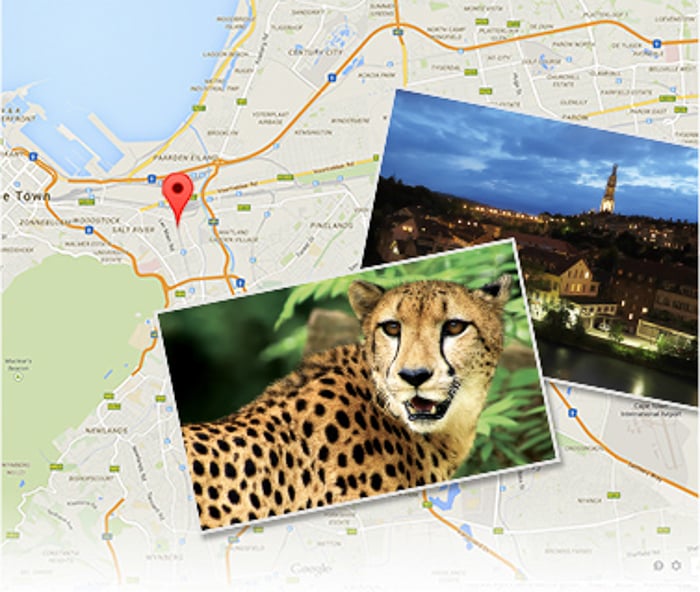
If remembering where you took a photograph or video is important to you, you can add very accurate GPS data to your stills or cinema shots via the Canon Camera Connect App.
You can set the app to record the information even while your device is not connected. Then you can transfer the data later on when it is.
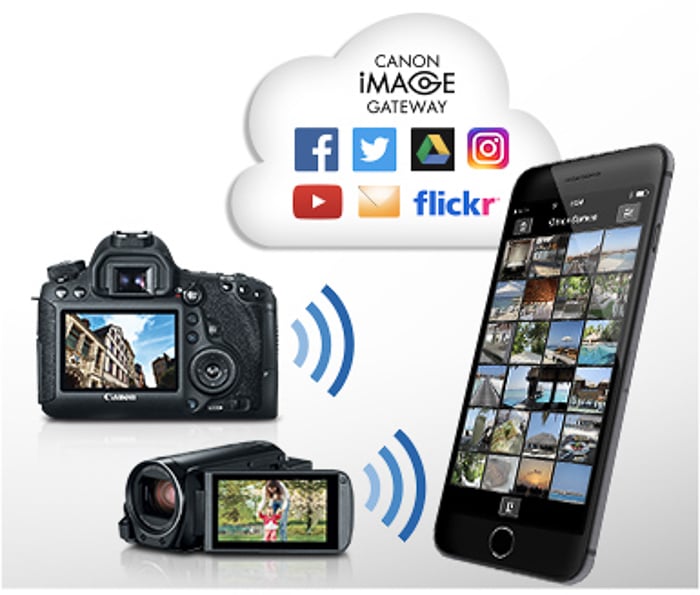
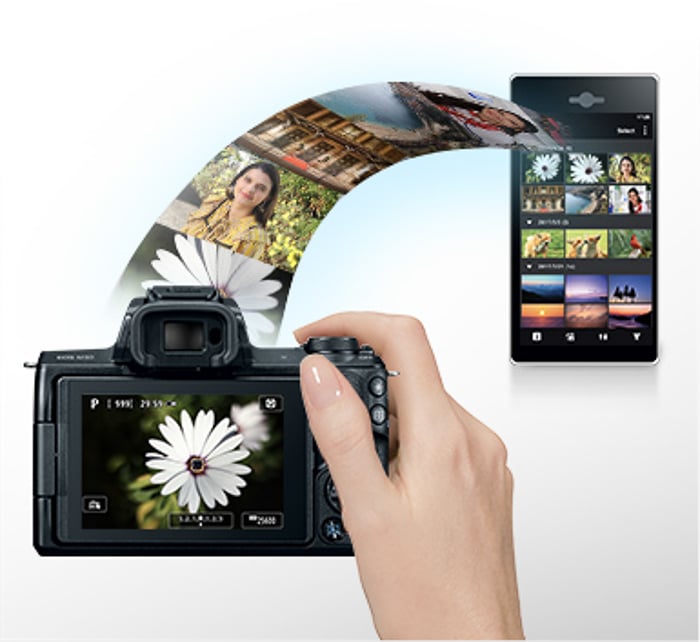
A big feature (and benefit) is the ability to transfer images you have taken to your cell phone. This is huge for photography marketing or connecting with your audience. I use this feature often.
With the rise in social media websites like Instagram, Facebook, Pinterest, and Twitter, post timing is everything. Being able to transfer photographs to my phone allows me to post images in real-time. This keeps my followers in the loop on everything I'm doing.
Instagram only allows posting from a mobile device or tablet so you need to get it on a phone one way or another. Instagram really does dominate the phone photography world. Posting professional high-quality photographs can help you stand out from the crowd.
There are a multitude of apps to edit photographs on your phone. If you're a touring photographer or on the go, being able to transfer images to your phone and edit them can be a big thing for your client.
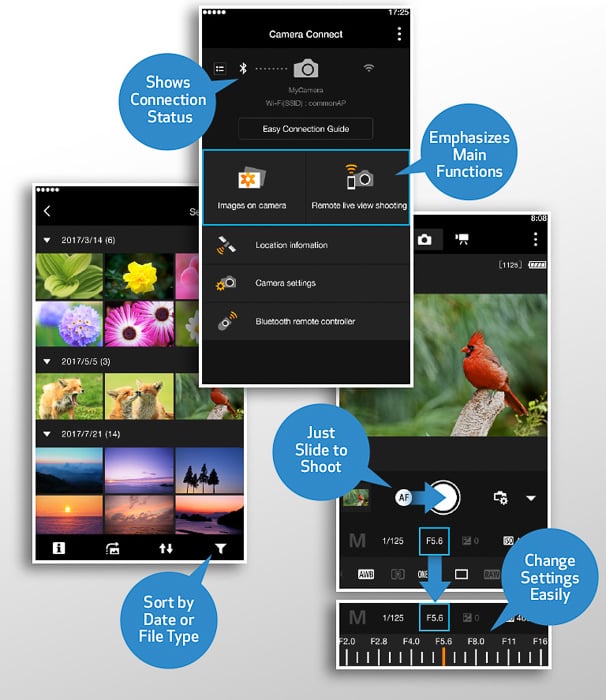
The Canon Camera Connect App also helps you organize your images. You can filter by date, time, location, and any tags you add to the image(s).
If you own one of Canon's new mirrorless cameras, there is a special feature. The new Auto Image Transfer feature on the EOS M50 lets you automatically transfer images to your phone or tablet. You can do this even while you're actively taking photographs.
How to Use the Canon Camera Connect App
Part 1: Connecting the Canon Camera Connect App
First things first, download Canon Camera Connect! You can find the Canon Camera Connect App by searching your app store for your phone (or tablet).
Once the app has fully downloaded, you will have a few Terms of Service to agree to. Then you’ll need to grant the app permission to connect to your phone media and to access your device's location.
After agreeing to these, the app will run you through a quick show of its features which you can either skip or watch.
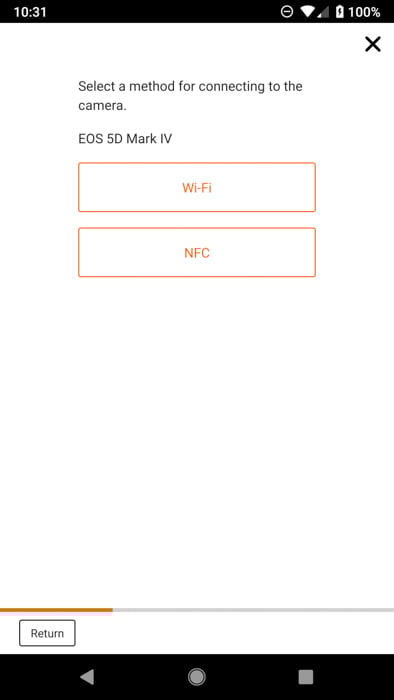
Afterwards, the app will prompt you to connect via the Easy Connection Guide. This guide will encourage you to input your camera model. If the model is compatible with the Canon Camera Connect App, you will have options displayed depending on how you wish to connect.
The options will either be Wi-Fi, NFC, Bluetooth, two of them or all them. By clicking the one you wish to use, the canon app will take you through a guide on how to enable this feature on your camera.
For example, on my Canon EOS 5D Mark IV, I can connect to the application via NFC or Wi-Fi connection. Depending on which one I select, the app will guide me through the connection process.
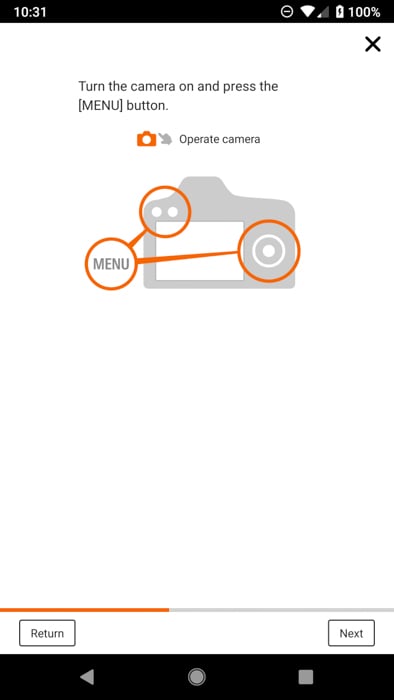
For NFC, I need to tap select spots on my camera with my phone.
For Wi-FI, I need to go into the camera menu, go to Communication Settings, then Built-In Wireless Settings, and enable Wi-Fi.
In the camera, you then select Wi-Fi Function, proceed to Connect to Smartphone>Camera Access Point Mode>Easy Connection>OK.
After doing this on your phone, go to your Wi-Fi settings and select your camera. Once you’ve reached this step, you can click the "Display Smartphone Wi-FI Settings Screen" button in the app. This will take you right to your phone's Wi-FI screen.
When successful, the LCD screen on your camera will turn off.
Part 2: Using the Canon Camera Connect App
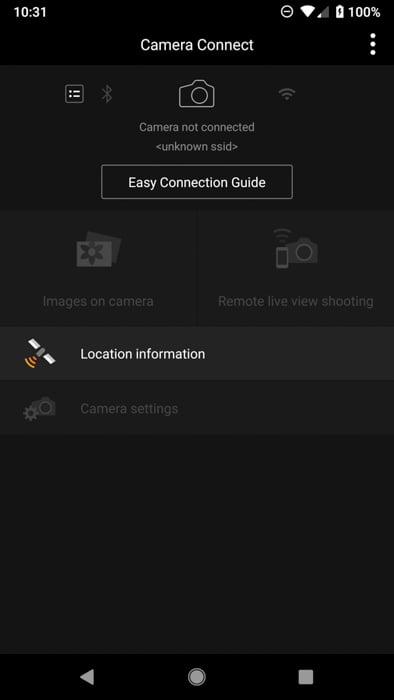
When you first open the app after connecting to your camera or camcorder, you'll find a user-friendly and intuitive menu. This is a major upgrade from their previous applications that were a bit clunky to use.
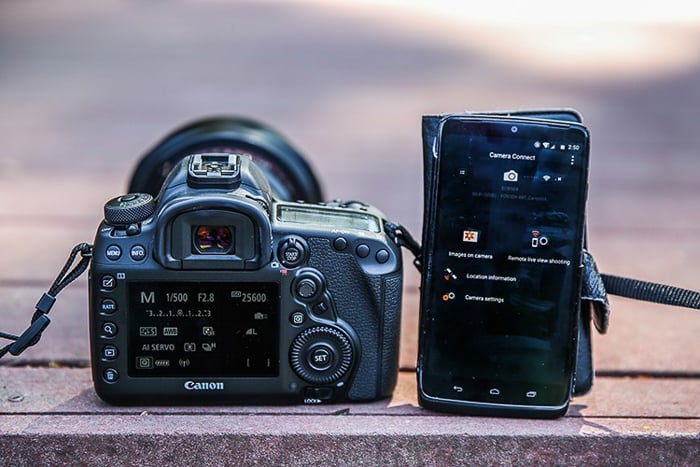
You'll see three options, "Images on Camera", "Remote Shooting", and "Camera Settings".
The "Images on Camera" option takes you into a gallery that shows the images on your connected camera. By default, they’re sorted by date. You can view images by tapping on them.
Three options will appear at the bottom of the images you tap. These are little icons that mean "Save to Phone", "Favorite" (star icon), or "Trash".
The next option is Remote Shooting, the niftiest of options.
To focus on something, tap on the spot you'd like to focus on your screen. To take a picture, tap the large circle icon.
The adjustable camera settings are at the bottom of your screen. These include aperture, ISO, shutter speed, and more.
These controls will look fairly similar to how they look on your canon cameras LCD.
The final option is "Camera Settings". Unless you're a travel photographer, you'll likely not tap this button on the menu. This allows you to set the date, time, and time zone of your camera.
The Downsides of the Canon Camera Connect App
There’s always room for improvement. As such, there are a couple of features missing from this app.
Firstly, there is no Portrait orientation. All images are Landscape, only. You could use a tripod to tilt your camera into portrait orientation, but that is not so easy to do.
Secondly, there is no time-lapse option in the app. Many landscape photographers tend to use this. Maybe these features will be added in the future!
Thirdly, this app really is intended to be used for still objects, landscapes, or self-portraits. Its focus is not fast enough to be able to capture action.

Conclusion
The app is very useful and helpful in a vast array of situations.
Free and easy to use, you can try it out with your Canon DSLR, Canon camcorder, or Canon Mirrorless camera.
Let us know what you think of it in the comments below.
We have great posts on using Canon Picture Styles, or how to update Canon firmware to check out next!