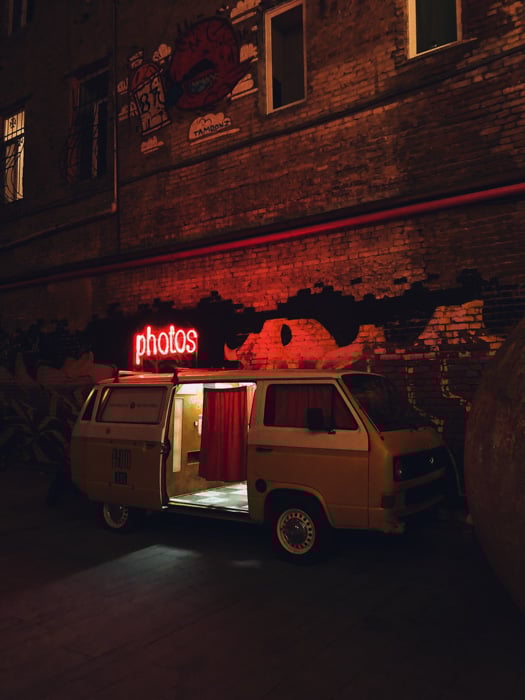
A DIY photo booth is a great idea when a photographer is an expensive option. These can work for all sorts of events, such as weddings, parties, graduations and huge family getaways.
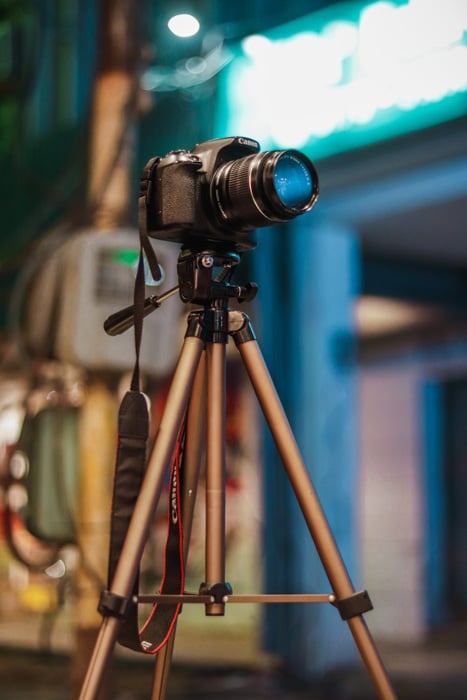
Making a DIY photo booth is simple. You need to think of a few things, but all you really need is a camera, tripod and a little glam for the background. Cheap and cheerful.

DIY Photo Booth Lighting
For the best DIY photo booth, you need light. A lot of light. This will allow you to see those who photograph themselves while keeping the quality high.
You can use two different types of light; natural or artificial.
Natural
Natural light is free and abundant, especially in the spring and summer months. This type of light works both indoors and outdoors, but you need to be wary of the amount that reaches the subject.
You can use reflectors placed around the scene to bounce the light back into the scene. Make sure they are out of the scene and ensure they are kept stationary with some sort of support.
This type of light will have different temperatures as the day goes on. You can use the golden hour and blue hour for colored tints across your subjects. Overcast days will produce a soft blanket of light.
The problem with natural light is that it can be unmanageable. The light is there whether you want it or not. You can’t change the temperature or the strength unless you manage your camera settings.
Try and have the light source behind the camera to reduce harsh shadows.
Artificial
Artificial light, such as studio light, is a great way to photograph in your DIY photo booth. These lights are very manageable at changing strength and often, color temperature too.
By placing them closer to the subject, you can make the light stronger. The closer the light, the harsher it is and can add interesting shadows.
The benefit here is you can use one light, or five lights if you so wish. This will depend on your budget and the needs of your photo booth.
These lights can come in many different variations. You could use a ring flash, studio lights, a softbox or a beauty dish. There is nothing stopping you from using many different variations for one scene.
To get the best light, we recommend trying both natural and artificial light together. Find an area where you want to photograph, where there is a natural light presence.
Add one light at a time to get your desired effect.
NB: Ensure the unnatural light is balanced for daylight or shade if you want to photograph color images.
Trigger
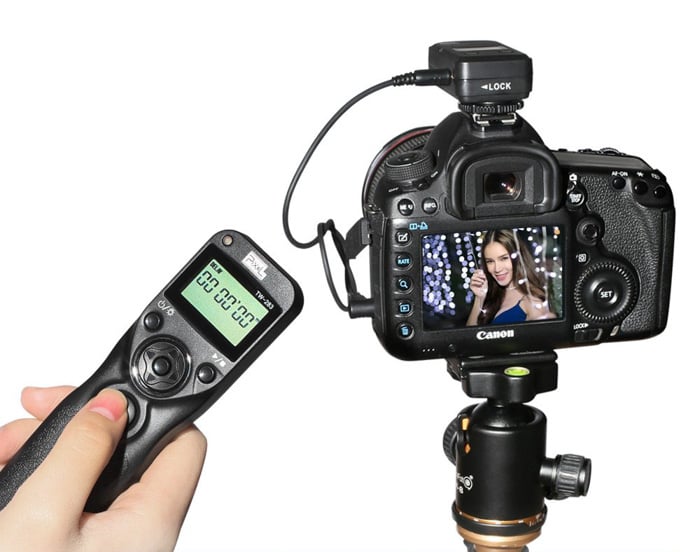
A trigger is necessary when it comes to the DIY photo booth project. This allows the subjects to photograph themselves.
The trigger can be one of many different types. You can have a wireless remote, a wired remote or you can even use something like the MIOPS Smart Trigger.
A wireless trigger can be held in the hand and out of view. The problem here is, a small device is easily lost. The wired remote is a cheaper option, but you need to operate it off camera.
The Miops smart trigger can be operated with a sound, or set to count down. The subjects will need clear information on how it works.
Other than these, you can opt for the self-timer. Most DSLR cameras will have a 2 or 5-second timer. The camera will tell you when it’s about to go off.
Background
When it comes to the DIY photo booth project, the background is key. This is where your creativity shines through. You can use a natural scene, or create something from scratch.
It can be as fancy or as simple as your event demands. Simple tinsel curtains can be bought online, so can pre-designed photo backdrops.
By creating a background yourself, you have the chance to set everything as you wish. Layering backdrop decorations can give a deeper feel to it, rather than a flat wall.
If you create a backdrop that allows interactivity, you will get more from your subjects. Their expressions and body language will light up if they have more to do.
If you are feeling creative, you can make a green wall, swapping it out in post-production to be replaced with any digital scene.
Your subjects could be jumping into Victoria Falls or trekking through the Grand Canyon.
Camera and Settings
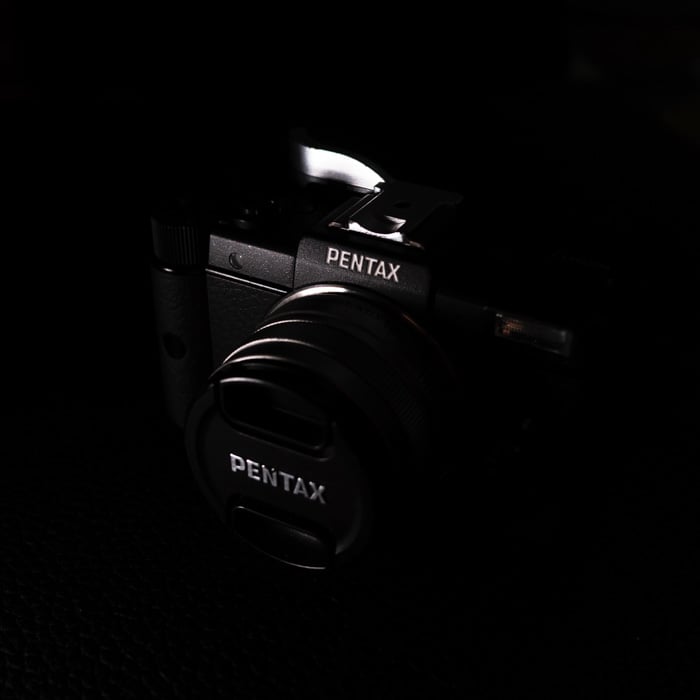
Camera
For the DIY photo booth, any camera will do. You can even use a laptop or tablet. The benefit here is you likely already have one.
There are countless apps for photobooth photography already built in.
For those who want to use a camera, any digital camera will do. Ensure it is compatible with your shutter release trigger and any possible lights you want to use.
If you have a digital camera and laptop/tablet, you can create a tethering system. Have the camera pointing at your subjects, and your laptop/tablet showing them their placement.
All you need is a cable, a Wi-Fi card or camera that uses either Wi-Fi or Bluetooth.
The better the camera, the more settings and features it will have. These are not needed, as long as you can shoot jpeg and fine-tune the settings.
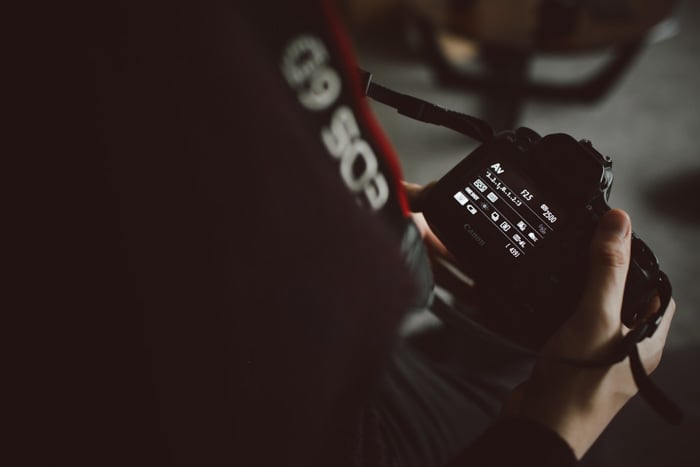
Settings
There are a few things you need to consider when managing the camera settings. First, you need to make sure the quality of the images is high.
To keep a high quality, your ISO needs to be low, requiring a lot of light in your scene.
You also need to keep the subjects still. To make sure there is no motion blur, you need a fast shutter speed. 1/250th of a second or higher is necessary to freeze those being photographed.
This gives you the aperture to play with. You want to keep a medium aperture size, to ensure your subjects are in focus.
If you need to photograph many people at the same time, you need to have a wider depth of field through a slower aperture.
You can use other camera equipment to make sure your images are of the highest quality, such as a tripod.
Set your camera to single shot mode. Having it on burst will mean you have 20 images of the same subjects, wasting space.
Lens
Your lens choice in your DIY photo booth idea is very important. The lens will affect how fast your aperture is and what the focal length will be, and therefore, what the angle of view will be.
If you want many people in your images, you might need to use a wide angle lens. This is especially true if you are short on space in front of the camera.
Anything between a 14 mm and 50 mm is a great start.
If the subjects are a little further away from the camera, you could get away with using a 70 mm lens. This will depend on what framing you want to achieve and how many people will be in the shot.
Other Equipment
There are many items you can use for your DIY photo booth idea. A tripod is a must to ensure your camera stays still, allowing you to use slower shutter speeds if necessary. This will keep the high quality.
Reflectors are great to use for bouncing light back into the scene. Stands for the studio lights are necessary if you use them.
You will also need something to hold the laptop or tablet if you want to use those.
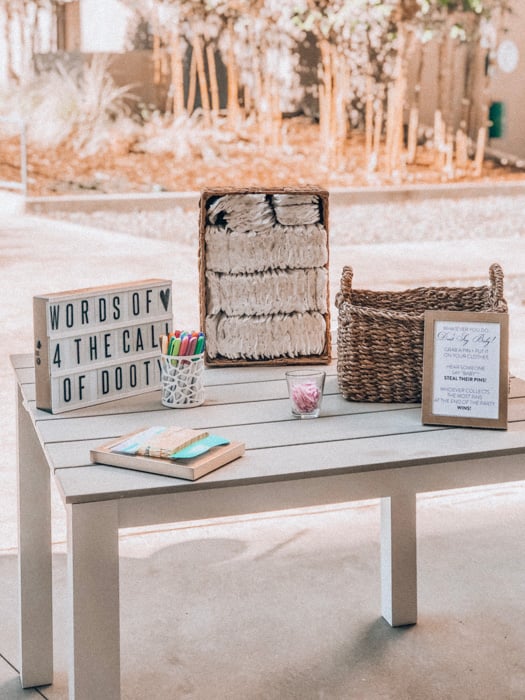
Instructions
Instructions are the basis for any DIY photo booth. They let the subjects know what to do, ensuring no-one needs to capture them except for themselves.
These instructions will let the subjects know where to stand, where to look and what to press.
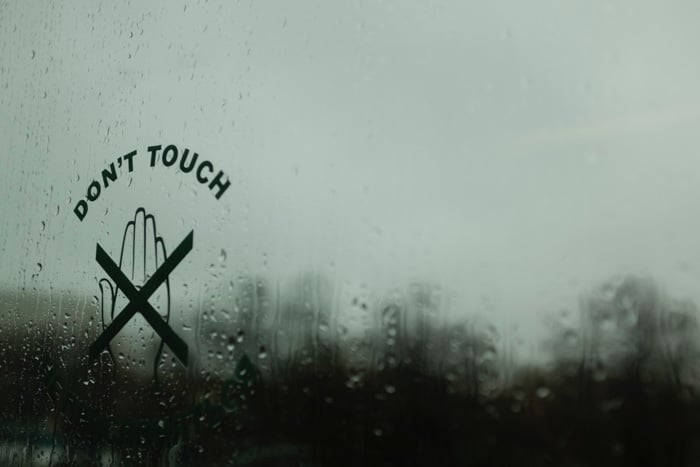
These instructions can also tell the subject that they don’t need to touch anything else, keeping the equipment safe.
These should be kept small and succinct so there is no confusion. The easier people can photograph themselves, the more and better images will be captured.
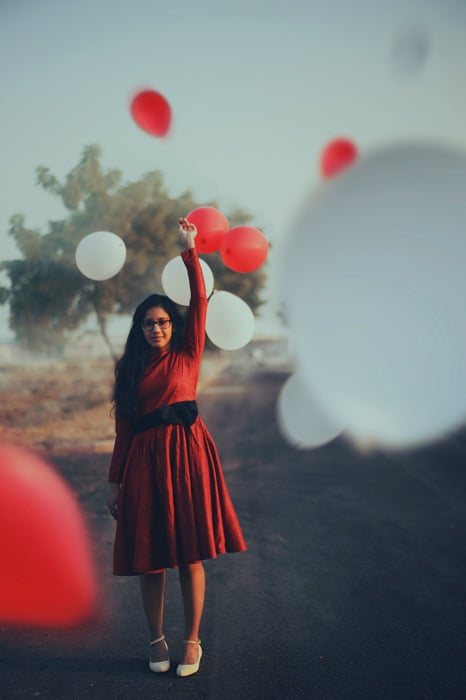
Props
Props really make your DIY photo booth stand out. They give your subjects, and your images that missing pizzazz.
Photo booth props can be anything from costumes and disguises to handheld speech bubbles.
When we made our photo booth, we used picture frames to ‘frame’ the subject. Masks on wooden sticks also served to be good fun, ensuring those who were a little shy could capture themselves again and again.
Bigger props, such as furniture, help to cement a certain theme you are going for. If your party has a cowboy theme, then a vintage table, some hats and playing cards will go a long way.
Be creative and think out of the box. You can make many of these yourself, so you don’t need to spend a fortune.
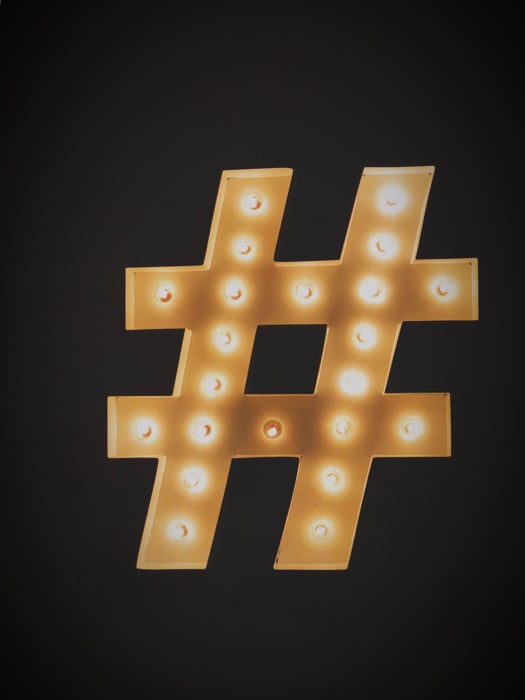
Hashtags
If you are creating a DIY photo booth for a wedding, create a hashtag for the event. #emma&steve2019 is a great way to connect everyone at and to the event. That way, any images can be easily found.
By having the images in one place, no one needs to create albums and share the images through hundreds of people. The images are there for the picking, leaving you to choose which ones to print.
Make the hashtag specific, as #wedding2019 will mean your images will mix with others. Later, when you post the DIY photo booth images, use the same so everyone attending can see them.
Post-Production and Printing
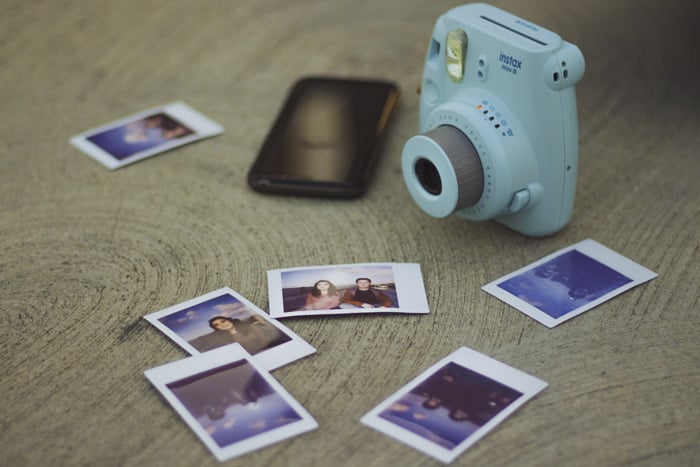
If you don’t fancy the digital route, go for the Instant DIY photo booth idea. Have a few instant cameras knocking around for guests to pick up and use at their leisure.
Not only can people see the images immediately, but you will also have a printed album at the end of the night. The other benefit is that each image will have a different perspective and focus, as the photographers will change.
You can still do this digitally, in a very easy manner. Everyone has a smartphone, so if they capture images using it, they can send them to a local instant printer.
This gives you the images, but the guests can add filters and other local adjustments. This ensures better images and a digital copy of every image.
You might need a few printers depending on the number of people.
Considerations
- Bring a spare remote. Having a remote break halfway through the day would stop the images.
- Take extension cords. The perfect location might be one foot away from the longest outlet you can find.
- Have gaffer tape to tape cords down to stop people from tripping over them. You can use it to mark where people should stand.
- Bring equipment, such as stands, in bags and bins. This makes it easier and faster to tear down at the end of the day.
- There is more traffic the closer you get to the dance floor.
- Place a ‘please don’t touch‘ sign on the camera. Guests want to see the images, but touching the camera could wipe all the images.
- Hand out business cards and leave some next to the camera so people can contact you for the images later.
- Place a larger amount of time thinking about props and backdrop than camera and lens options. At the end of the day, you can even use a tablet or smartphone to shoot.
- A larger background will allow more people in the shot. You can always crop later, but you can’t do the reverse.
Looking for more tips? Check out our new post on how to print Instagram photos next!