Have you ever wondered how to make your camera better quality? Well, you have come to the right place! Today, we discuss various steps you can take to improve the camera quality of your smartphone.
Smartphone cameras can take amazing photographs nowadays. But there are a few points to consider to get the most out of your phone camera. Different environments need different techniques. And you must choose the best option. Luckily, we give you plenty of suggestions to try out.
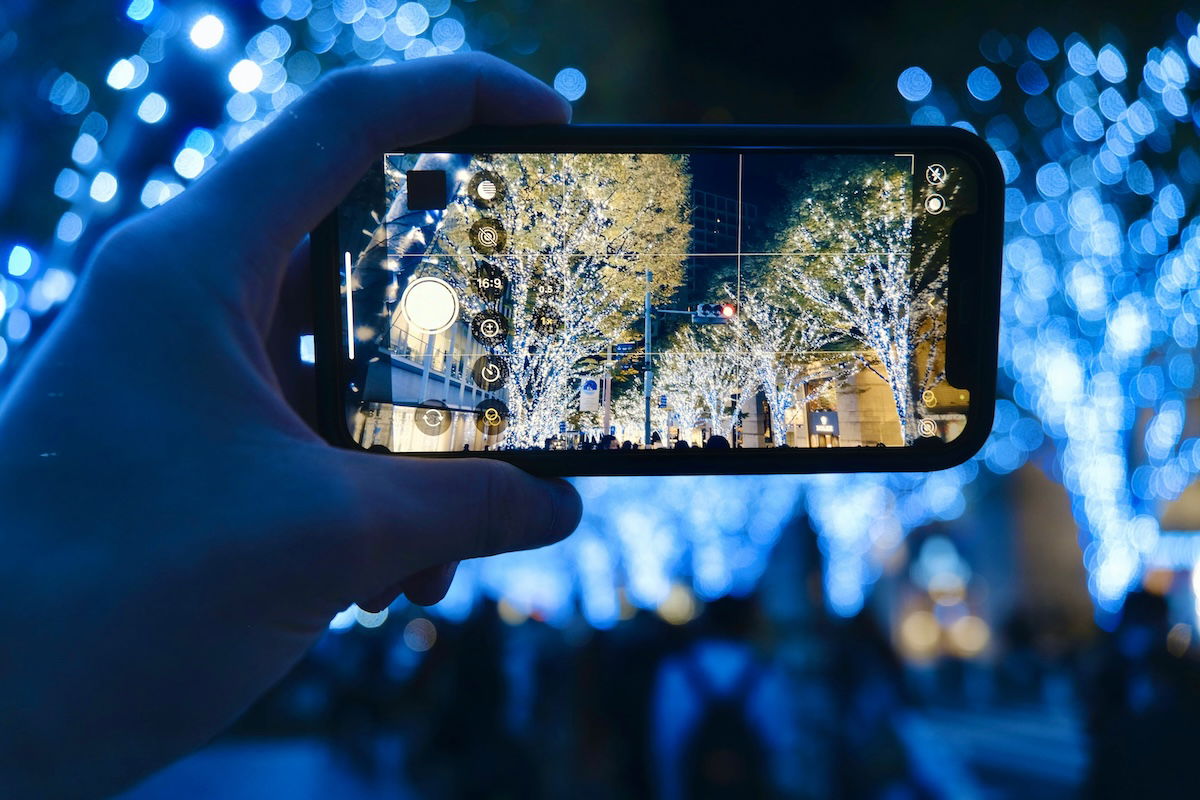
Now let’s look at 11 tips to achieve the highest picture quality with your phone’s camera. Some of these points are simple but often forgotten. By the end of this list, you will have a good idea of how to make your camera better quality.
Here is a list of our top tips. Click on each one to find out more:
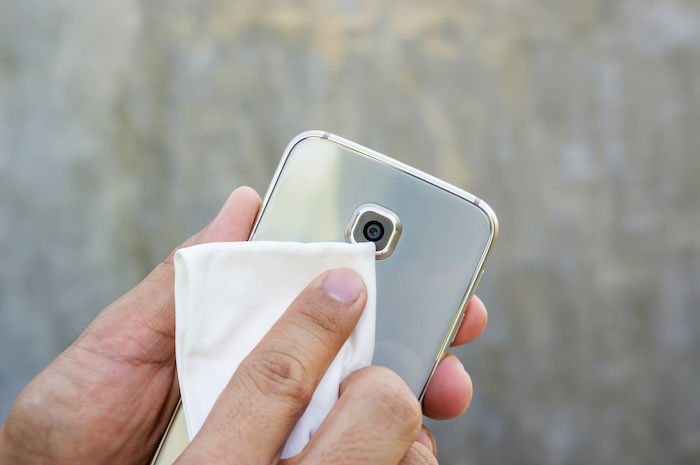
A clean camera lens can greatly improve image quality. All it takes is a simple wipe! It may sound simple, but it is easy to forget to clean your camera lens.
You can also find lens protectors to stick over your camera lens to ensure it doesn’t get scratched. But I wouldn’t recommend this. Cheap glass can worsen your image quality!
If you want to ensure you don’t damage your lens, use a microfiber cloth. Wiping a dirty lens with your clothes or other materials is the easiest option. But be careful. Rough materials can damage your lens. There is even the potential to scratch your lens!
Taking time to clean your lens is worth it. It is the quickest way to make your camera better quality. It’s best if you use a lens or glasses cleaning solution, lens cleaning wipes, or a kit.
The better you know how to use your camera, the better your photographs will be. Manual camera controls let you override the phone’s default auto mode.
This ensures you get the most out of your smartphone’s camera. You can read our article about manual mode on Android phones.
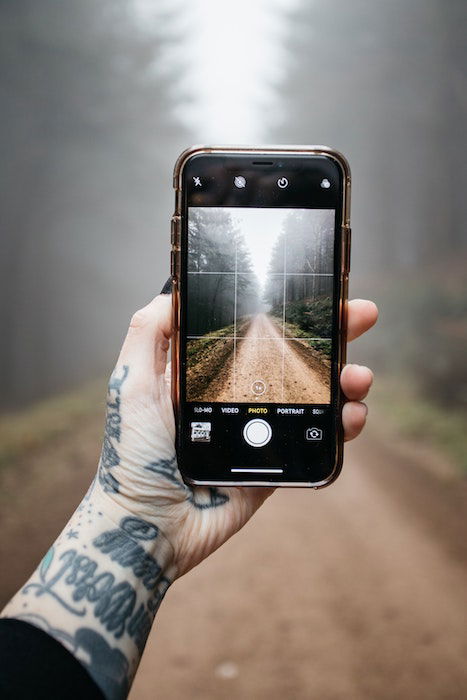
The most important custom control to be aware of is the exposure slider. You can find this on your smartphone by tapping the screen in your camera app. You should see a slider come up that looks like a sun. Hold your finger on this icon and move it for more or less light.
Another custom control to be aware of is tapping the screen to lock focus. It is important to ensure your subject is your camera’s main point of focus. Sharpness is the key to make your camera better quality.
But tapping on your subject also changes the exposure. So you may need to adjust this manually.
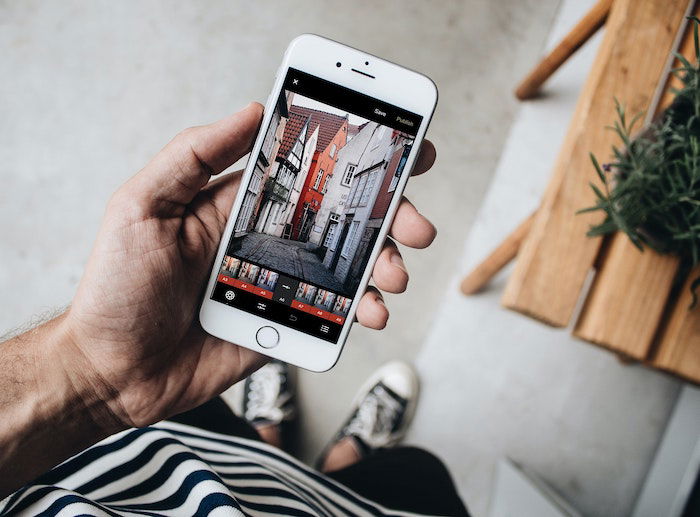
All major smartphones have photo editing options you can apply to photos in your camera roll. Open the image you want to edit and click the Edit button on the phone’s screen.
You should see a range of edits you can make to your image. The most important edits for quality are for sharpness and definition.
The Sharpness slider emphasizes the texture of the photograph. But be careful with this. It can easily ruin your photograph. Move this slider the smallest amount possible.
Move it to a point where the results aren’t too noticeable in the full image. Use the Definition slider in the same way.
You can find third-party camera apps to perform editing functions. They may have filters or settings to improve photo quality automatically. But it’s best to do the image editing yourself. This is the best way to make your camera quality better after you have taken the photo.
Using the zoom function on your phone is a good way to ensure nothing is distracting from your subject. But it’s also an issue that can cause horrible image quality.
The digital zoom function doesn’t function like a regular camera lens zoom. It crops the image and then scales it back up. This means you use a fraction of the camera sensor’s power. So you lose image resolution and image quality.
Instead of using the digital zoom, try to get closer to your subject. This is a great way to make your camera better quality as you aren’t cropping the image. You can also consider buying a telephoto lens for your phone.
Technology has progressed quickly in smartphone cameras. There are smartphone cameras out there with amazing digital, optical, and hybrid zoom. Even though they might be great, they still crop the quality. So for the best quality possible, don’t use your digital zoom.
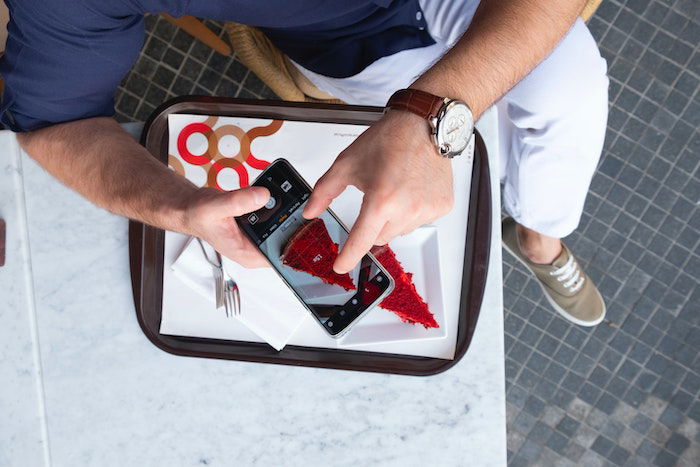
The best camera quality comes from adequate light coming through the lens. Slower shutter speeds can give all the major lines in your photograph soft edges. And a wide aperture gives you a narrow depth of field, so you may not be able to get your whole image in focus.
So, you can make your camera better quality by adding more light. The more light in your environment, the faster the shutter speed and the smaller the aperture can be.
Get in the habit of photographing in good light. That way, you optimize the conditions in which your smartphone camera works best.
But natural light sometimes isn’t enough… especially when shooting indoors or after sunset. Your smartphone’s camera flash can combat this if you photograph your subject close-up. But this isn’t the most powerful flash.
Using a strong lamp or light is better. This is for two reasons. First, you can see exactly how the light falls on your subject’s face. Second, you can control the direction of where the light is coming from. Often a flash right by the lens can produce unflattering images.
Look around your environment to see where the brightest spots are. I suggest placing your subject there and playing with your phone camera settings.
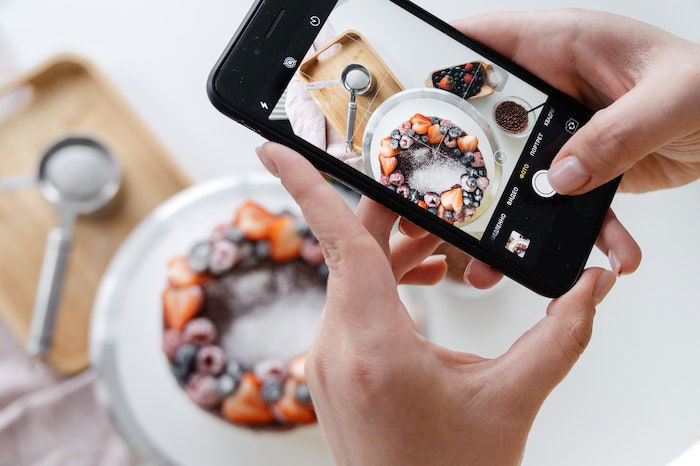
You can buy an attachable lens if you want to zoom but keep your camera quality as high as possible. There are lenses like the 58mm Moment Tele Lens. Or there are phone camera lens kits by Selvim or Sevenka. They clip onto your camera phone.
Instead of cropping the camera’s sensor, the lenses extend your view. You can get all kinds of different phone camera lenses. There’s everything from telephoto lenses to wide-angle and fish-eye lenses. This is the only option if you want to make your camera better quality but still zoom in.
One point to consider is that cheap materials can affect the quality of the photograph. It is best if you take some time to research and look at images taken with the products.
There are some very expensive options. But some cheaper ones may be enough to provide you with great camera phone quality.
Having an aftermarket lens for your smartphone can open new photo options. These lenses are small and can fit in your pocket. It can be ideal for travel photography because it’s a minimalist setup.
Third-party photo editing apps are a simple option that can make your camera better quality. Third-party apps do not add higher resolution to your phone’s camera. These apps give you further manual controls to make the most out of your phone camera.
Dedicated camera apps can now deal with RAW images. And many smartphone cameras support this function. The better file type you use directly impacts the picture quality.
That is because some file types can compress your image. This automatically takes quality away from the original image.
The best smartphone camera app you can find is ProCamera for iOS. It is expensive. But it makes a huge difference if you use your iPhone for professional photography work.
It’s perfect for influencers, vloggers, and travel photographers. Those who share their work on social media will find it helpful.
The back camera on smartphones is more powerful than the front camera. This makes sense, as the cameras on the rear are considerably bigger than the front camera.
So, using your rear camera will make your camera better quality, therefore producing better photos.
It is also harder to fit a camera sensor around your screen. But the rear camera has plenty of space. It usually has a few more megapixels than the front camera.
The front camera may make certain photos easier to take. But it’s worth avoiding if you want better camera quality. The front camera is ideal for a quick and easy photo if you want to take a selfie.
But if you want the highest quality image of yourself, get friends or family to take the picture for you!
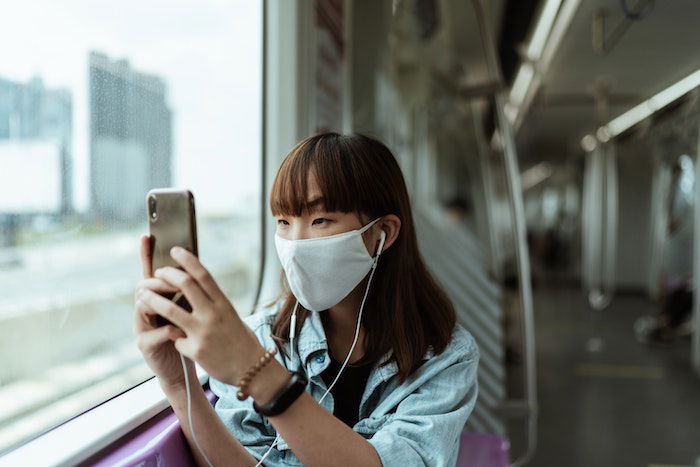
HDR stands for high dynamic range. In your phone’s camera settings, you have the option to shoot HDR photos. This will not technically improve camera quality, but it improves the clarity of your photos.
HDR settings make your camera take multiple exposures of the same image. The phone then automatically stitches the best exposures of each photo section together. This prevents you from losing information in your image’s shadows and highlights.
Apple iPhones automatically come with Smart HDR settings turned on. Smart HDR blends the best parts of separate exposures into one. You can turn this feature off in the smartphone camera settings. But I suggest keeping it on.
Other HD cameras and phone apps allow you to create even more in-depth HD photos you can edit. This is a great way to make your camera better quality in terms of exposure and dynamic range.

Another way to ensure your image is as sharp as possible is to invest in and use a tripod. A tripod is the best way to ensure you don’t have any camera shake. You can get small tripods for cheap, like this Sensyne 62-inch tripod.
There are tripods specifically made for smartphone photography. These tripods have adjustable legs. You can wrap these legs around almost anything. And they can hold your smartphone steady.
Photographing with a tripod slows down your shooting. But this can be a good thing. A tripod allows you to use the self-timer mode to photograph yourself.
It is also extremely useful when photographing at night. Night photography apps or long exposures need the camera to be as steady as possible. It also will make your camera better quality if you produce videos.
If you screenshot your image, the phone is taking a new photo of your photo. It will have worse quality than the image itself. So always deal with the original picture when you upload or print your photographs.
Also, be cautious about sending or receiving photos through social media or messaging apps. These apps compress your photos and reduce the quality by a huge amount. And make sure you are always dealing with the original photographs.
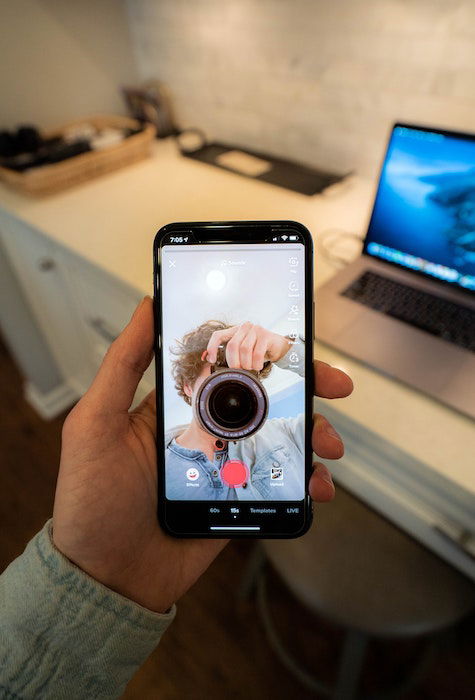
These are the more common help requests we get with phone camera quality.
Android phones allow you to change the resolution of your photographs. Open your camera app and click on Settings in the bottom left corner. Click on Resolutions. Then make sure you have the highest possible quality selected.
The tips in this article can make your Samsung camera better. Ensure you are shooting with your Samsung camera’s best quality. To do this, open up the camera app. Then click the icon with the different aspect ratios. One of these should have a megapixel (MP) value underneath it. This is the highest resolution your camera can take photos.
Follow our tips that don’t involve using the highest-resolution camera. Using better lighting and not using a digital zoom are the best things to remember when taking a photo. Then use editing functions after you have taken a photo to make it as sharp as possible.
The iPhone camera app has a small arrow at the top of the screen. If you click this, some icons appear at the bottom of your screen. These let you change a range of photo settings. You must go into the iPhone camera settings to make more changes.

We hope we’ve answered the question of how to make your camera better quality. You can see that there are many easy techniques to get the best results out of your smartphone camera.
Try to use them all with your smartphone photography. Some of these actions may seem small. But sometimes, a small change can make a huge difference!
