The gorgeous interior photography shots you see in magazines may seem impossible to achieve as a photographer, but they're not!
Let's dive in and walk through these twelve tips. You'll start creating magazine-worthy interior photography in no time!
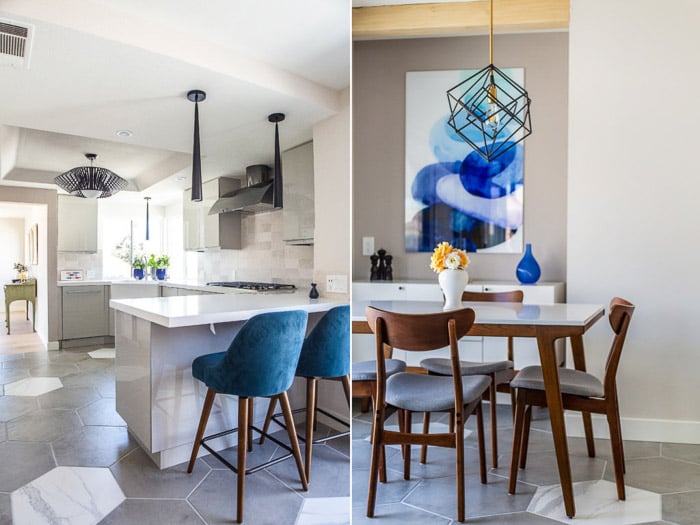
12. Interior Photography: Focusing on the Details
Have you ever photographed for real estate listings? Then you may have gotten a taste of what interior shooting photography is like. But architectural or interior photography is different than real estate photography.
You need to put more time and energy into each part of the process, including post-production. The expectations are also higher when working with interior designers or builders.
Interior photography shoots are very collaborative and detail-oriented. You need to spend enough time with meeting the client, styling and with editing too. This great attention to detail allows it to demand higher rates.
The end goal is always to produce eye-catching interior photographs. These have to look great in magazines as well as on Instagram.
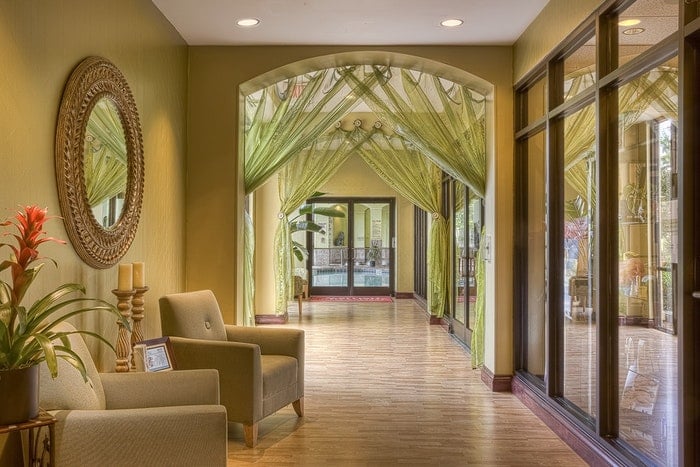
11. Turn off the Lights
Lighting can depend on personal preference. But there is a general consensus for high-end interior photography. Keep the lights turned off for all photos of the interior of a house. This helps to create a natural feel and an even light temperature, meaning better photos.
Having interior lights on also creates all sorts of shadows. These will appear on walls, floors, and furniture. It's distracting and takes away from the actual interior design elements.
Is there a lighting feature that you want to show in photos, such as recessed lighting? That's the only time that you'll want to consider having lights on for interior design photography. In this case, make sure you bracket at least a second exposure that's a bit darker. Like that, you can soften the brightness of the light and keep the lighting looking even.
Also, you might choose to have some lights on for any design features. Be sure to fine-tune white balance in editing.
A great additional tool to use for this is the local adjustment brush or gradient filter in Lightroom. This will help you counterbalance the light temperature from the fixture. This is one of the essential interior photography tips we can offer.
10. Work With Layers
You'll want to do several bracketed shots at varying exposures. This way, you can layer them for a subtle natural-feeling HDR final image when photo editing.
You'll want to bracket 3-4 exposures for any shots that include windows. This gives you darker frames that you can use for showing the view outside the windows. And middle exposures that help to balance out the bright highlights.
I also like to get a shot that is over-exposed enough to have lively shadows. Then I use this frame to help brighten shadow areas that feel too dark.
Use large soft brushes when blending layers to maintain the natural feel. Interior photographs need your full attention throughout the entire process. You'll want to avoid too much automation so that you can maintain quality control for your clients.
The editing process is often a bit tedious. There's no automation, and it involves great attention to detail.
If you see enough growth, consider outsourcing the editing of your interior shots. Then you can focus on client relations and improving your photography skills with actual interior shoots.
For many, though, the editing remains in-house, and we handle it ourselves. There are lots of options for automating HDR. But the automated methods are often sub-par for interior design photography. Automated processes for HDR often don't result in a natural and high-end look. And this is what architectural photography clients expect for their investment.
When doing the manual layering, you'll most likely be working in Photoshop. But there are other options out there such as Capture One.
Familiarise yourself with working with various layers and masking in Photoshop. This will help you create natural-looking interior photos.
9. Don't Shoot Too Wide
It's easy to think that wide-angle lens shots rule. Especially if you begin photographing interiors for real estate clients. But if you flip through an interior design magazine, you'll realize that this isn't the case.
In real estate, you want to emphasize how large the space is by showing dramatic wide shots. But in interior design photography, it's all about the design.
All the various beautiful visual moments in the space should stand out. This means that interior photographs show tighter compositions. Add to these with plenty of vignettes and details.
In real estate photography, you're often shooting wide shots at about 16mm (or 10mm if you're on a cropped sensor). For interior photography, you won't want to go wider than 24mm. This, of course, varies. It depends on the space, so don't be afraid to go in with a tighter lens as needed.
If you have enough room, distance yourself further from the composition and use a tighter lens such as a 50mm or 70mm. This minimizes any possible lens distortion as well.
8. Let Composition Guide Your Shot
In learning how to photograph interiors, the composition is what guides most shots. This means that you need to brush up on the basics, from balance, color, leading lines, depth, to white space.
Focusing on composition will elevate an image. It presents that photo as a work of art, rather than a photo that documents something. Artful interior design photography composition also makes the design elements stand out. And these are what your client is looking to show off!
Not sure where to begin with learning about composition? Start with the rule of thirds as one of the most useful interior photography tips. Use the rule of thirds to guide composition in your work for several weeks. Then move on to another principle, such as leading lines.
Keep adding to your arsenal of composition tools. You'll soon create stunning photography compositions instinctively!
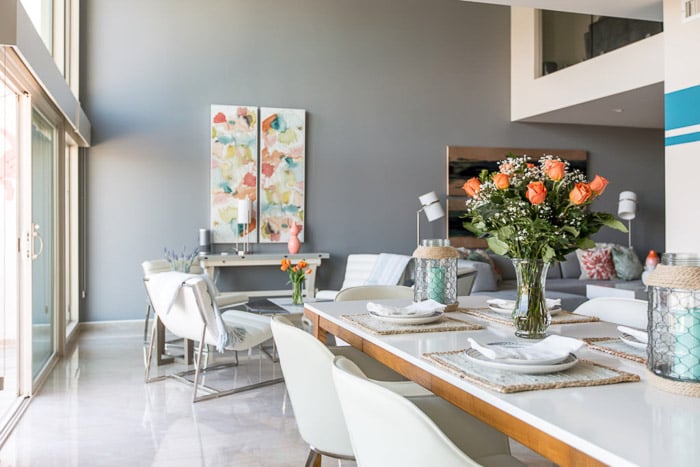
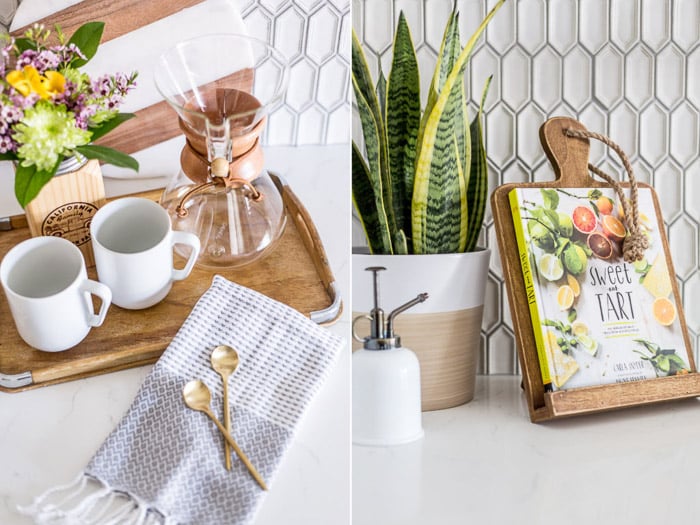
7. Create Depth With the Styling Objects
Creating depth with styling items and furniture placement is crucial. It will add interest and a luxurious feel to the place.
Start when setting up a shot. Ask yourself if there are items that take your eye from foreground to middle ground. Or to the background.
You also want to make sure that your eye lands on the area that you want to highlight. For example, if there's something sneaking into the frame in the foreground, is it too distracting? This can happen if the color is too bright, if the item is too in-focus, or if there's too much of it seen in the shot.
Make sure that your f-stop is consistent with what you want to have sharp (and what you don't!) in the photo. Interior photos have f-stops that are in the f/8 to f/16 range. But you can always go to a lower f-stop if it contributes to creating the depth that you want.
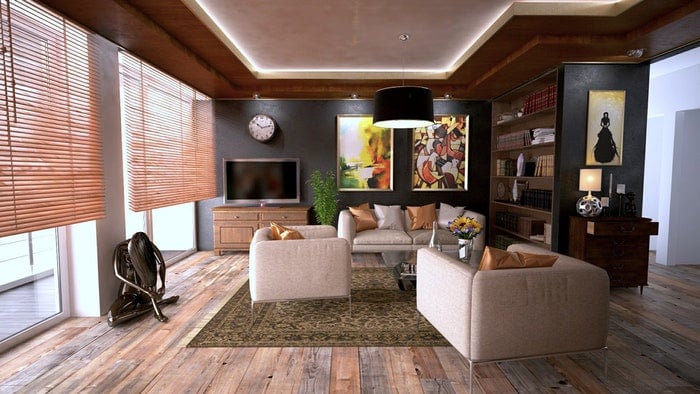
6. Get Rid of Any Clutter
It may seem obvious, but clearing the clutter is an absolute must. We want to see that gorgeous counter-top marble. Or see how the light hits the custom alcove with only one stunning sculpture in it.
As an interior photographer, it's part of your job to tell your client how to prepare the space for photos. Relay the value of a clean space before the photoshoot.
Also, take a look around the space when you arrive. Give your client any recommendations on surfaces that you want them to clear up.
Clients made a higher investment for your services. They're looking to you to be the expert and to guide them through the process.
5. Use Your Styling Skills for Interior Photography
While less is more, don't be afraid to add some small styling touches! When working with interior designers, your role is to give a professional opinion about the setup. And then to adjust decor as needed.
Consider whether the scene looks better with a specific item. Does the decorative piece add something to the vignette? Do the color and texture work well? Does it feel cluttered or too empty? Does it feel natural? Is the decorative piece high-end and beautiful?
Take a few moments to ask yourself these questions. Then help your client with styling.
4. Keep the Look Natural, Even if You Use a Strobe or Flash
Your aim is to make the space look and feel natural. You should try to use natural light as much as possible. But you'll still most likely need the aid of strobes or flashes to fill in shadows.
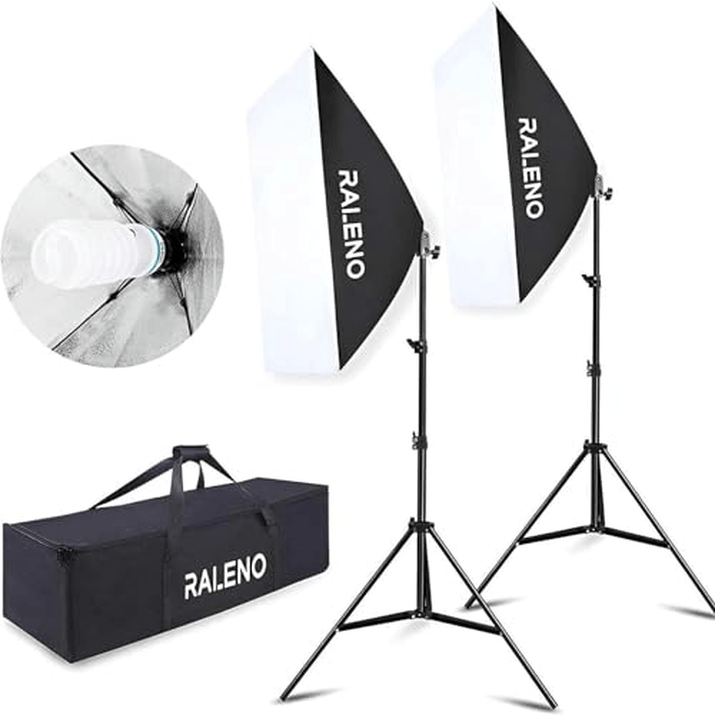
When using any artificial light, you want to make sure to bounce or diffuse it. And to adjust the strength of the lights so that it maintains a natural look.
Bouncing the light can be a simple matter of pointing it towards a wall behind you or the ceiling. You can also diffuse the light with various types of softboxes and umbrellas.
If the walls are colorful, be sure to keep that in mind. The color of the wall will affect the color tint of the light.
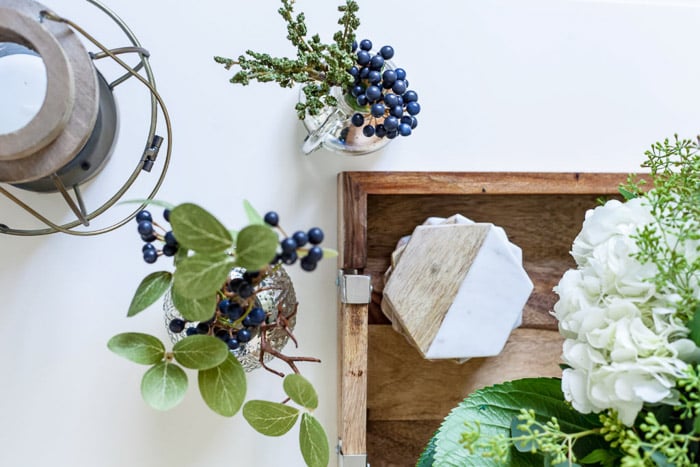
3. Show the Property's Personality Through Vignettes and Details
In real estate, most of the shot list consists of wide photos to show ample space. In an interior photograph, show vignettes and details. This is as important as taking wider shots.
Vignettes and details help to create the narrative of a space. They tell a story by showing personality.
The decor and cosy nooks of an interior can tell the viewer about the lifestyle of its inhabitants. It creates a strong marketing message that's perfect for interior designers, architects, and builders.
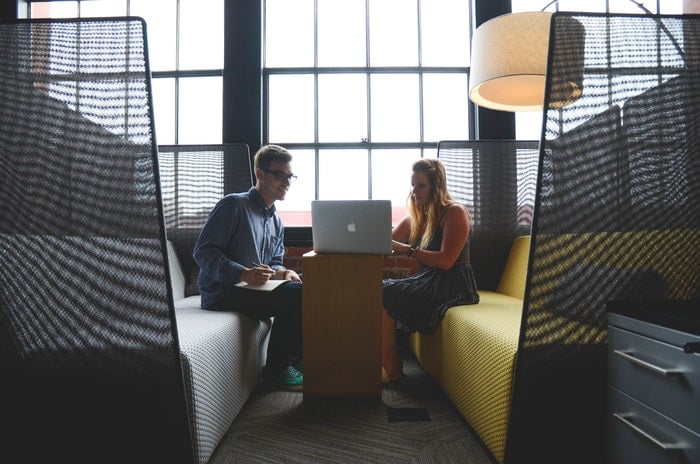
2. Use Tethering to Involve Your Client
Part of the client experience is to make the photoshoot very collaborative. This means taking your time to set up each shot and making sure that your client is participating in each setup.
One way to do this is to tether your camera to a laptop or tablet. Tethering allows your laptop or tablet to display the photos. It does so as they're shot in real-time. You may also be able to put your laptop or tablet in "Live View" mode. It depends on what system you're using.
Live View mode allows the client to help style the space for each shot before you take any photos. This also helps to minimize how many photos you have to sift through during editing! Your client plays an active role in making sure that each shot looks exactly how they want it. This gives them a more valuable experience for their investment.
CamRanger is a great tethering system to use. It's an industry favourite and very reliable system that allows for wireless tethering.
There are less expensive options on the market too. Do a bit of research to find the best fit for you. If you're okay not being wireless, you can use an inexpensive cable to connect to a laptop and be ready to go!
1. Plan Ahead for a Professional Result
Another big part of creating a valuable client experience is to plan ahead as much as possible. There should be open communication with your client. This way you'll be clear on what spaces to photograph. Also, what specific interior photographs they want for each room. And how many photos they're looking to walk away with at the end.
You should also make a site visit before the shoot date. A site visit helps you to get an idea of what areas will look best for photos. You'll also see what sort of details or vignettes you may get, and how the light comes in at certain times of the day.
Knowing the orientation of the building is especially important. It will help you to minimize strong sunshine overexposing the room. Or know where to use the low light look as the sun sets or rises.
A site visit also helps you get clear on what gear you'll use throughout the interior photography shoot. And it will bring up any issues with access to the site or equipment you may need to rent.
As with any shoot, you should prepare the night before. Charge your batteries and pack all your gear.
During the interior photography session, make sure to shoot at an appropriate height. This is approximately 5′ or so for interiors. And keep the camera as straight as possible to avoid added distortion.
While editing your interior photographs, you want to make sure to correct for the lens that you used. Here you can straighten any verticals (and horizontals for the straight-on shots).
Keep consistency in mind when deciding whether to turn on interior lights or not. And bear in mind that you'll want to color correct for any lights you keep on.
Conclusion
Creating those flashy interior photographs for magazines may seem out of reach. But keeping these tips in mind will get you on your way!
Begin with basics and continue to add layers of depth and precision. Interior design photography clients are looking for a final product that speaks of luxury and warmth. They'll want to be involved in the process with you.
Creating collaborative photoshoots can not only make your clients happy. It also produces beautiful interior photography. And it creates working relationships that will keep your business running for years.
Keep improving with our tips for editing interior photography in Lightroom or making money with interior photography! We have an interesting post on avoiding common mistakes in real estate photography too!
To add consistency to your final shots, use our Preset Collection!