The market for photographing jewelry is growing by the day. Jewelry photography can be a fun, rewarding, and profitable endeavour.
Are you looking for a way to take photos that will sell your products better and make them look even more beautiful? Our guide will help you start capturing those great jewelry shots today.

Types of Jewelry Photography
Before we begin, it is good to keep in mind that there are two different kinds of jewelry product photography.
Both of these have different requirements and techniques.
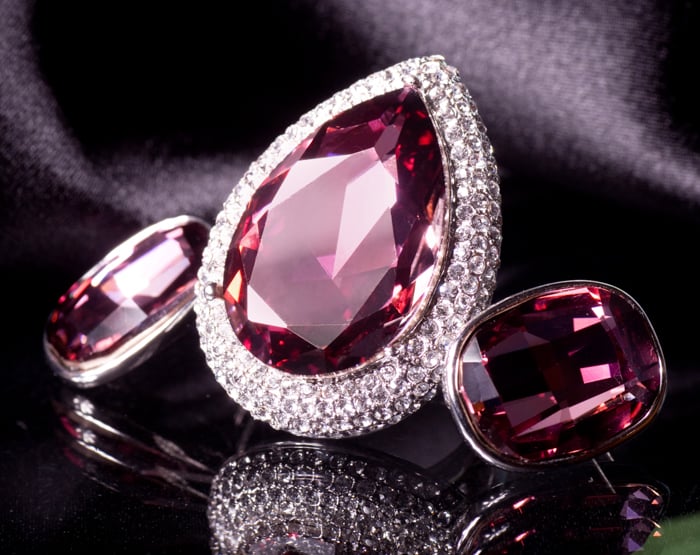
Product and e-commerce photography are the images you will see online or in a product catalog. These images are usually shot on a seamless solid color background. They highlight only the jewelry.
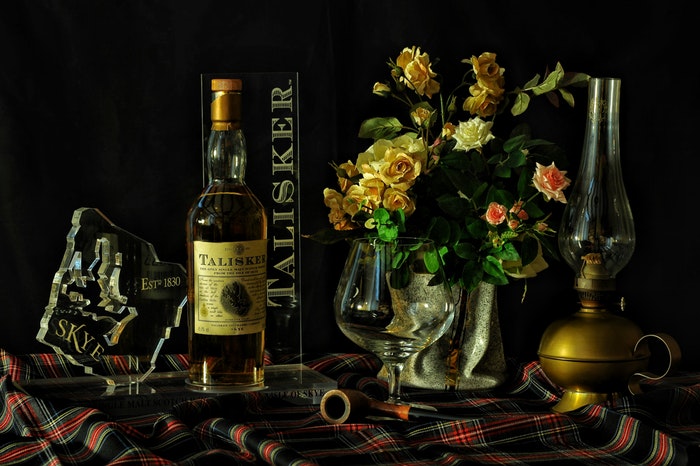
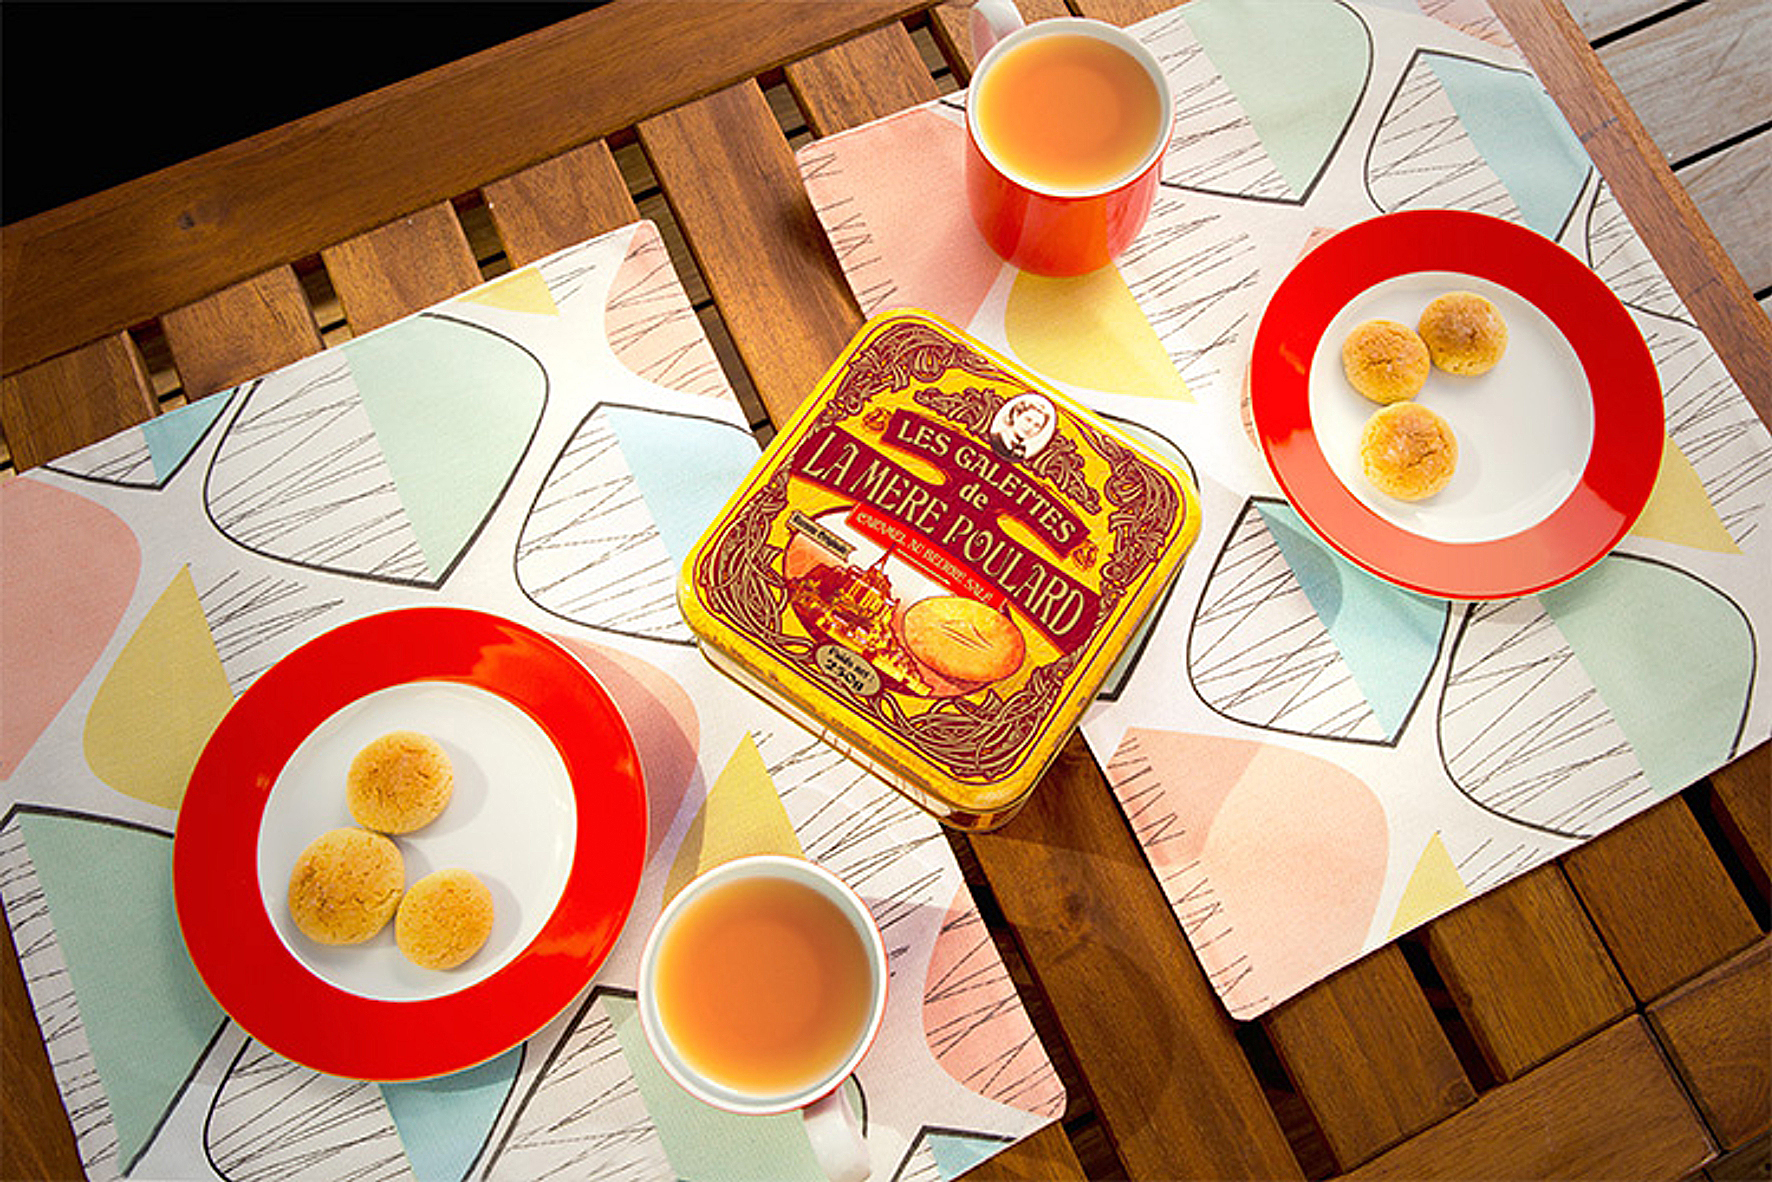
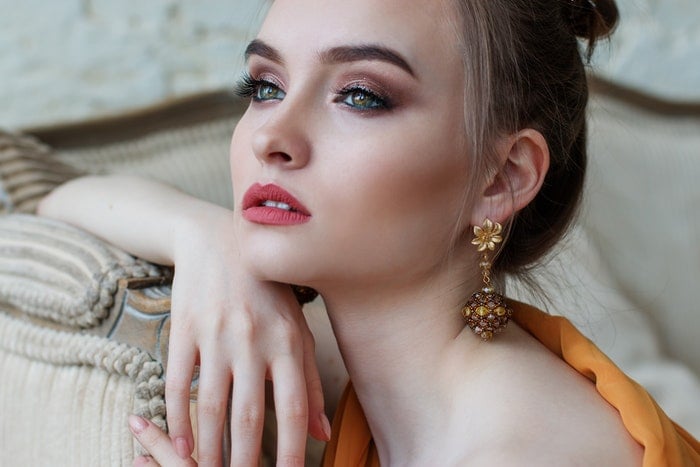
Editorial photography is the jewelry advertisement and is a lot more creative. Editorial photography often features a model or jewelry in a lifestyle environment.
1. Use a Tripod for Jewelry Photography
For still life product images like jewelry, you'll want to use a tripod.
Having your camera steady on a tripod has two more advantages:
- It makes it easier to adjust focus points and depth-of-field (aperture);
- You can drop to much lower shutter speed and ISO to avoid or reduce noise.
For lifestyle catalog or editorial photography, you can leave the tripod at home. Keep in mind that you'll still want to adhere to commercial photography guidelines and keep your work looking very sharp.
2. Choose the Right Camera for Jewelry Photos
What is the best camera for jewelry photography? Lucky for most, the camera is not as significant in photographing jewelry as in other fields. Photographing accessories is a still-life endeavour. You will not be pushing the limits or boundaries of your camera.
Product and e-Commerce Jewelry Photography
For e-commerce and standard product images, megapixel count won't matter too much. These images will likely be small or only for online use.
Some photographers have even gotten away with using point-and-shoot or compact cameras. We don't suggest this if you want to do professional work. Most mid-level DSLRs are suitable for this category.
Editorial Jewelry Photography
For editorial jewelry for photographers, the type of camera you’re using is important.
You will need a mid-level camera or a high-quality professional-grade DSLR. It depends on whether your photoshoot is for print or online, outdoors or in a studio. You also need to consider what your client's needs are.
When getting into commercial work, the megapixel count of your camera can be crucial. The larger the number of megapixels, the bigger and higher quality the print will be. Luckily, many newer cameras have high megapixels at somewhat lower costs.
3. Pick the Right Lens for Jewelry Photography
The camera body may not be as significant. But the lens will either make or break your jewelry product photography
When you photograph a product, it should be as true to life as possible.
In editorial photography there is more leeway on being creative. But you still want to ensure that your jewelry pieces remain accurate.
Usually, you'll want to go for a standard lens. Also known as normal lenses, standard lenses produce an image that roughly matches what the human eye sees. The image looks natural to the viewer.
Standard lenses have an angle of view of around 50 to 55 degrees diagonally. They are some of the easiest lenses to use because you do not have to factor in any form of distortion.
A popular choice for jewelry detail shots are macro lenses. A macro lens is for photographing small subjects at very close distances. A big benefit to the macro lens is the fact that their focusing limit is very close to the glass. You can learn how to shoot stunning images with our Macro Magic course.
Because jewelry doesn’t move, you can use a fixed millimetre lens. A fixed lens is much sharper and generally higher quality than a zoom lens. A 50mm such as the Nifty Fifty is a great choice.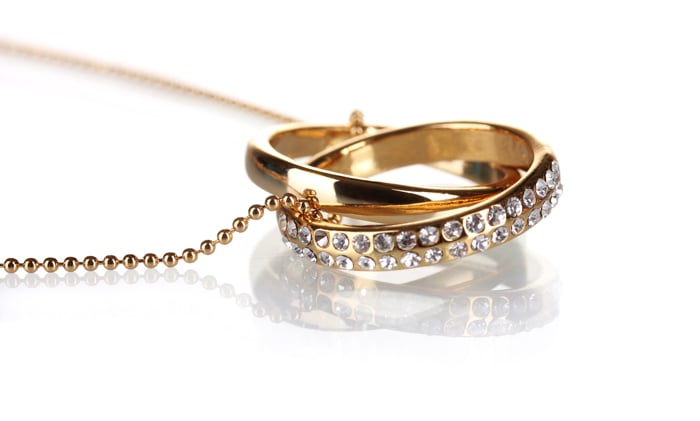
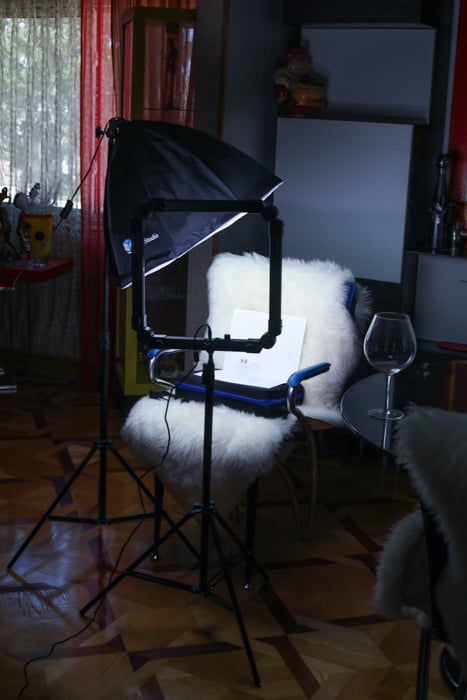
4. Invest in the Right Lighting Setup
Much like the lens, the lighting setup will also impact your jewelry photos.
I prefer a ring or continuous light softbox for shooting product images. This is because I like seeing the lighting as I set it up rather than having to flash continuously.
A ring light is brilliant for jewelry photography lighting because they light the rim of the object. Softboxes exude a nice, soft, and even light.
Accurate lighting is vital in any type of product photo.
That said, there is some creative leeway in editorial photography. You can use natural light for these, and it'll be understandable if the colors may not run completely true.

5. Which Settings Should You Use for Jewelry Photography?
Much like any still life, the settings for photographing jewelry are fairly simple.
Focus mode: Because the products don't move, you can set your camera to One-Shot mode. One-Shot allows you to set up your images and focus without fear of the focus shifting.
ISO + Shutter Speed: Generally, you want to ensure there is as little noise as possible. Add a tripod, and you can afford to use a lower ISO number and shutter speed to reduce noise.
Aperture: This is where things get a bit more complicated. For product photos, you'll generally want a deeper depth of field. This brings out the intricate details. I suggest f/8.
If you're doing more detailed shots, you can use a shallow depth of field. This will highlight the detail you want to focus on and let the rest melt away into a creamy bokeh.
For editorial photography, the settings will range depending on what you are shooting. With a model, you will likely keep in tune with the requirements for portrait photography!
6. Keep Your Setup Simple
E-commerce and product photography does not require any complicated setup. If anything, overcomplicating will be to your detriment.
You can even photograph jewelry at home. How? All you need is a solid surface, a white paper backdrop, your camera, lens, and lights! You can use a metal clamp to secure the backdrop into place
For editorial photos of jewelry, the same idea can apply. Don't make the story-telling elements of your image overwhelming. Keep the frame simple.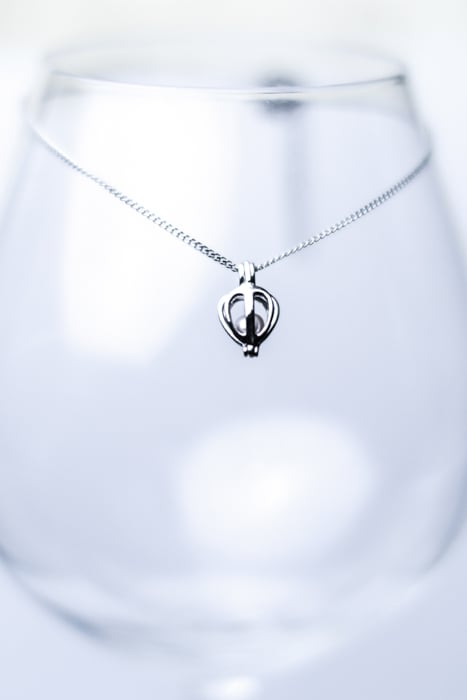
7. Avoid Distortion Lenses
The top mistake made by jewelry photographers is using the wrong lens. When you photograph a product of any kind, you don't want any perspective warping.
It may seem more logical to use a wide angle lens so that you can expand upon the tiny details. Unfortunately, this doesn’t work for product photography.
Stick with standard lenses! They have an angle of view of around 50 to 55 degrees diagonally.
8. Mind Your Reflections
Jewelry is hard to photograph. Reflective surfaces will bounce light around in annoying ways. They mess with your lighting set up, and cause reflections.
You don't want a reflection of your gear or lights as a distraction! Nothing looks worse than a gorgeous emerald ring with a camera lens reflection right in the center.
So, how do you photograph jewelry without reflection? Pay attention to reflections and prepare to move lights around until you find the perfect configuration. Otherwise, you'll be sitting in the editing room, removing all those pesky reflections. My tip would be to use a ring light. They light the rim of the object and can make it easier to hide reflections.
9. Watch Out for Inaccurate Lighting or White Balance
Accurate colors are crucial in any type of product photography.
Many customers buy products based on the colors showcased by your product photography. You don't want disappointed clients if the product(s) they receive don't match up.
Everyone's screens (phone, computer, television, etc.) are all color calibrated differently. But there is still a baseline to follow.
Make sure that you use bulbs and flashes/strobes that have a true white light exuding from them. Usually, this is labelled as a "photography toned bulb".
A true white light will not cause any sort of color casts, such as the blue or green of fluorescent light. The result will be the correct color.
As for white balance, check your settings and ensure you adjust according to the lighting you are using. Keep your light consistent, and you won't have to keep changing your white balance!
10. Don't Overcomplicate Your Frame
As artists, it is tempting to make images a bit more complicated than needed. The key is to know when to dial back and not make the photo too busy.
Don't make the story-telling elements of your image too overwhelming; keep the frame simple. Remember, you're selling jewelry!
11. Consider Depth of Field
The depth of field choice gives you stylistic opportunities when it comes to taking jewelry images.
I recommend a deeper DOF for the best focus.
You can use shallow depth of field to bring attention to details of the jewelry and blur the background.
That said, the most common problem is using only a shallow DOF. Or using it at inappropriate times. Remember, shallow DOF is for detail shots, not the full product!

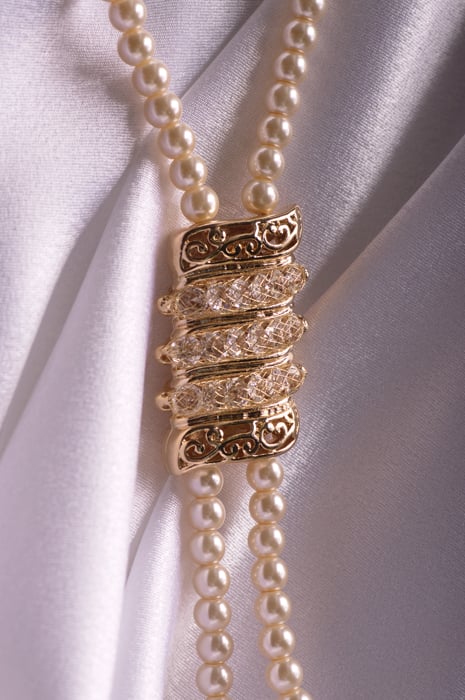
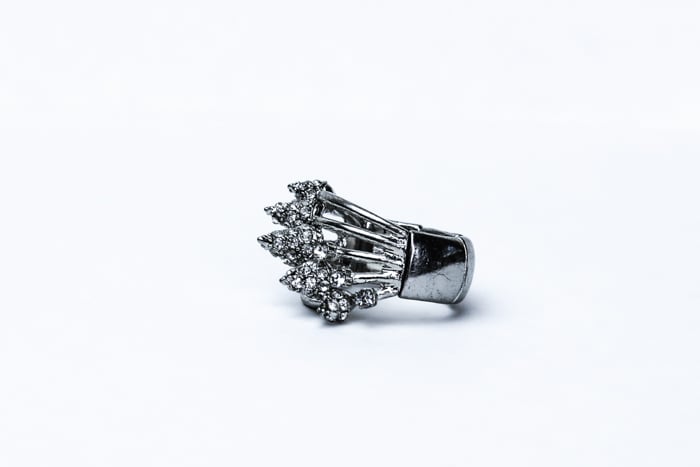
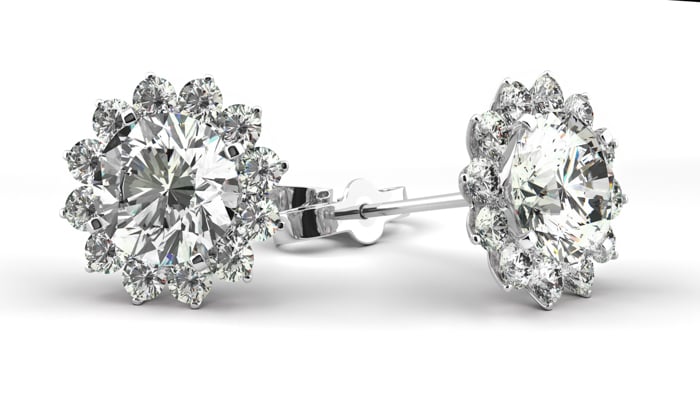
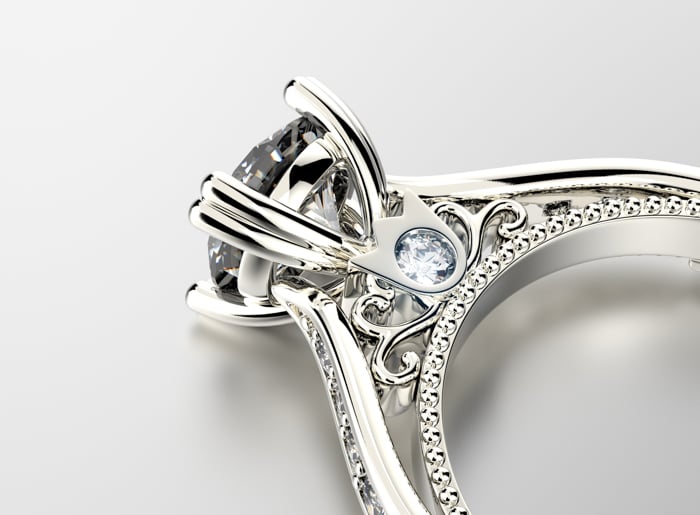
12. Don’t Forget the Detail Shots
Sometimes we get so focused on the bigger picture, we forget that the details are important. Don't skip out on those detail shots. People admire the intricacies of jewelry.
Don't rely on your client to remind you of this either! For each piece, take details of all sides.
13. Clean the Jewelry
Not cleaning the jewelry before photographing it is a rookie photographer mistake.
Editing smudges in post-processing can be difficult and frustrating. Jewelry is small and has many delicate details to work around.
Just be mindful of how the pieces look under your lighting units. Always have a cleaning cloth with you. Wear gloves when handling jewelry to prevent finger marks.
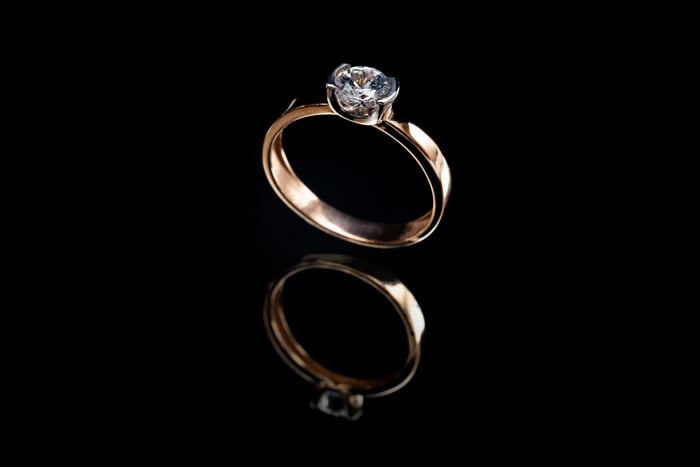
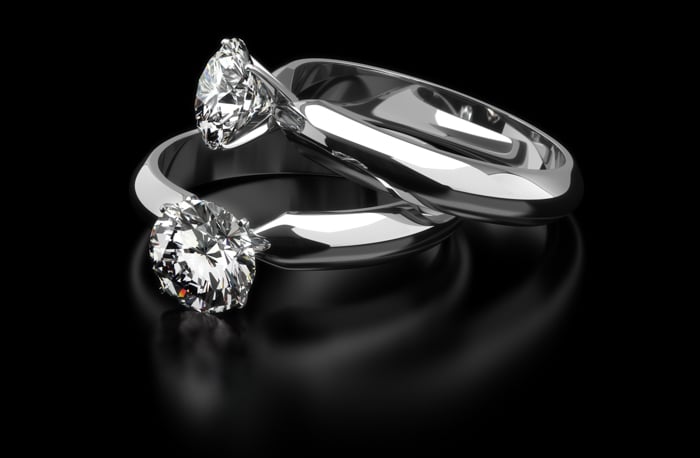
14. Get Sharp Images
Product images that are soft or fuzzy won’t sell very well. Pay attention to your camera’s focus and the contrast that appears in your images.
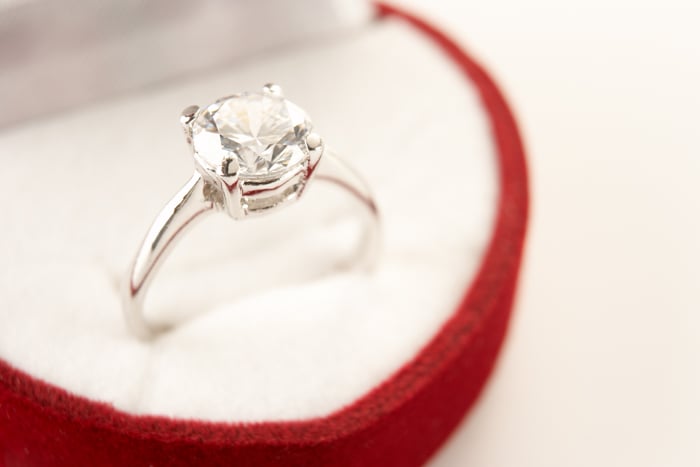
No one wants to buy a blurry diamond ring. If your images aren’t properly focused, it can call into question the quality of your client’s product.
15. Spend Enough Time on Post Production
Jewelry photos are detail-oriented. Sloppy post-processing work just won't fly! Make sure that your Photoshop work is on-point, with no color mistakes or lack of cloning!
It's also a good idea to view the photograph on a variety of different screens. It will be easier to see if any mistakes pop up.

16. Choose the Right Color Mode (SRGB vs CMYK)
Color accuracy isn't always due to your camera or lighting setup. It can be due to the color mode. There are two types of color modes – CMYK and SRGB. CMYK is used for printing and SRGB is for online use.
Both of these change the colors slightly depending on the purpose of the mode. For online use, ensure your images are converted to SRGB!
17. Composition Is Essential
Most jewelry photos feature just a ring or necklace on a white background. But the composition is still important. Simple shots don't mean slacking on your compositional rules.
Keep the Rule of Thirds and Golden Ratio in mind when photographing jewelry. Make sure your images are centered, or at the least, heavily skewed.
18. Eliminate Hard Shadows in the Photo
With e-commerce photography (such as eBay, Amazon, etc.) the requirement is a product shot on a seamless white background. If there are hard shadows, they will not accept the final image.
Editing the shadows out in post-processing can be a massive pain! An easy way to fix this is to have a light above the jewelry product that eliminates the shadows.

Conclusion
Jewelry photography is harder than other genres of product photography.
Photographing shiny things without unwanted reflections is not an easy task. Also, you have to play with the lights to make them shiny enough.
A matt diamond necklace is not going to sell itself.
Follow our tips to create compelling images!