Even though beautiful abstract portraits look complicated, they’re fairly easy to create. All you need are a few images and Adobe Photoshop.
This Photoshop tutorial will teach you how to quickly create an eye-catching abstract portrait with the help of a few Photoshop tools.
Abstract Portraits: What You’ll Need for this Photoshop Manipulation Tutorial
- A few portrait photos so you can experiment with different styles. I recommend starting with a simple portrait. Peter Sjo has a great gallery of stock images you can use for free.
- Any version of Photoshop, including Photoshop CS5.
- A few photos of textures. You can make these yourself or download them on a stock photo website. Here are 20 free textures I curated on Unsplash.
Tutorial
Open your image in Photoshop. Open your first texture in the same file. You can quickly do this by dragging the texture over your image. Adjust the texture as you see fit.
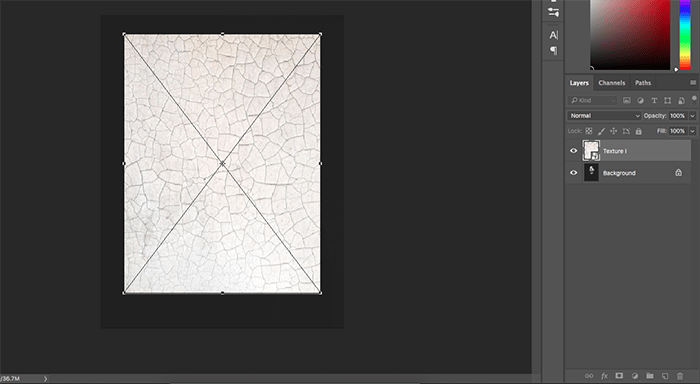
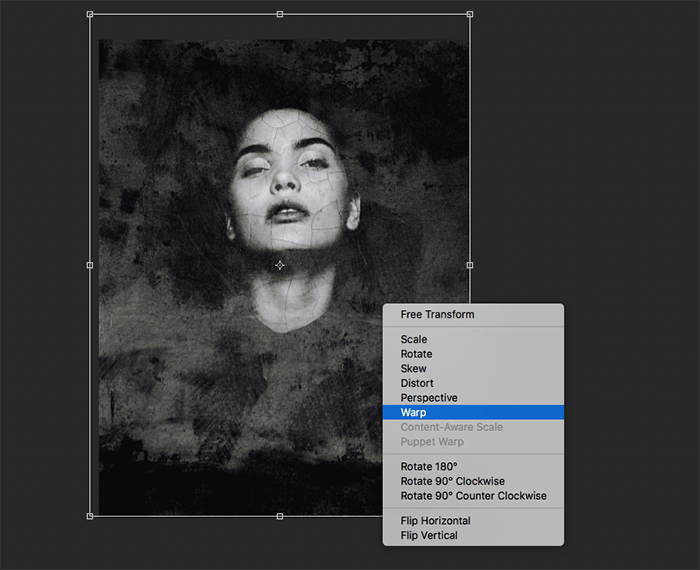
If you want to have more control over the texture, right-click on it. This will give you the option to distort, rotate, warp, etc., your image.
Don’t worry too much about this step. You can adjust your texture whenever you want.
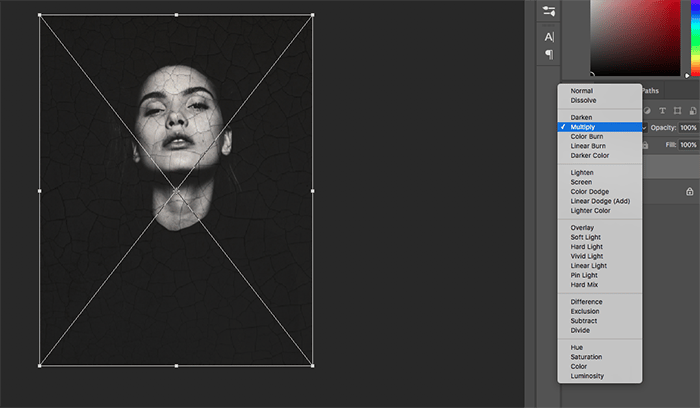
Making sure your texture layer is selected, go to Layer Mode (this is located directly above your layer) and experiment with all the options.
In my opinion, the most effective ones for portrait photo editing are Multiply, Screen, Overlay, and Soft Light. The mode you choose depends solely on your style and on the darkness or lightness of your image.
If your texture is overexposed, click on Multiply to darken it. If it’s too dark, use Screen to brighten it.
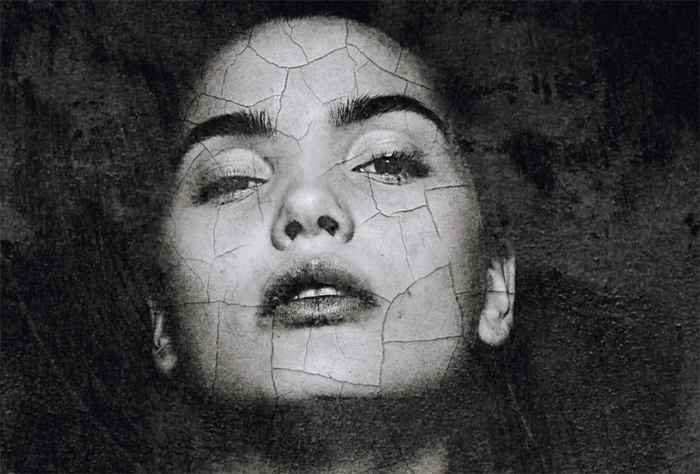
In this example, I’m using Multiply to darken the brightness and emphasize the cracks.
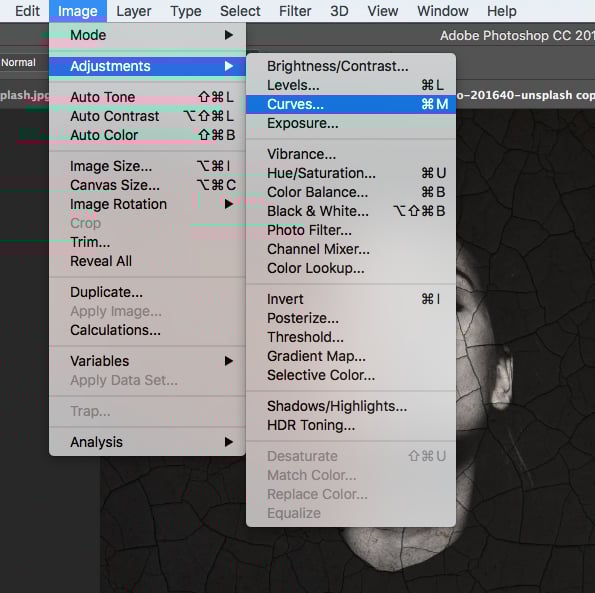
It’s likely that the layer mode you select won’t make your texture look perfect. You can easily fix this by going to Image > Adjustments > Curves or Levels.
In the Curves window, I added a yellow tint to the image and darkened the texture a little more.
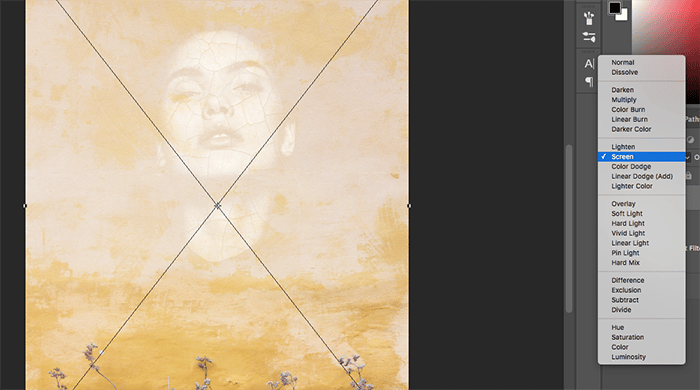
The amount of textures you add depends on your vision. You can experiment with as few or as many photos as you wish. I felt like adding a new layer to the base to brighten the model’s face and fill in the dark areas.
I wanted the image to look brighter, so I changed the layer mode to Screen. Again, feel free to experiment as much as you want here.
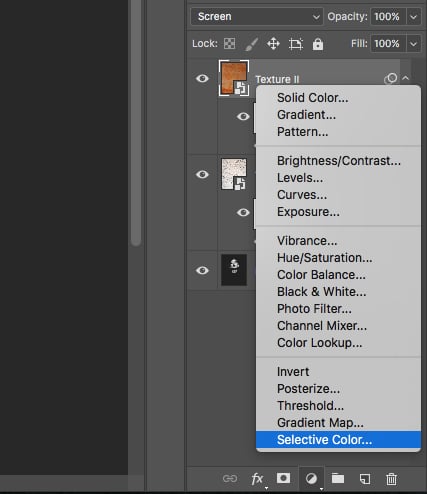
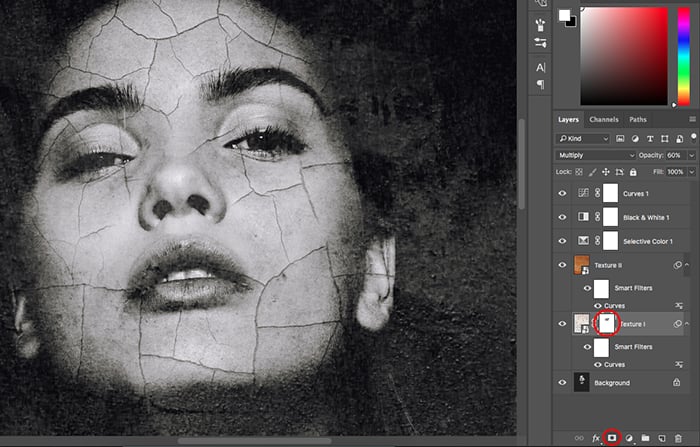
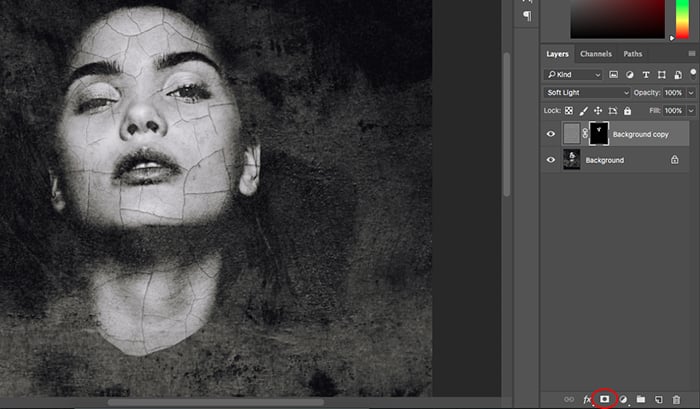
To make sure your texture(s) blend well, color correct them. Instead of editing only one texture, create an adjustment layer that will edit all the layers under it.
You can do this by clicking on the moon-like icon highlighted above and selecting Selective Color, Curves, or any other color correcting tool.
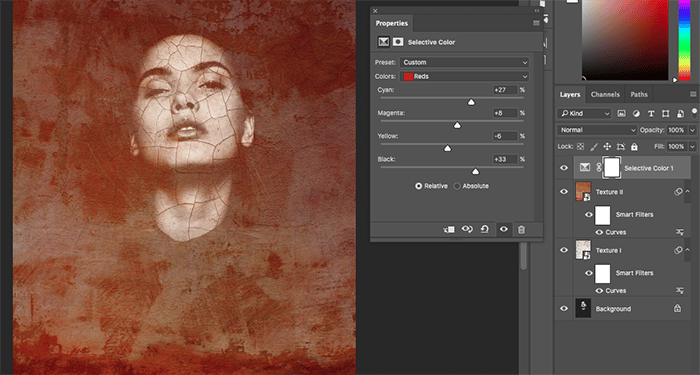
The Opacity tool is located right above the Fill tool. You can use it at any point during the editing process.
Color correction dramatically changes your images, so make sure you don’t skip this step. This is true of every color adjustment. I darkened the entire image and emphasized the reds to create contrast.
If the results are too dramatic, don’t delete your layer. Simply click on the layer you’re working on and change its opacity by moving the slider to the left.
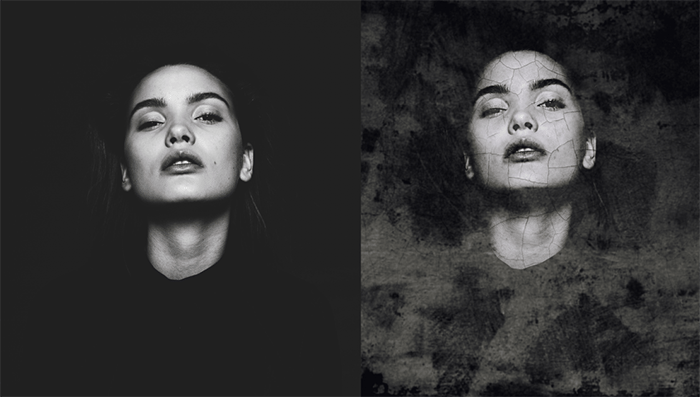
You can stop here, keep color correcting your image, or convert it to black and white. Sometimes, converting to b&w will make your abstract portraits stand out even more.
Even when I plan to keep my photos colorful, I convert them to black and white to see if they look better.
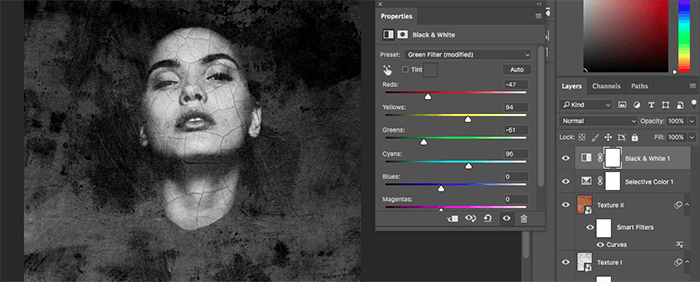
To make your entire image b&w, click on the adjustment layer (the same one you used to color correct your entire photo), and select Black & White.
The b&w window is filled with different styles and sliders. You can use these to darken or brighten specific parts of your image.
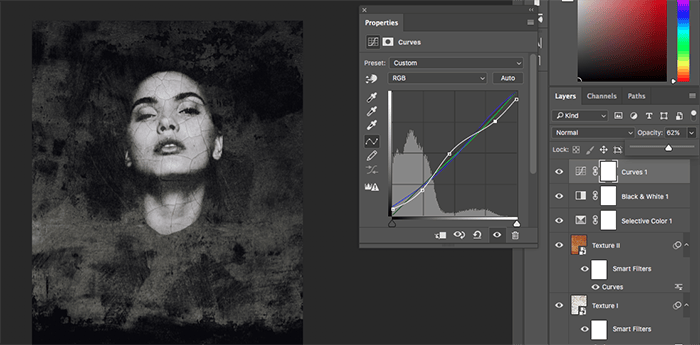
If you want to give your b&w photo a vintage feel, create an adjustment layer and play around with the colors. The same process works for creating a futuristic abstract portrait.
I chose curves, but you can experiment with any tool you want.
We’re almost done! This is the perfect time to work on your composition. Before you start fixing any details, you need to make sure that you’re happy with the way your textures look.
If you want to change the position, size, or shape of texture, use free transform. To do this, click on your texture layer and go to Edit > Free Transform, or press Control + T (Windows) or Command + T (Mac) on your keyboard.
Then, right-click on your image and select one of the options pictured above.
Here, I removed some of the cracks on the model’s face to make her eyes more visible.
If there are any specific details you want to remove, click on the texture you want to edit and then click on the layer mask icon at the bottom of the Layers window.
A white box should appear next to your texture. Press D on your keyboard to set the colors to black and white. Black will remove the texture you brush over, while white will add it back.
Select the brush tool and brush over anything you want to add or remove. Press X when you need to quickly change to black or white.
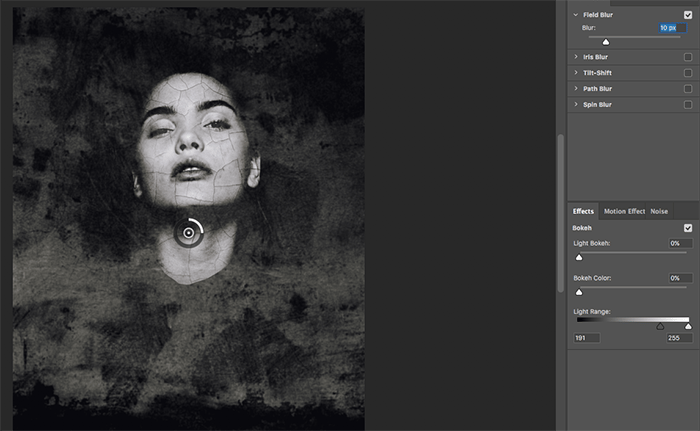
If certain textures take the spotlight away from your model, you can blur them creatively. Click on texture and go to Filter > Blur and select a style that complements your idea.
If you use a newer version of Photoshop, you’ll find Blur Gallery right under Blur. There, you’ll be able to experiment with more creative blurring methods like Tilt-Shift and Spin Blur.
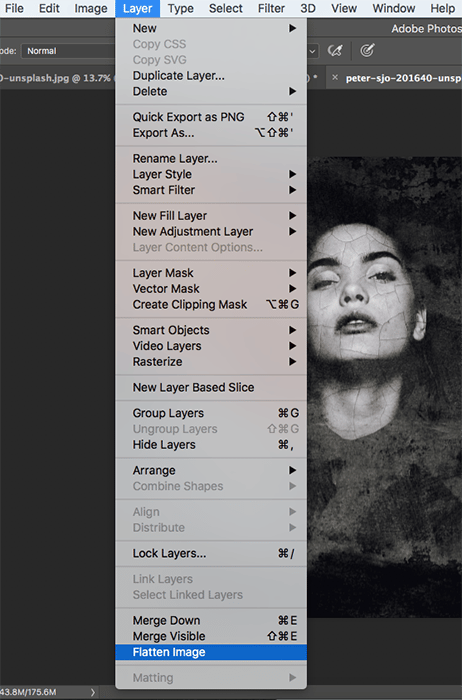
Once you’re done with your work, you can save it as a pdf file, flatten your image, etc. I chose to flatten the image because I wanted to work on all of the layers at once.
Something I like to do at the end of my editing process is sharpening specific parts of my image. Abstract portraits can be very confusing to look at, especially if there are lots of shapes and colors involved.
If you sharpen a few parts of your photo, they’ll stand out from all the other busy elements in your composition.
Right-click on your base layer and select Duplicate Layer. Go to Filter > Other > High Pass and select an intensity that looks good. (In my opinion, 7.0 pixels works perfectly).
Change your layer mode to Soft Light. Then, holding the Option key, click on the layer mask icon. This will create a reverse layer that will let you manually sharpen your image.
Use the brush tool to paint over any details you want to enhance. High Pass is perfect for sharpening eyes, hair, skin textures, and clothes.
Conclusion
Abstract portraits are exciting, inspiring, and surreal. Creating them will improve your Photoshop skills, strengthen your imagination, and encourage you to embrace your most creative ideas.
If you want to start improving your skills right now, I encourage you to start a creative Photoshop project. Download a bunch of free textures, add them to your portraits, and experiment as much as your heart desires! If you want more creative ideas, try creating a dispersion effect or pop art effect in portraits!
We have a great article on photo manipulation experts to check out next!
If you’re thinking of including some abstract smoke photography, check out this article on capturing smoke bombs.
And if you’re unfamiliar with adding new adjustment layers, how about checking this quick tutorial to using layers in Photoshop?


