Fine art food photography means taking a fine art approach to shooting and editing food photography. It’s subjective though, which is where the confusion appears.
With fine art food photography, lighting, composition, and styling create a distinct mood. And the images may or may not be realistic.
Here are ten tips to help you figure out what artistic food imagery is, and how to take it yourself.
Tips for Creating Fine Art Food Photography with Lighting
Light can bring out the vibrance, texture and colors of your food subjects.
It doesn’t matter if you use natural daylight or if you use an artificial light like a speedlite or strobe. The key is knowing how to control and manipulate light.
The best lighting scenario will depend on the subject.
For example, if you’re shooting a beverage or soup, backlighting can be a great approach. It highlights liquids in a beautiful manner.
It can also pose a challenge. There is a tendency for backlighting to blow out the back of an image. And at the same time, it does not cast enough light on objects in the front of the frame.
Side lighting or side backlighting are also great options for food photography.
Lighting from the front is beautiful in portrait photography. But in food photography it can create unwanted shadows and cause the image to fall flat. I wouldn’t recommend using this.
To get the most out of your lighting, use reflectors to block or bounce the light. And use diffusers to soften it.
You need to choose the right angle to light your set. But you also need the right tools to help you sculpt that light.
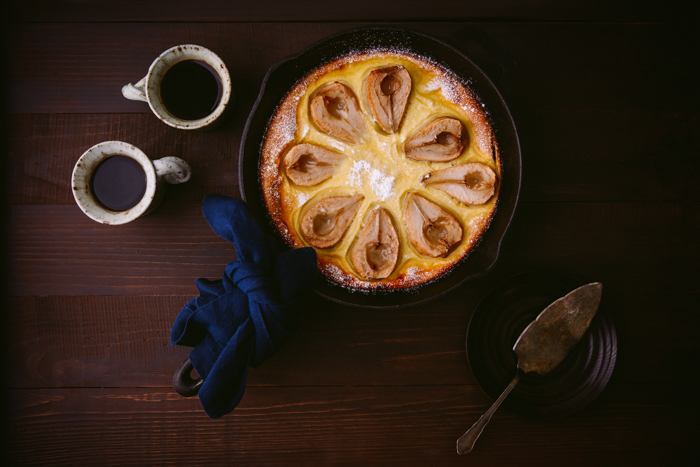
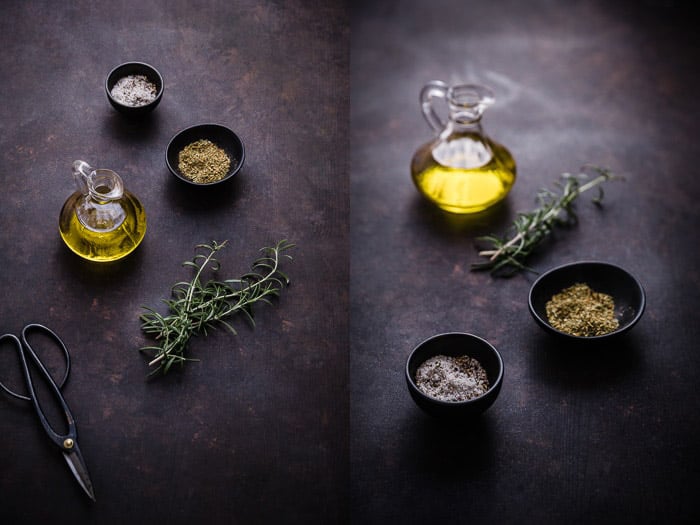
Try Dark and Moody Food Photography
A dark approach with food photography adds moodiness. This can give your image an artistic feel.
Think of a still life painting. Or the interplay of light and shadow in Vermeer and Rembrandt paintings.
The contrast between the shadows and light in an image gives a dramatic mood. You can use this to guide the eye to a specific area in the frame. In food photography, this is usually our subject.
To achieve this striking look, use one light source, whether it’s a window or an artificial light. Use black foamcore to block the light and kick in shadows where you want them.
In this style of photography, you don’t need as much light hitting your set.
When working with artificial light, I recommend diffusing it. If you’re using natural light, you may not need to, depending on its intensity.
Keep in mind that a dark style isn’t appropriate for every subject. Think about the purpose of your image and what you are trying to convey.

How to Compose Fine Art Food Images
In still life photography, composition is how you guide the viewer’s eye through a frame. This is often done in a specific order.
Simple compositions can be very powerful. If you have too much going on in a frame, it can lessen the impact.
To help you with your fine art food photography, study compositional theory.
The rules of composition are actually not so much “rules”. They’re guiding principles that will help you make better art. They are subjective, depending on the photograph.
For example, a useful guideline is the rule-of-odds. This says that when photographing a group of objects, an odd number of elements is more interesting than an even number.
Odd numbers create a sense of balance and a resting point for the eyes. An even number of objects can divide our attention.
Another useful guideline is the rule-of-thirds.
Divide your scene into nine equal sections, like a tic-tac-toe board. The important elements in the scene should fall along these lines. Or at the points where they intersect.
Using the rule-of-thirds is a great starting point to help you add harmony to your images. But there are some even more powerful concepts that you may want to consider.
Try the phi grid or golden triangle when composing your fine art food photos.
Styling for Fine Art Food Photography
Styling and composition go hand-in-hand. This is why you will always find at least one food stylist on a professional food shoot.
A food stylist’s job is to make the food look as delicious as possible for the camera. A chef may be trained in plating. But that doesn’t always translate well on camera.
Food stylists have intimate knowledge of how food behaves on set. They know how to get the most out of whatever ingredients they are given. A food shoot is a collaboration between the stylist and photographer. The goal is to make the food look perfect but not fake.
As a blogger or food photographer starting out, hiring a food stylist will likely be too costly. This means you will have to learn some of these these skills yourself.
Use tools like tweezers to help you place or move around important items like garnishes.
And think of ways to add texture or interest to your dishes. A sprinkling of grated Parmesan and a few leaves of basil on a dish of pasta look more interesting than a plain sauce.
Why You Should Keep Your Images Simple
When shooting fine art food photography, a simple approach is best. This is not only about composition, but also about the subject matter.
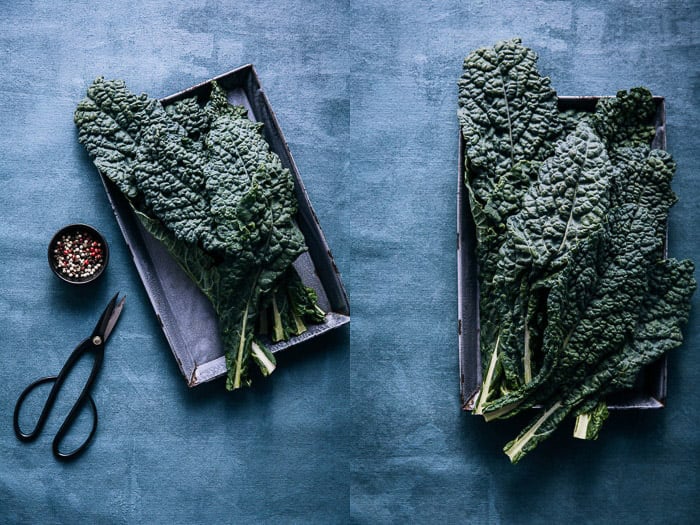
Food in its natural state like fruit and vegetables is inherently photogenic. You can enhance its vivid colors and textures with lighting and simple composition.
The key is to buy the food as fresh as possible. With so much focus put on the subject, you won’t get away with an unripe peach or a wrinkly tomato.
When you shop for shoots, look for the most photogenic specimens, without any bumps or bruises. For a just-sprayed look, mix equal parts water and glycerin in a bottle and mist over your produce of choice.
Water evaporates quickly. But this little trick will give your fruits and vegetables a freshly-picked look until you wash it off.
Try High Contrast Fine Art Photos
The best fine art food images are vibrant with lots of contrast.
There are two types of contrast you can use: color contrast and tonal contrast.
Tonal Contrast
Tonal contrast refers to the difference in brightness between various areas of an image.
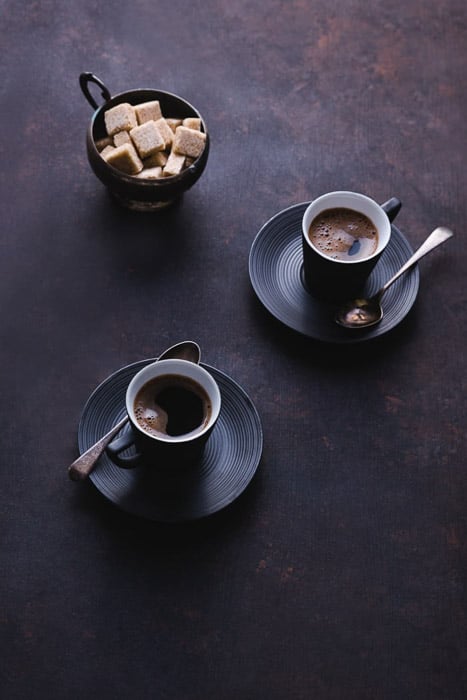
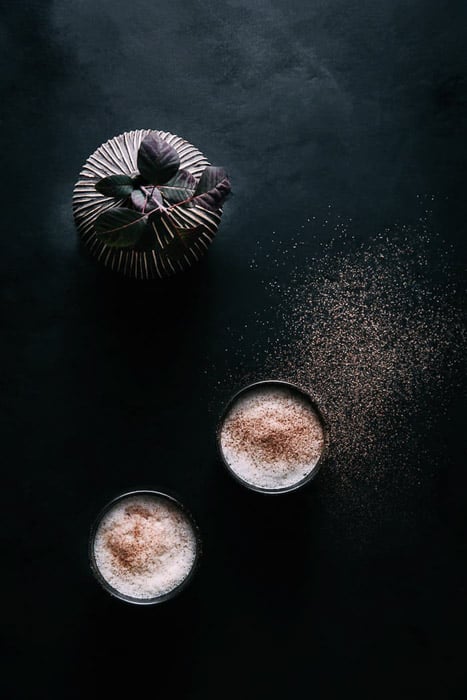
When an image contains mostly dark tones, it is referred to as “low key”. When it contains a lot of light tones or colors, it is called “high key”.
Tone gives a sense of mood. As you can see from the dark images in this post, the mood is heavy and mysterious.
On the other hand, high-key images create a sense of lightness and vibrancy.
A high level of contrast makes your image “pop”.
Low contrast images tend to have a soft and dreamy feeling. This is not usually the goal with food photography.
It is up to you to decide the look you are going for.
Your lighting choice will give you a certain level of contrast in-camera.
For example, very directional lighting will give you a high contrast look. This is the case even if the light itself is quite soft.
You can also increase the contrast in the editing process.
Color Contrast
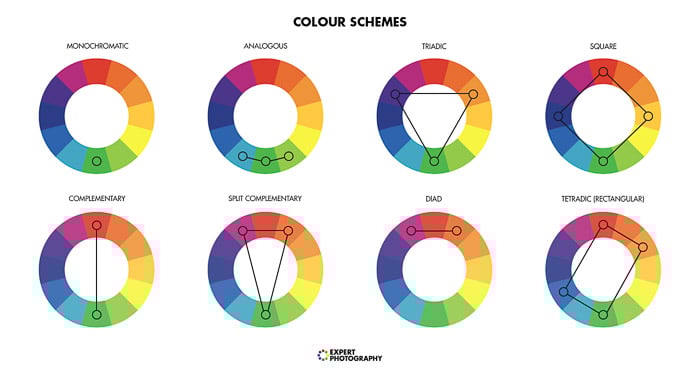
The most striking color contrasts occur with complementary colors. They make each other appear brighter and more vivid. This, in turn, creates a powerful visual effect.
Blue and orange, or purple and yellow are a couple of examples.
Analogous colors sit next to one another on the color wheel. They are harmonious and keep you pulled into the palette without allowing your eye to stray.
Color is a powerful compositional tool because it evokes emotion. The various colors stimulate receptors in our eyes. This, in turn, signals our brain and creates a certain feeling.
Food is already a subject that is symbolic and has different meanings to different people. When expressed with color in an effective way, it can help you compose very powerful images.
I carry a color wheel in my photography bag and reference it when planning my food shoots.
Something like this graph.
How Props and Backgrounds Can Enhance Your Fine Art Photos
Props and backgrounds need careful consideration. These should work in harmony with the food subject and lighting style.
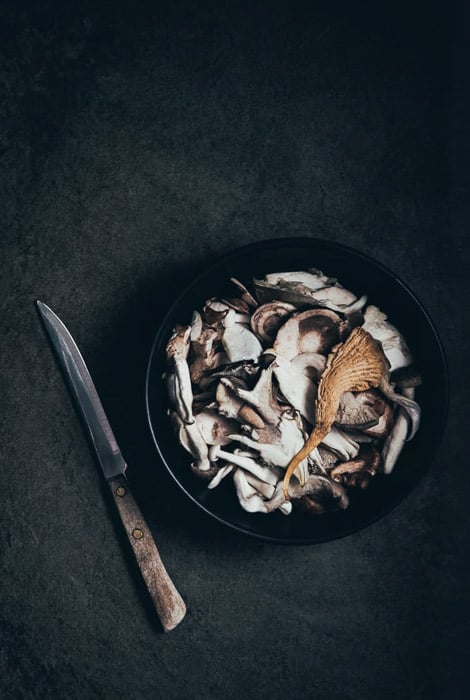
If you’re shooting a dark and moody scene, choose dark and muted props. As well as that, choose dark and neutral surfaces and backgrounds.
In this case, white or light dishes and props can create too much contrast. This is distracting, and can also be difficult to expose correctly.
Be sure that the props you choose make sense alongside the food you’re shooting. A delicate, composed salad will look odd with a heavy, antique fork. But a wooden cutting board can be a perfect way to stage a burger.
Antique stores and charity shops are the place to go to for props. You’ll often find them at very reasonable prices.
Vintage props with a patina are a great choice as well. They won’t reflect the light as much as new objects, and can also lend a rustic aesthetic.
Try Macro Food Photography for a Fine Art Look
Remember when I said that produce is inherently beautiful? One way of capturing that beauty is to shoot it up close.
Macro food photography is perfect for emphasizing texture and other details in food. You might have missed these in a wider framed shot.
The best subjects are, again, fruits and vegetables. They already have both texture and quality.
Focusing closely on composed dishes tends to not work as well. There is a tendency for the viewer to not understand what they’re looking at.
When taking macro shots of food, stick to one subject and do not complicate your scene. Leave some negative space for the eye to rest on.
The black surface in my image of the pomegranates below plays this role.
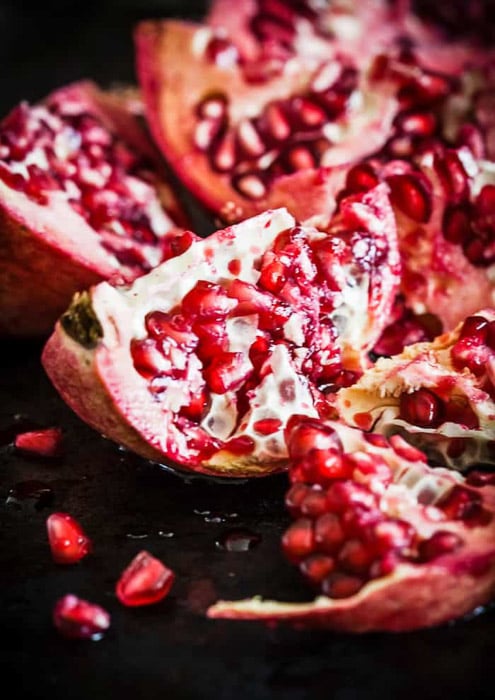
When you’re shooting macro, you’re using a very shallow depth-of-field. A lot of your image will be out of focus. Use this creatively and make sure that it works within the context of your subject.
If you need to get more of the image in focus, you can use focus stacking in Photoshop.
Edit Your Fine Art Food Photos for that Otherworldly Feel
Post-processing is where you can add a fine art effect to even the most basic food images.
For editorial or advertising photography, food must look as natural as possible. Presets and filters are an easy shortcut for this.
But they can make the food look unrealistic and unappetizing.
With fine art food photography, you have a little bit more leeway. Especially when it comes to color treatment and toning.
Familiarize yourself with the HSL panel in Lightroom. And practice how making changes to the various sliders affects your picture.
You may also want to try playing around with split toning.
This is one of the most ignored panels in Lightroom. Understanding how it works and using it has the potential to take your images to the next level.
If you do use presets, split toning will allow you to take those presets further. You’ll differentiate your look from that of other photographers.
Start with a preset to get the basics down but tweak from there.
Note that you can also paste the settings from your final edits to other images. Or you can sync them to speed up your workflow.
Conclusion
Fine art food photography is a fun way to experiment with your photography. And it allows you a lot of aesthetic freedom.
It’s also a great way to hone your lighting skills. You can observe how different light setups interact with your subject and affect its details.
So gather a couple of fruits, some vegetables, a dish or two and a few props, and go experiment!