Water drop photography is one of my favorite creative photography techniques. It’s fun and easy, and the final photos are always unique.
You might think water drop photography is only for advanced photographers. How can you freeze the moment without any special gear? We’ll show you how!
Our article provides a step-by-step guide to creating amazing water drop photographs. The best news is that you don’t need much equipment. You can even do this in your kitchen!
What You Need for Water Drop Photography
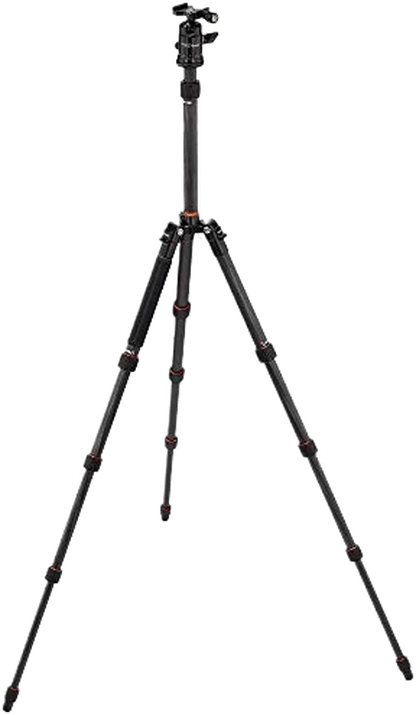
- Camera and tripod
- External flash(es)
- A telephoto lens, optionally a macro lens
- Large mixing bowl
- Water
- Milk
- Food dye
- Guar gum or xantham gum (optional)
- Medicine dropper, glass jar with a tap, or another tool to drop water
Remember, you don’t need the most expensive equipment to start the creative process. The essential factors are setting up your gear and lots of practice.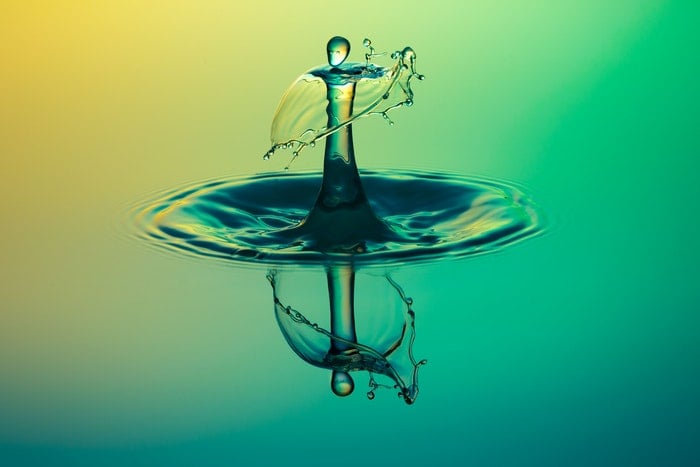
5 Steps to Create Water Drop Photography
Follow these five steps to create your own water drop photography.
Step 1: Get the Scene Ready for Water Drop Photography
Find a location for your creative photography. Your kitchen or bathroom is ideal.
You can’t avoid one or two splashes of water ending up outside the bowl. So, a place you can easily clean up will make this shoot more fun.
Fill the mixing bowl almost completely with water. Add a few drops of milk to cloud the water. There are two reasons for this.
First, milky water absorbs light better than clear water. This allows you to use your flash on a low power setting and only light up your water drop.
Second, an opaque liquid will provide a more uniform, pleasing background. The viewer’s eyes will inadvertently jump to the droplets. They won’t be distracted by a messy background.
You can also add some guar gum or xanthan gum to improve the consistency of the water. Guar gum is great for thickening the water but might leave lumps in the liquid.
And you get better results with xanthan gum. But the additives are optional.
After the milk, add some food dye to the bowl to create a unique, colorful background. Don’t add anything to the water you’ll drop… yet.
Once you’re done with the setup, you can use different colors for the water in your bowl and the dropped liquid. This creates an exciting contrast.
Read our article about color contrast if you need help selecting colors.
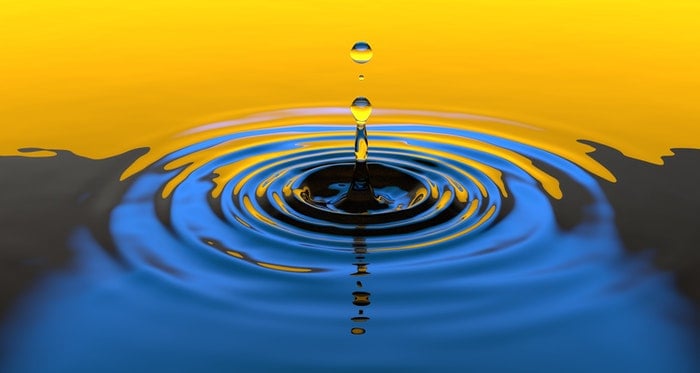
You can use a medicine dropper or a glass jar with a tap on it to drop the liquid. The latter lets you control the flow. Also, with a tap, your hands can be free, allowing you to concentrate on shooting.
When dropping the liquid, aim for the part of the bowl closest to the camera. This way, you capture only the water and the drop in the frame. It helps avoid background distractions, like the bowl.
Step 2: Position Your Camera and Choose Your Lens
Position your camera on the tripod and find the ideal angle to capture drops.
Aim it so the spot where the drops land is in the lower part of the frame. You’ll need plenty of space above to capture droplets in their flying state.
As for lenses, you can do water drop photography with a basic 18-55mm kit lens. Just make sure you zoom in all the way.
With a tight field of view, you can photograph only the part where your water drops arrive. Distracting background elements won’t be included.
Alternatively, you can choose a telephoto lens for even more subject distance to avoid splashing the lens.
If you want to go closer and get a tighter frame of the drops, use a macro lens. This creates a more dramatic effect.
Choose a longer focal length for the same reason as above. In the photo below, Josh used a Canon EF 100mm f/2.8L IS macro lens.
When you position your camera, keep in mind that you will be dropping water for a while. So check that your camera and tripod are stable.
And ensure you can comfortably reach everything in the setup. And again, make sure you protect your device from splashes.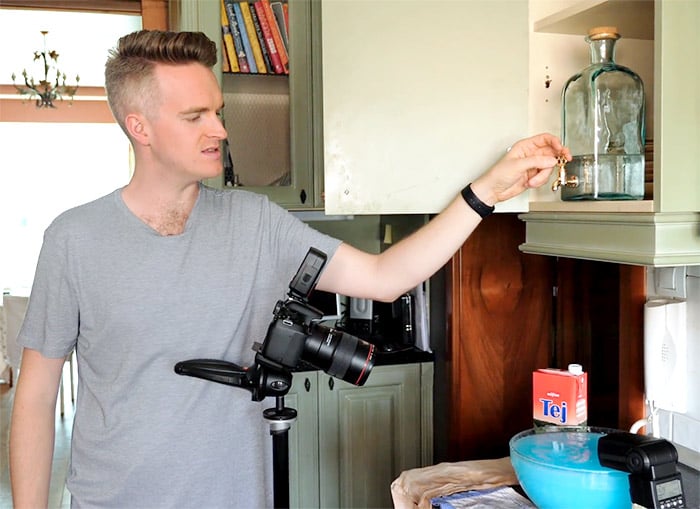
Step 3: Set up the Flash Gun(s) and Choose Camera Settings
You will need an off-camera flash you can trigger remotely for this project. Any standard flash or speedlight with a radio trigger will do it. If you don’t yet have one, we suggest the Godox TT600.
You won’t need any modifiers to photograph droplets. All you want is a spot of light. You can use color gels to change the color of the light, but it’s perfectly fine without them.
Setting up the camera and the flash involves two phases. First, you need to reduce the ambient exposure to pitch black. Then, you need to add the flash and relight the scene.
Ambient Exposure Settings
We must remove all ambient light for the effect to be dramatic and interesting. So, the only thing that will remain is the light from the flash.
To achieve this, turn on Live View on your camera. Make sure that the exposure simulation is on so your changes to the exposure are visible. You can also check the histogram.
Set your ISO to the lowest possible. (ISO 100 on the camera I used.) Set your shutter speed to 1/200 s. DSLRs can’t go much faster than that with a flash.
Then, use your aperture to block out all remaining light. If you’re uncomfortable setting it too high, use an ND filter to further darken the ambient exposure.
Shoot a test image and check your histogram. If you’ve done the process correctly, you should see a single spike on the very left.
Focusing
Next, switch your lens to manual focus. We’re working with high f-stops in this instance. So you don’t need to worry about focusing too much. But setting your focus correctly is crucial.
Focus on the spot where droplets will fall. Turn on the tap or use the eye-dropper to check the exact area.
Freezing the Motion
You might wonder why we only use a shutter speed of 1/200 s. Surely, that is too slow to freeze the motion of a falling droplet… And you’re right.
But the shutter speed will not freeze motion when using a flash and zero ambient exposure. The duration of a flashgun flashing is much shorter, around 1/800 to 1/1000 s.
And, of course, the sensor will only record anything when there’s enough light on the subject. This means that even if you use a 1/200 s shutter speed, the freezing effect will be similar to 1/800 s.
Setting up the Flash
Then, connect the trigger to the camera. Turn on both the flash and the trigger. And place your flash right next to the bowl.
Point the flash toward the spot where droplets land. Zoom in with the flash fairly tightly so it focuses the beam to a small spot. Ideally, choose a setting above 100mm on the flash.
Ensure that the flash head leans slightly above the edge of the bowl and doesn’t scatter light on it. Otherwise, the entire bowl will light up. And we don’t want that.
Switch the flash to manual mode. This is important, as we don’t want the flash to change exposure with every other shot.
Fire a few test shots and set up a correct exposure with only the flash. In our experience, a power setting between 1/128 and 1/64 s works well.
At this point, you’re done with the setup. There’s a slight chance you accidentally changed focus during this last step. So, check it again. Generally, it’s beneficial to check focus frequently.
Step 4: Start Shooting the Water Drops
The hard part is over. So let the fun begin!
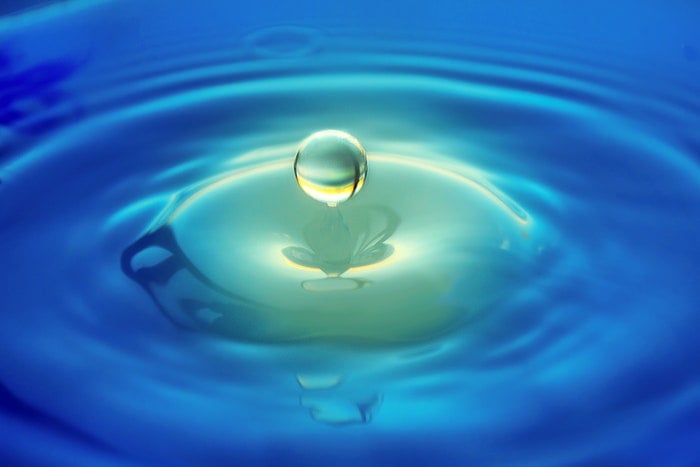
Take a few test shots by dropping only clear water first. This allows you to check again if your setup is fine.
Then, add the food dye and a little milk to the water you are dropping. Try to take as many pictures of the drops as possible before the two colors mix.
After you start dropping the liquid, keep going until your pipette or tap runs out.
Don’t worry too much about trying to estimate when the drops will land. Using burst mode ensures you capture the drops without even looking.
The biggest skill is not shooting the drops but setting up the scene. When you’ve done that properly, the shooting is easy.
You can also increase the speed of the drops to create different effects. As the liquid starts falling quickly, the landing drop might splash into the next one, and the two drops create various forms.
You may end up with shapes of towers, crowns, or mushrooms!
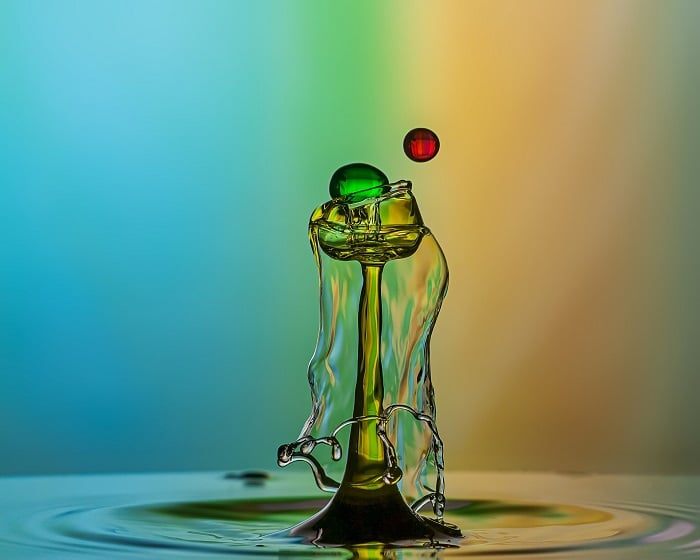
Water drop photography by Mohamed Labib
Step 5. Finish Off Your Water Drop Photography in Post-Processing
Enhancing photos with image editing software can get the best results. There are both paid and free editing programs.
Crop your photos if anything doesn’t fit in the composition. Adjust the contrast, brightness, and highlights if you need to.
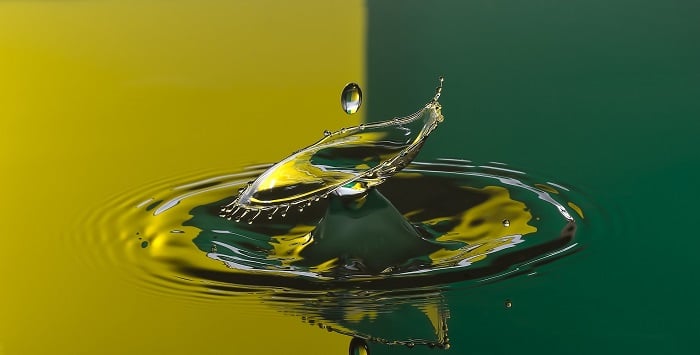
You can also erase unwanted bubbles or elements from your photos. Or you can clone two drops to create different forms.
You could also increase the saturation if the food coloring isn’t vivid enough. If you don’t like the colors, you can even turn the photos into black-and-white images.
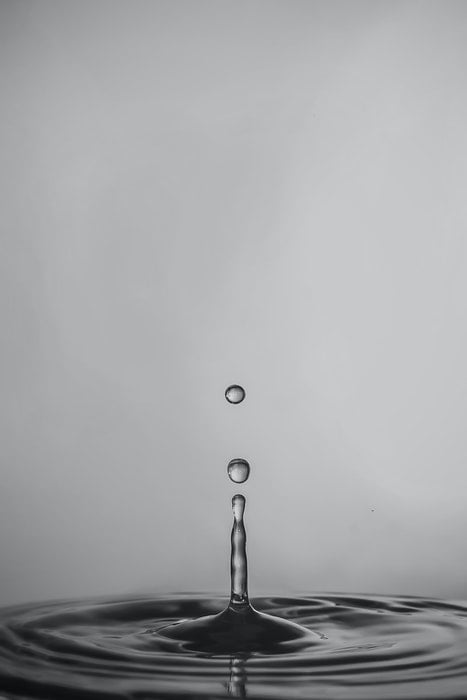
Conclusion: How to Create Water Drop Photography
Once you master the setup, water drop photography is a great way to explore your creative ideas. Change the colors, mix different liquids, or use a gel flash to create different moods in your photos.
Don’t be afraid to experiment and take hundreds of shots until you get the hang of it!
Examples of Water Drop Photography
Water drop photography is one of the topics we cover in our creative photography course, Wow Factor Photography. Below are some of the photos taken by our students.
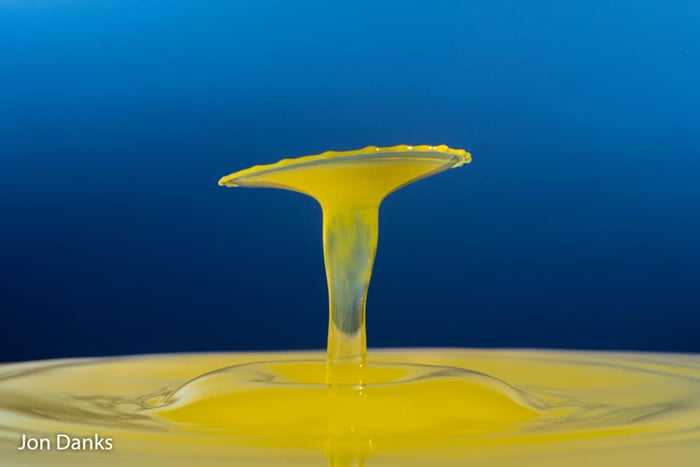
Water drop photography by Jon Danks
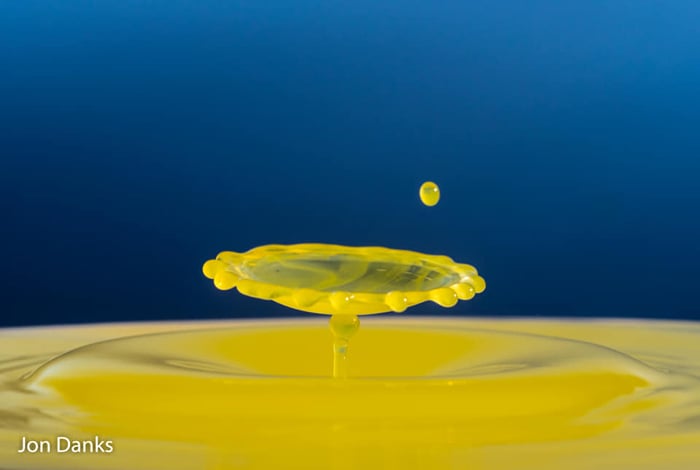
Water drop photography by Jon Danks
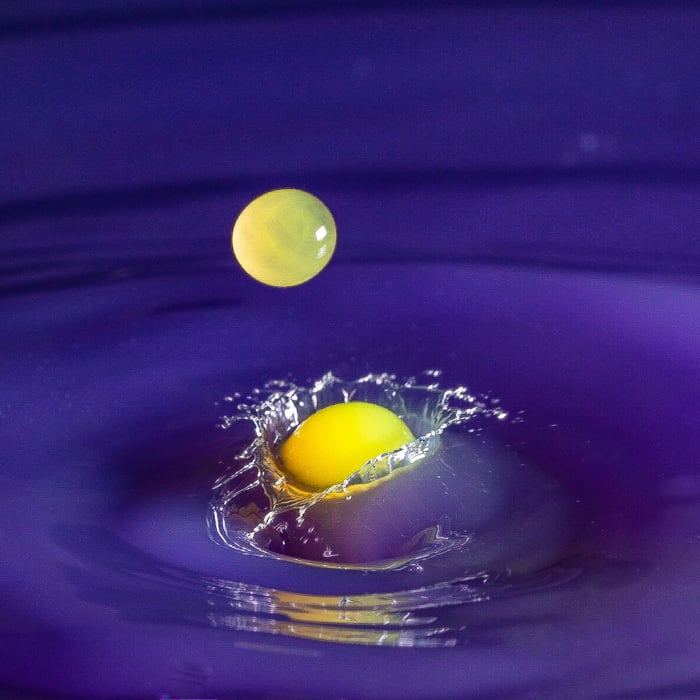
Water drop photography by Ruby Jutleay
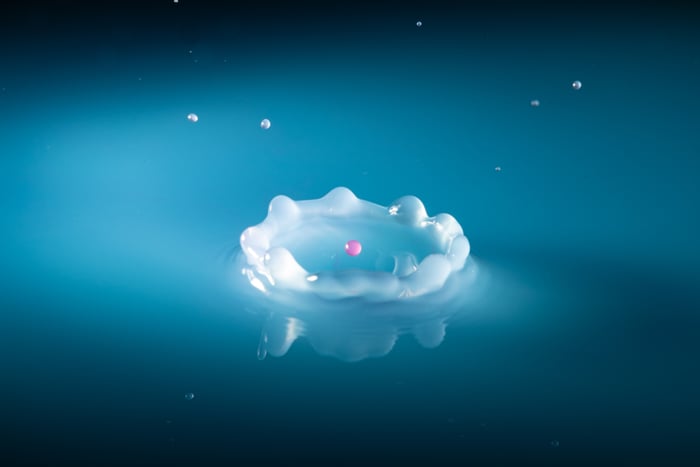
Water drop photography by Donna Schapansky Marshall
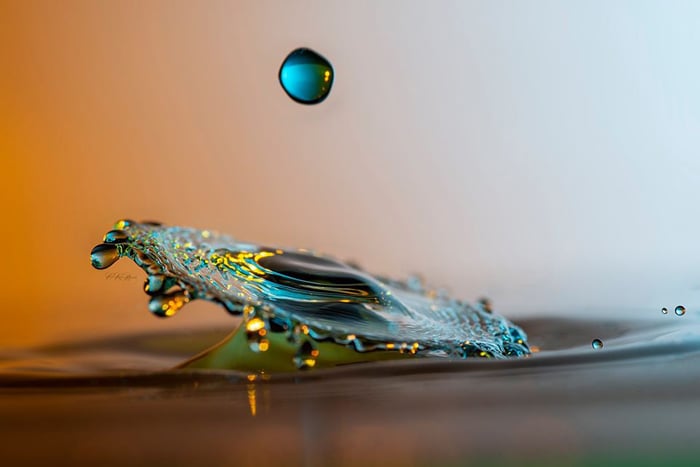
Water drop photography by Debbie Fenton
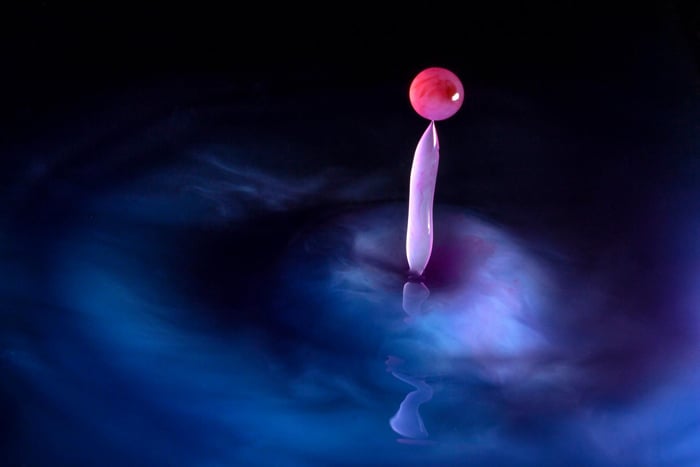
Water drop photography by David Atkinson
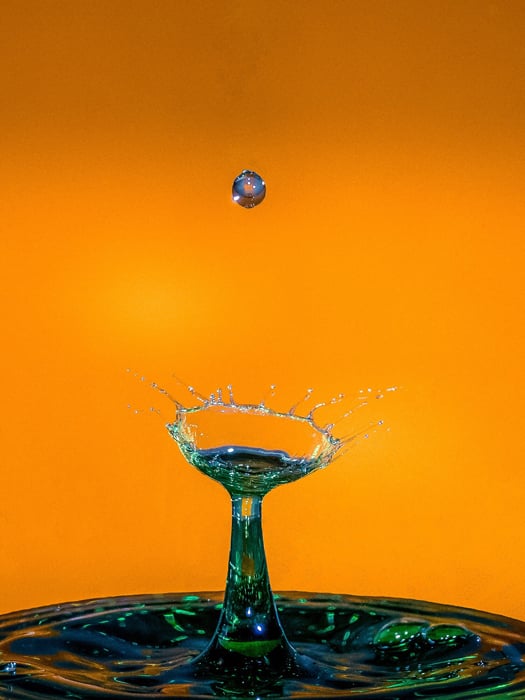
Water drop photography by Romeo Villanueva
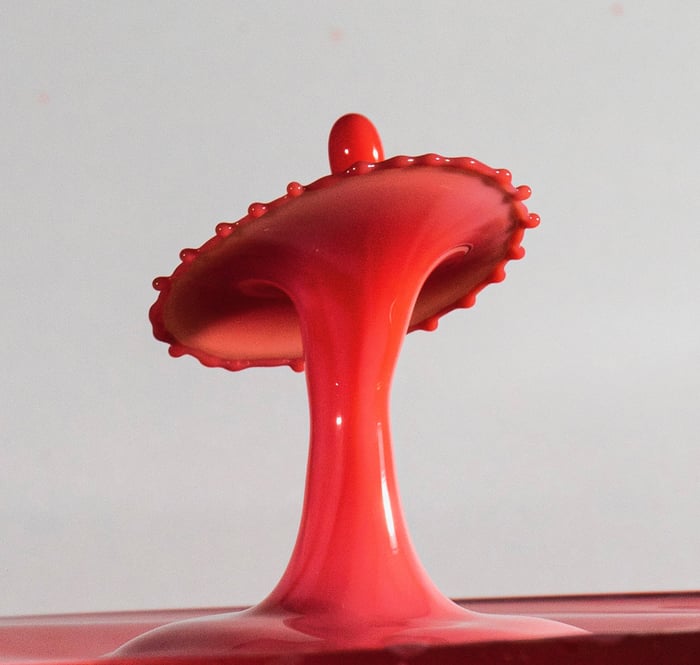
Water drop photography by Marc Morgan
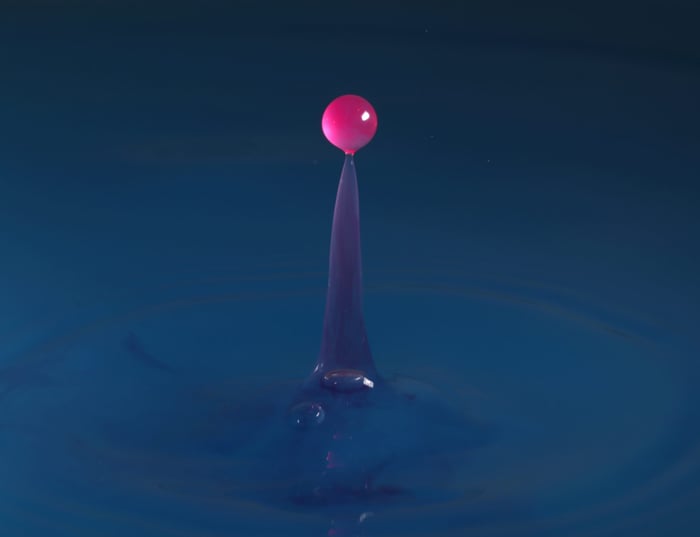
Water drop photography by Veronica Jimenez
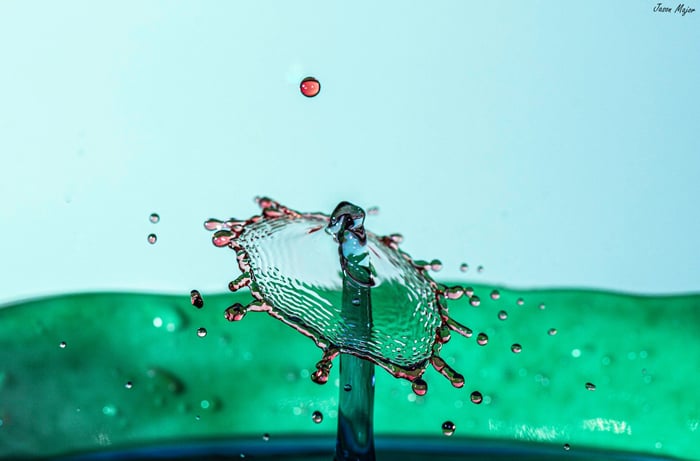
Water drop photography by Jason Major

