If you’re looking to take photos of your beloved pet, there are a few camera settings you’ll want to keep in mind. In this article, we’ll go over the best camera settings for pet photography. So whether your pet is a dog, cat, rabbit, or any other animal, read on for some helpful advice!
Let’s start with the basics. Exposure is the brightness or darkness of a photograph. Every photographer strives to achieve what is known as ideal exposure. That’s an image that has the right amount of brightness to it!
In an ideal exposure, your whites still have details and your blacks aren’t too dark. If your whites are too bright, your image is overexposed. If your blacks are too dark, it’s underexposed.
Exposure is made up of three key components: ISO, Aperture, and Shutter Speed. This is basically the formula, all three of those added together equal your exposure.
But what do they all mean?
The ISO is your camera’s sensitivity to light. The lower the ISO number, the less sensitive the camera is to light (but the less noise the photograph has).
The higher the ISO number, the most sensitive the camera is to light (but the more noise the photograph has). Noise happens because the camera is trying to fill in information that it does not know.
This is why something that is completely black may have red, green, and blue speckles. The camera is trying to fill in the missing information.
ISO is the numbers on your camera that range from 100 – 126000 and higher.
The aperture is the window in the lens that controls how much light does (or doesn’t) hit your sensor. It’s a hole really. I like to call it a window because it can ‘open and close its curtains’ in order to control the light impact.
The aperture mimics how the eye works. Think of a cat. When a cat is sitting in the dark, its pupil is very wide and round. Nature intended this to allow the cat to use the available light in order to expose the scene and see in the dark.
When a cat is sitting outside in bright sunlight, the pupils turn into a very narrow slit in order to let less light in. That way the cat can see the whole frame without the light being too bright!
The aperture also has a secondary use. When this window is wide open, something changes in the depth of field. It gets more shallow.
Depth of field is how much of your image is in focus. A deep depth of field indicates that both the foreground, subject, and background are in focus (and not blurred).
A shallow depth of field is when just the subject is in focus and everything else blurs away.
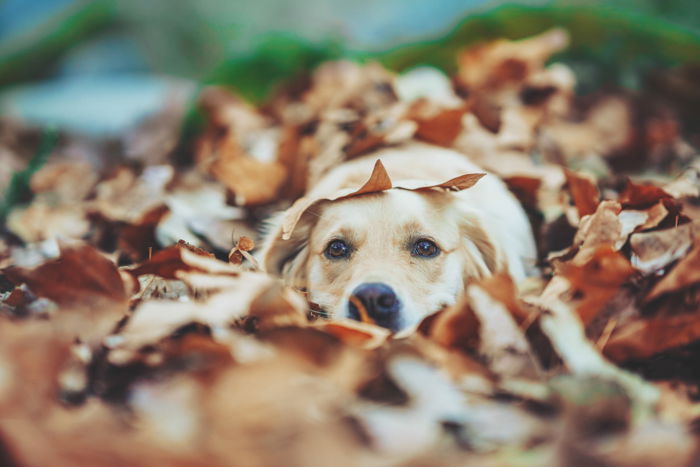
The shutter speed is how fast your camera takes the photograph. The higher the shutter speed number, the more frozen the action will be (but the photograph will be darker).
The lower the shutter speed number, the more motion blur your photograph will have (but the photograph will be lighter).
Shutter speed is the numbers on your camera that range from 1/-15 to 1/8000. 1/2000 – 1/4000 are the best to freeze action. 1/300 is great for portraits. Anything lower than 1/100 will begin to slow the camera down a lot.
Now, to break down the tricky aspect of it all. All three of these individual components make an image darker or brighter individually. It’s good to keep the following in mind.
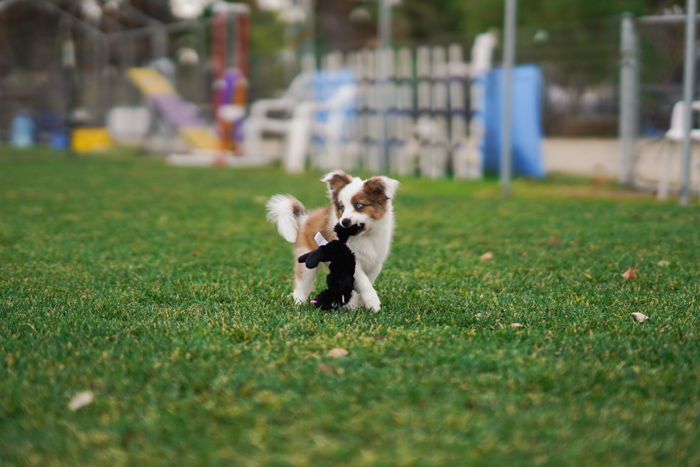
The ISO controls light sensitivity, the shutter speed controls motion, and the aperture controls depth of field.
So, how can you use this in the field?
The easiest way to both practice exposure and to find the right exposure for your photo shoot is to eliminate one factor and only focus on the other two.
Set one of the three components at the level you need it to be at and work the other two around that.
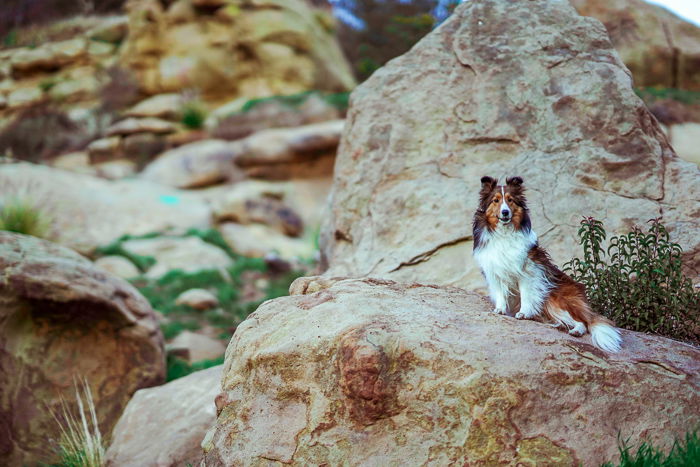
For the most part, I use my aperture as my baseline. I prefer very shallow depths of field, so therefore I leave my aperture open all of the time.
As mentioned above, a wide aperture equals a brighter image. My ISO and shutter speed now need to be adjusted accordingly.
You’ll want your ISO at a lower level. Depending on the kind of photographs you are capturing, your shutter speed will either be fairly high for action or in the mid-range for portraits.
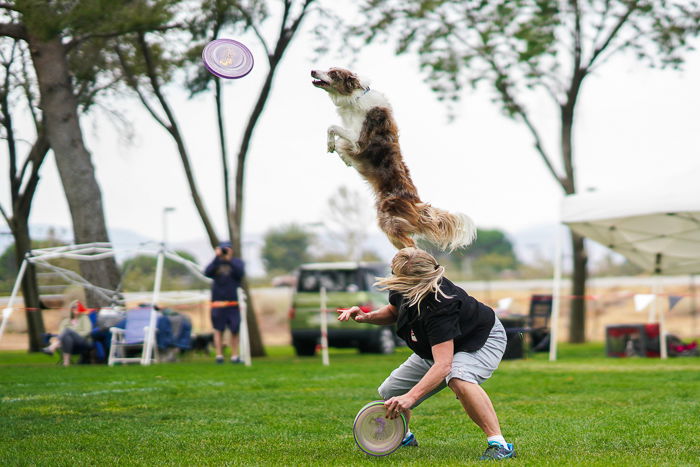
If you’re photographing dog sports that feature lots of action and moving objects, you’ll want to have a different baseline. Your baseline will be your shutter speed, as that controls motion.
You then adjust your ISO and aperture to account for higher shutter speeds equating to darker images.
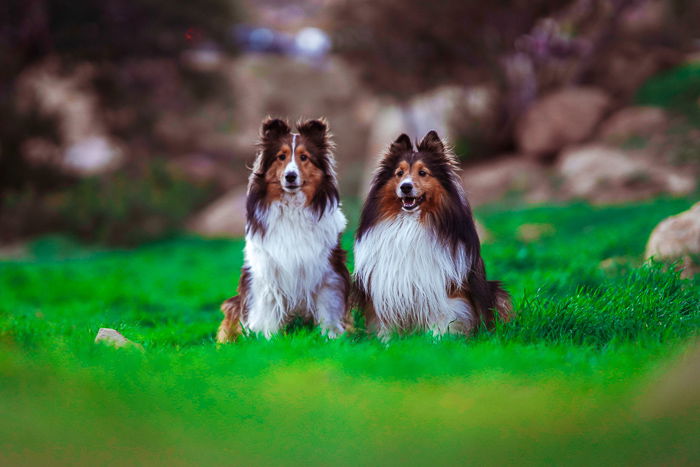
It’s okay to chimp in order to figure out if you’re exposing properly. Chimping is a photography term given to checking your camera review screen in between taking photographs.
Some photographers like to be a bit mean to others about it, which is pure silliness. You should be checking your camera LCD, especially with a client, to ensure you’re capturing the images properly.
All cameras have a light meter in the display when you look through the viewfinder, whether it be electronic or not, or use the LCD screen.
This meter is just a little line with numbers and marks on it, along with an arrow that moves up and down.
The ‘ideal’ exposure can be found in the center point of the line, everything to the left is too dark and to the right is too light.
The arrow will move from side to side and settle somewhere depending on how your adjustments to one of the three components changes the exposure of the image.
Use this line as a guideline. It is not perfect and it is not a tell-all, so don’t rely on it exclusively.
Here is an exposure guide for some of the most common circumstances you’ll likely find yourself in as a pet photographer!
The type of equipment you use will also affect your exposure settings. Every lens has a different aperture width (F-stop on the lens barrel).
The smaller the number, such as f/1.2, the wider the aperture. The larger the number, such as f/22, the narrower the aperture.
Every camera body is different as well, cameras have different maximum ISO levels, different performances at the same ISO levels, and have maximum shutter speeds.
The combination of equipment you use will be affecting how you handle the three components to the exposure formula.
Look at the below information as a general aid that you will then tailor to your specific tools.
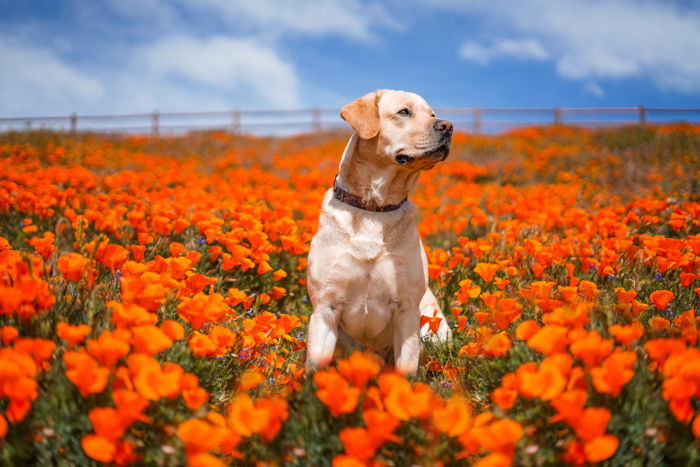
Most people who don’t do photography think that the ideal is a bright sunny day! But once you start actually taking pictures, you’ll find that sunny days are the most difficult to work with.
The sun acts as a super bright spotlight and it is directly overhead. Ideal spotlights are placed at eye level or lower and aimed upwards.
This causes shadows that you may not want. And the shadows are super dark while the highlights are super bright. But fear not, there are ways to expose for this.
Firstly, your goal is going to be to dim the super bright frame caused by the sun. If you’re like me and want a shallow depth of field, set your ISO as low as it can go. The lowest in DSLRs is 100 primarily and the lowest in mirrorless systems is 50.
Set your shutter speed as high as it can go (for the most part, the fastest shutter speed is 1/8000). See how the exposure looks from there.
Then adjust them accordingly. In some situations, it may be too dark.
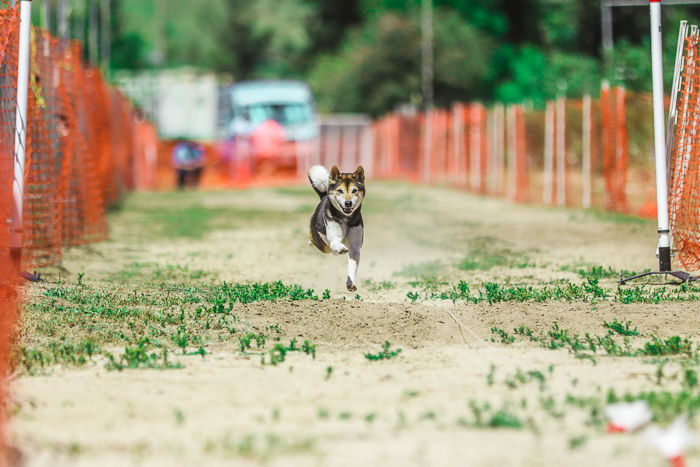
If you’re doing portrait photography for pets, you have leeway to keep your ISO as low as possible and just lower your shutter speed.
If you’re photographing action, you’ll want to prioritize having a fast shutter speed. You might need to raise your ISO a bit higher (which is okay).
On nearly all cameras (whether you have a Nikon, Canon, or Sony), the ISO won’t start showing any form of noise or quality loss until much higher levels. For shutter speeds for action, anything about 1/2000 tends to be great.
If you pair your lens with an ND (neutral density) filter, you’ll be able to work with extremely wide apertures in the brightest of days.
Neutral density filters are filters that can modify the amount of light that enters your camera. This allows you to shoot at your desired aperture without worrying about it being too bright outside.
ND filters make life a thousand times easier if you have to photograph a white or light colored pet outside in bright sunlight! Or to be able to shoot with a very low aperture number during the noon sun.
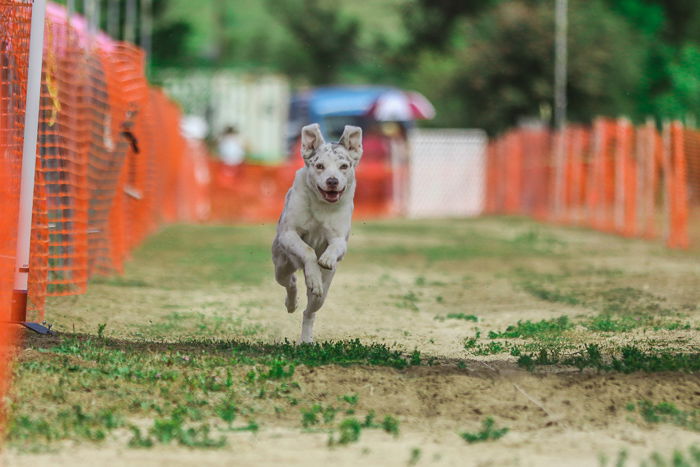
This brings me to my next point, pet colors. For animals colored in any color besides white or black, the exposure will be pretty even and fairly easy to achieve.
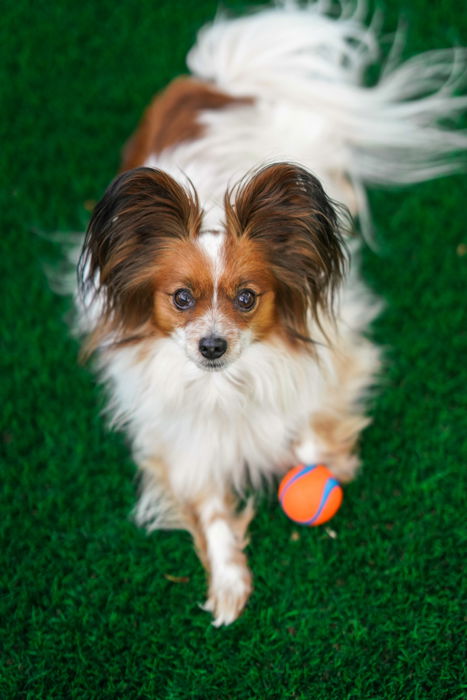
If you’re photographing an all-white dog or an all-black dog, life might get a bit more difficult. For a white dog, you’ll want to underexpose and darker your frame a bit more. A black dog will need to be slightly overexposed and lighten the details of the fur.
If you’re capturing a pet that has both black and white on them, choose the predominant color and the color most seen on the face. Keeping faces bright is a big component of animal photography. Viewers relate with the face more than anything else.
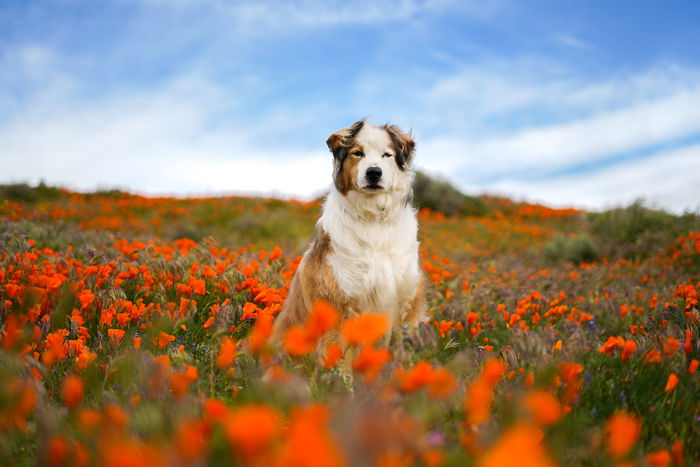
Cloudy days are akin to a massive softbox placed over the sun. The light becomes diffused and spreads very easily. You won’t be plagued with harsh shadows and highlights, and everyone will look very soft.
If anything, this is kind of a perfect blank canvas for photo editing. The colors may be a bit more muted, but this is an easy fix in post.
You should care more about your shadows and highlights. That’s more difficult to fix.
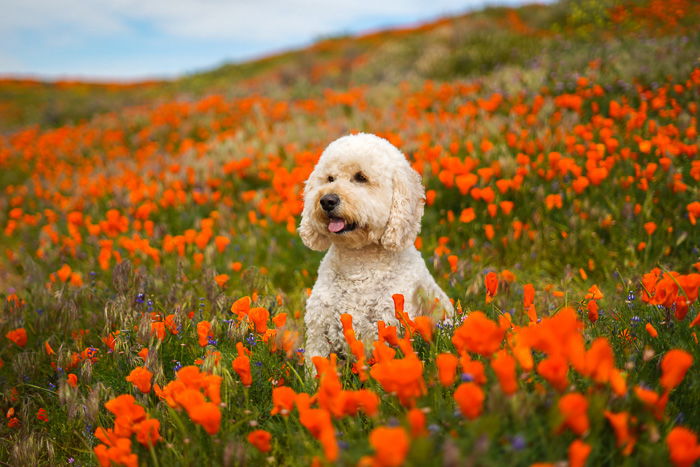
For cloudy days, I tend to keep my settings all fairly even. Middle ground with ISO, middle ground with shutter speed. There is a lot of leniency with high shutter speeds or high ISOs.
Don’t be afraid to sit in the ISO 400 range and shutter speed 1/3000 range. That’s a good combination. Pair with a wide aperture and you are golden.
I can usually keep these numbers even with an aperture of F/2.8.
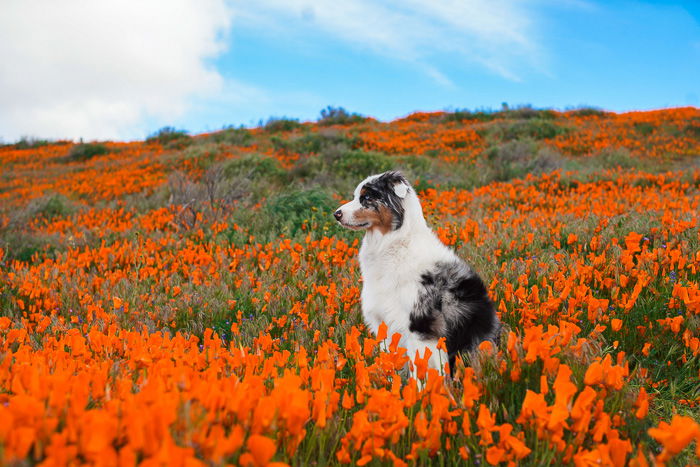
Pets that are very light colored or dark colored stop being a problem as well!
Keep in mind that if the sky is too cloudy, you won’t have a sunset hour. The world will simply get dark very, very fast.
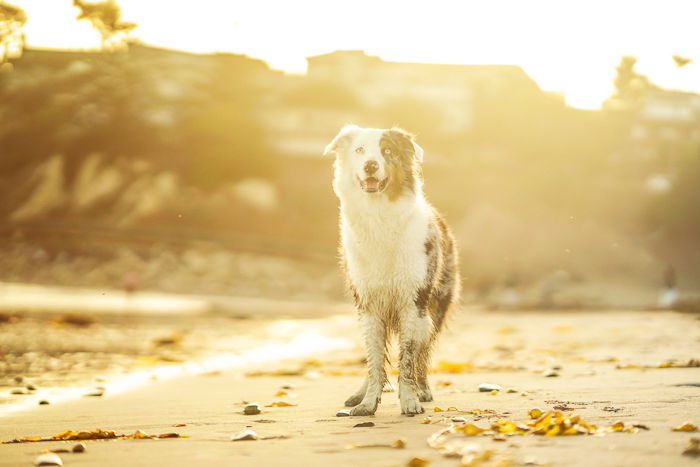
The golden hours include the first hour after sunrise and the last hour of light before sunset. What makes this lighting situation so ideal for photography is the sun’s positioning relative to what you are photographing.
Due to the sun beginning its speedy rise or setting in the sky, the light source is now closer in relation to your subject. It is also going through more of the earth’s atmosphere at this low angle.
When this occurs, soft diffused light is produced. The golden hour casts a warm color temperature as well. You can enhance or correct this via post-processing in Lightroom or different software.
This warm color lends itself to being a flattering illumination upon any subject of your choosing.
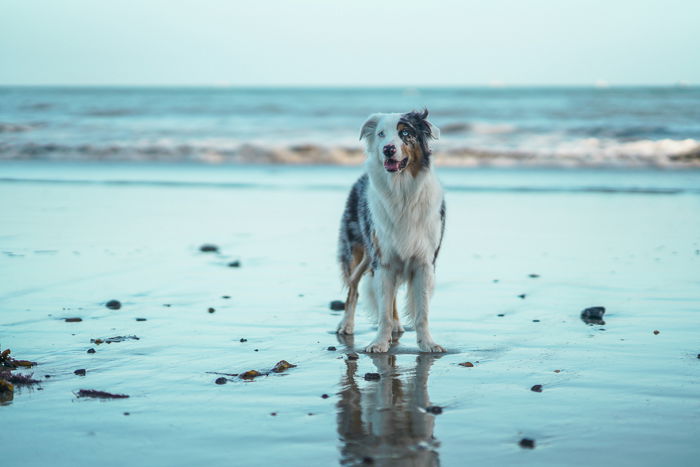
You can adhere to cloudy day exposure guides. You’ll want to dark your frame just a bit (lower ISO level) at the beginning of the golden hour. And then raise your ISO levels slowly as the golden hour nears its end!
Remember, you have a short window, so work fast.
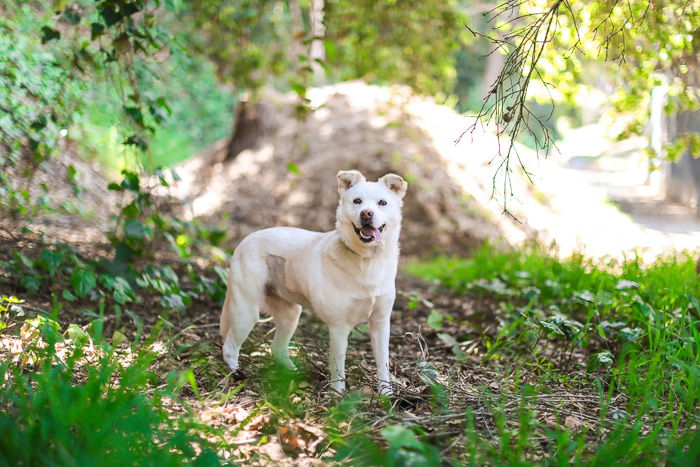
Sometimes your lighting is uneven, or spotty. There are lots of shadow spots, maybe due to a tree, and lots of bright ‘hot spots’ (due to no cover).
Much like exposing for a pet that has both bright and dark colored fur, you need to prioritize one or the other.
Prioritize whatever part the pet is standing on. If the pet is in the shadows, expose for the shadow, and vice versa!
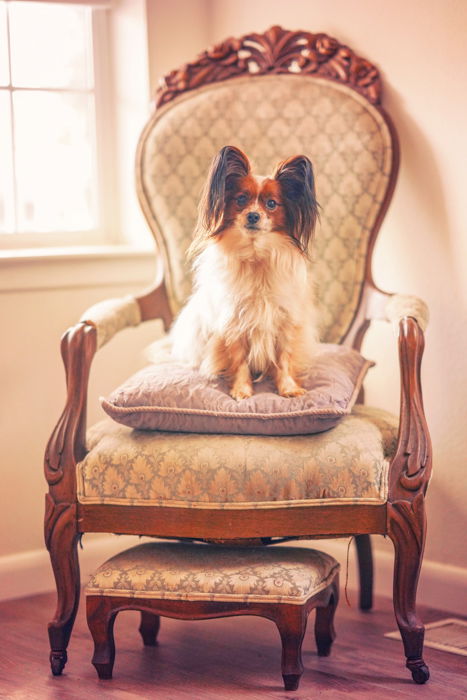
Indoor lighting is where things can get a bit trickier. You don’t have the sun to base your exposure off of, indoors, everything tends to be much darker or in low light.
You’ll be working with high ISO levels and lower shutter speeds.
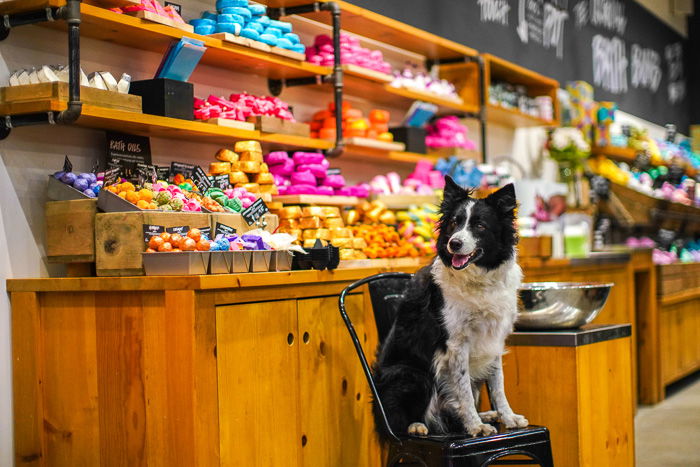
Most indoor lighting tends to be a form of fluorescent or tungsten and can run pretty warm. The warmth of the lamp will darken your frame. Especially if you’re shooting at night with less natural light from a window.
This is where the kind of pet portraits you’re capturing really matter. If you’re doing portraiture, you’ll have your shutter speed likely fairly low, like, around the 1/400 – 1/800 range.
This is in order to keep your ISO as low as possible so that noise doesn’t come out. Your ISO will likely still linger around the 1000+ range.
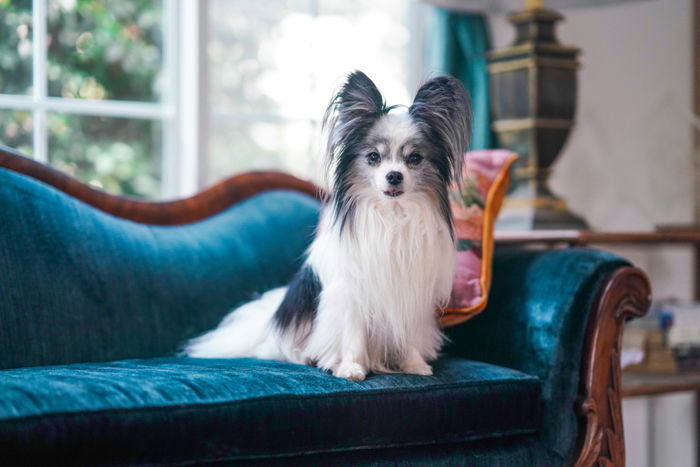
If you’re capturing action, things get a bit harder. You will still need to prioritize your shutter speed in order to freeze the frame. As such, your ISO will rise.
The nifty trick about shutter speed is that if you pair it with burst mode / continuous shooting mode on your camera settings, you can actually lower it a little bit. Just make sure to shoot in burst (multiple images in a row)!
Generally, you’ll want your shutter speed higher than 1/800 for true action shots.
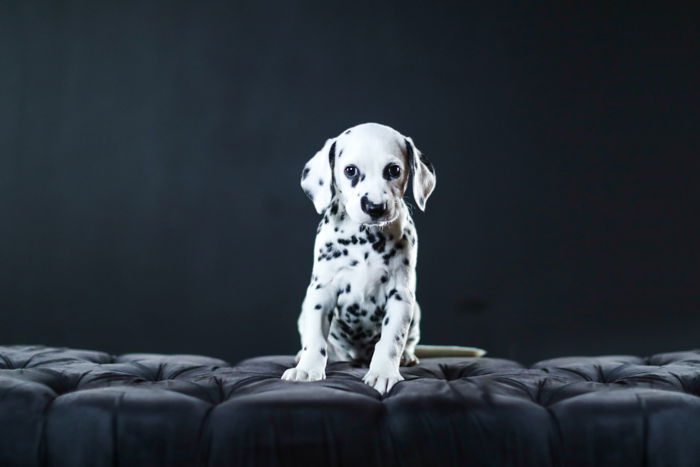
If you include a studio light, everything will be a lot easier for you. The studio light (or multiple lights) can brighten a room to whatever level you need to achieve a perfect exposure.
At that point, you don’t even need an exposure guide from us. You can set your exposure to exactly what you need and either brighten or dim the lights to fit your need.
If you’re shooting with strobes or flashes, your shutter speed will be limited. You don’t want the camera to take a photograph faster than the strobe can flash!
Usually, your shutter will be limited around 1/250 max. Continuous lights don’t have this issue.
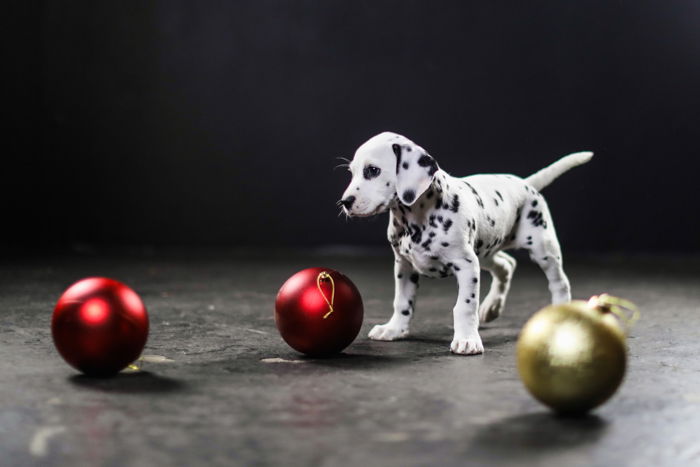
Much of exposure really is dependent on your own individual circumstance and toolkit. We hope that these photography tips can help you find the right settings that suit your needs!
