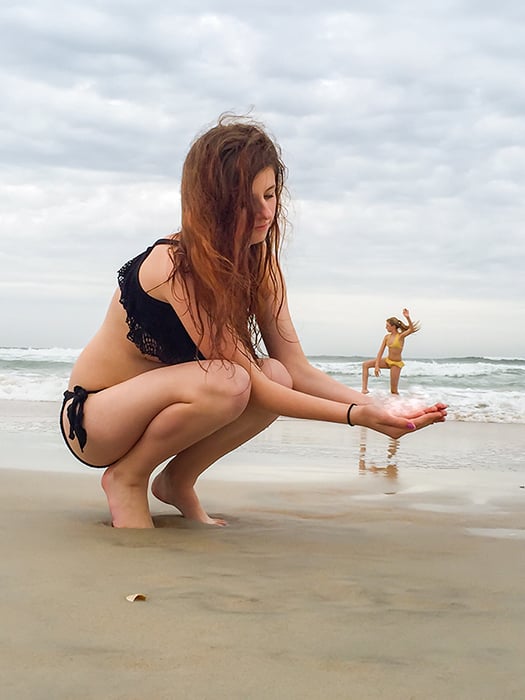
Forced perspective photography uses distance and alignment to make separate objects appear to interact. A hand close to the camera can seem to hold a distant building, while a toy in the foreground can look larger than a person behind it. The illusion comes from the camera's viewpoint; you do not need to combine photographs to create it.
Below, you'll find a simple setup to try first, followed by 18 ideas and tips. Most work with a phone or the camera and lens you already have.
How to Take Your First Forced Perspective Photo
Try making a friend look small enough to stand on your hand:
- Choose an open space with a simple background. Have your friend stand several steps away.
- Hold your palm close to the camera, below your friend's feet in the frame. Keep enough distance between your hand and the lens for it to focus.
- Watch the screen as you raise or lower your hand until your friend's feet meet your palm. Ask your friend to move farther away if they look too large.
- Keep the camera still and check focus on both your hand and your friend. Take a test shot, then enlarge it to check the edges and sharpness.
- Make small adjustments and shoot again. A gap below a foot or a finger crossing the wrong place can reveal the trick.
For smartphone perspective photography, start with the normal Photo mode. Turn off any Portrait-mode background blur for an illusion that needs both subjects sharp. If one subject stays blurred, move the near object farther from the lens, then adjust the other subject's position to restore the scale.
18 Forced Perspective Photography Ideas and Tips
Use the photographs as starting points. Some change apparent size; others use alignment, rotation, or selective focus to create a related optical illusion.
1. Study a Giant or Tiny Person Photo
Look at how the photographer has used perspective in photography. Which part is closest to the camera? What has been hidden outside the frame?
To make a hand or shoe look enormous, bring it close to the lens and place the person's face farther away. Compare the relative sizes on screen. If you want more creative photography ideas, study a few different scenes and sketch your own version before shooting.
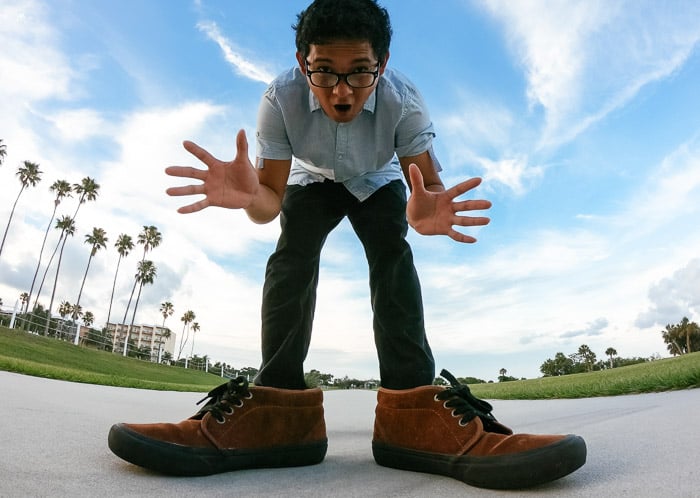
© Chad Verzosa
2. Plan an Upside-Down Scene
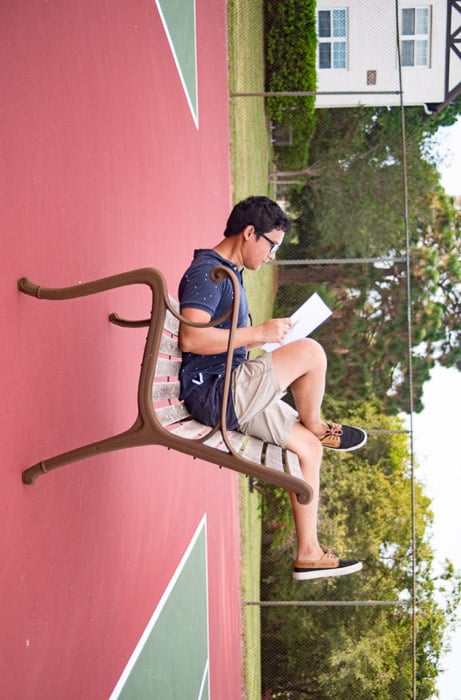
Decide what the viewer should believe before you arrange the scene. For an upside-down bench illusion, look for shapes that still make sense when the image is rotated. A pose or loose item that clearly reveals gravity can give the game away.
List the props you need and choose a place where you can work without blocking others. Plan your camera angle, then position the person to suit it. A safe pose on level ground is enough to start experimenting.
© Chad Verzosa
3. Test a Simple Setup at Home
Use two household objects before asking someone to hold a difficult pose. Place a mug near the camera and a small figure farther away. Move the figure until it appears to stand on the rim.
Keep the camera in one position while you adjust the objects. This separates two problems: changing distance changes apparent size, while moving up, down, or sideways changes alignment. Once the setup works, try the same process with people.
(Envato.com)
4. Choose Your Viewpoint Before You Zoom
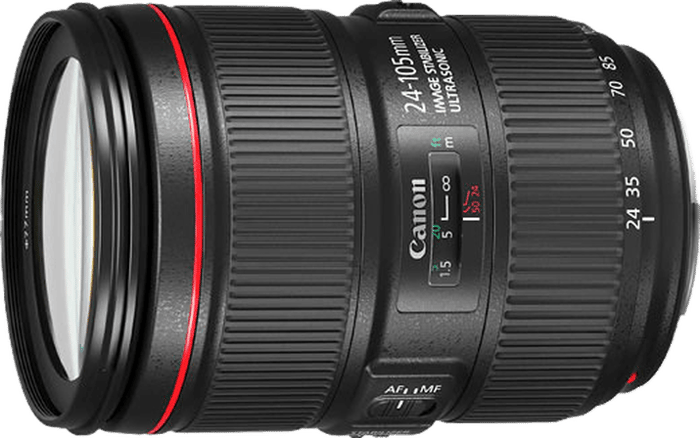
A zoom lens lets you tighten or widen the framing without walking forward or backward. That is useful after you have lined up the subjects. A prime lens also works; choose a position that fits the scene within its view.
Zooming from the same camera position does not, by itself, change the relative size of a near object and a distant one. To change that relationship, move the camera or one of the subjects. Then refine the framing with your zoom lens.
There is no universal 35mm minimum for forced perspective. A wide-angle lens can be useful when you want a large foreground subject. Watch for stretched shapes near the edges, and keep the important interaction nearer the center if those shapes distract from the illusion. Our prime-versus-zoom guide explains the practical differences.
© Chad Verzosa
5. Set Focus and Aperture for the Illusion
When a near prop and a distant person must appear to touch, both usually need to look sharp. In Aperture Priority, try f/8 or f/11 as a starting point, then inspect a test shot. These settings do not guarantee enough depth of field.
Adjust focus and compare both subjects at magnified playback. If one remains soft, move the nearest object farther from the camera and rebuild the alignment. You can also test a smaller aperture, but very small openings increase diffraction, which can soften fine detail. It is a tradeoff, not a rule that begins at f/22.
Watch the shutter speed even in Aperture Priority. The camera selects it, but it may be too slow to prevent motion blur or camera shake. Increase ISO, use more light, or steady the camera as needed. A tripod reduces camera movement; it cannot stop your subject moving.
For the light-circle idea in tip 8, a shallow depth of field is intentional. Open the aperture and keep the prop sharp while the distant lights blur. This is a different goal from keeping both subjects sharp.
© Angela Bailey (Unsplash.com)
6. Give Your Partner Small, Clear Directions
Show your partner the intended picture before asking them to pose. They cannot see the alignment from your viewpoint, so directions such as “raise your hand a little” work better than “move over there.”
Adjust one thing at a time: the person's position, their pose, or the camera height. Once the edges line up, ask them to hold still for a short sequence. Show them the result so they can help improve the next attempt.
You can work alone with stationary props. A partner simply makes setups with people easier.
(Envato.com)
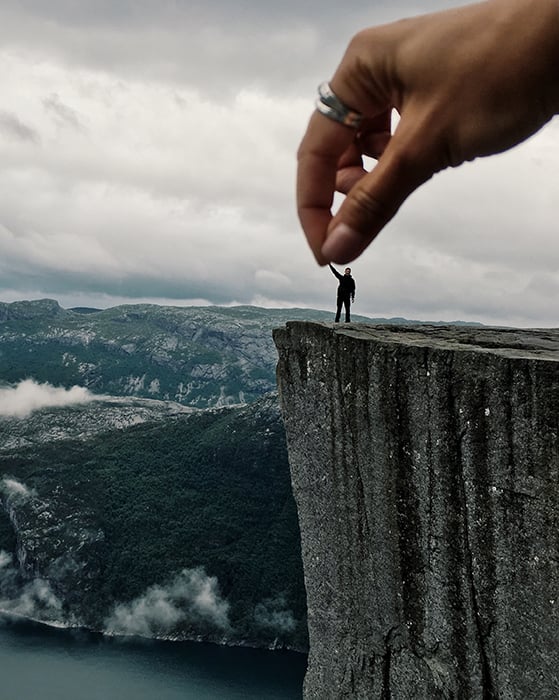
7. Turn a Helping Hand Into a Visual Story
A large hand appearing to help a tiny person suggests support without needing a caption. Put the hand near the camera and the person farther away, then align the fingertips with the person's outstretched hand.
Use the same approach to build other visual stories: a person pushing a huge object or reaching toward something out of scale. Choose one clear action. Extra gestures and props can make the scene harder to read.
(Envato.com)
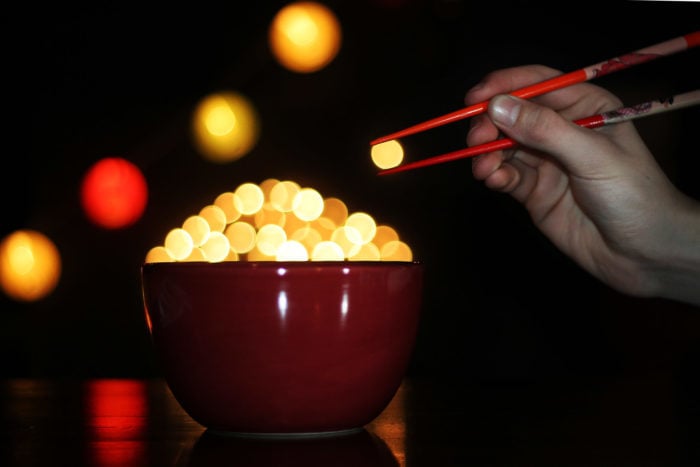
8. Pick Up a Circle of Light
The chopstick photograph below uses out-of-focus lights as if they were solid objects. Place your prop in the foreground with small lights farther behind it. Focus on the prop and use a wide aperture to turn the lights into soft shapes.
Move the prop until its tips surround one light circle. Check the result after each adjustment because changing focus can also change the appearance of the blur. Our bokeh guide and custom bokeh project explain more ways to shape out-of-focus highlights.
© Trevor Larson (Flickr.com)
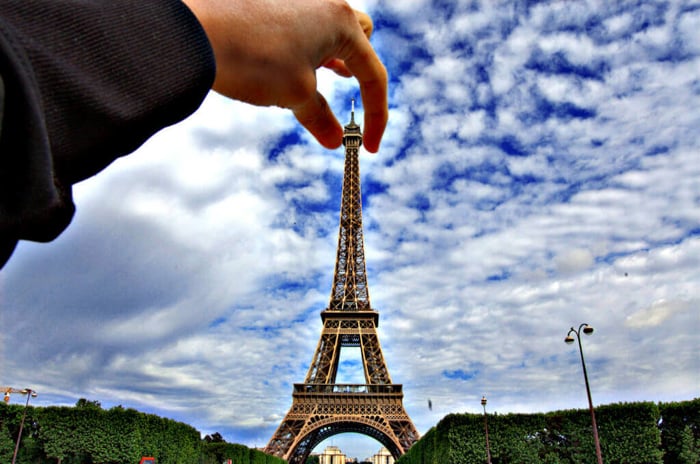
9. Hold a Landmark Between Your Fingers
Place the person closer to the camera than the landmark. Ask them to hold a hand where the building should appear to rest, then move the camera until the two meet in the frame.
Check the contact point first. A palm that misses the base or fingers that overlap the wrong side break the illusion. The foreground and background need to line up in the photograph; they do not need to be physically parallel.
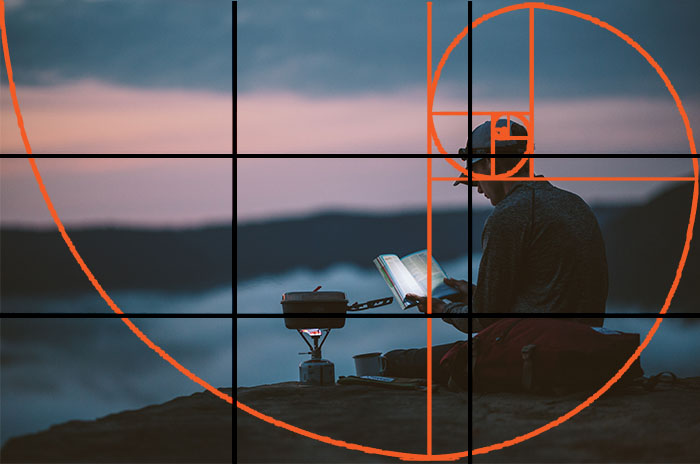
After the illusion works, refine the wider composition. The basic composition rules, a grid, or the rule of thirds can help with balance, but do not move a well-aligned hand just to put it on a grid line.
Vincent Lock (Flickr.com)
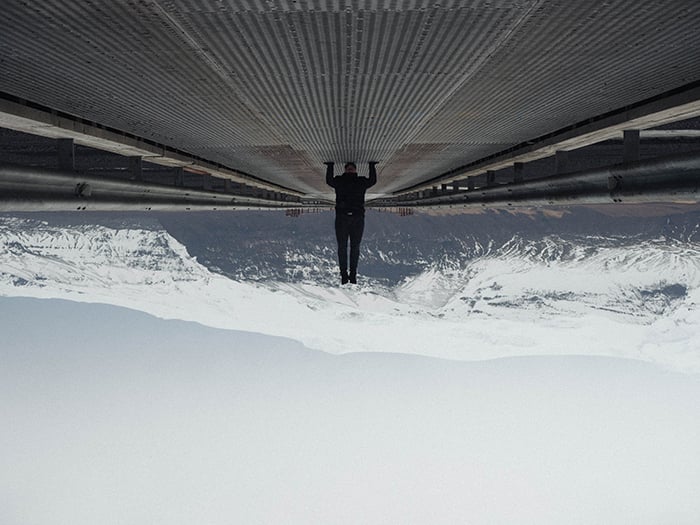
10. Rotate a Corridor or Pavement Scene
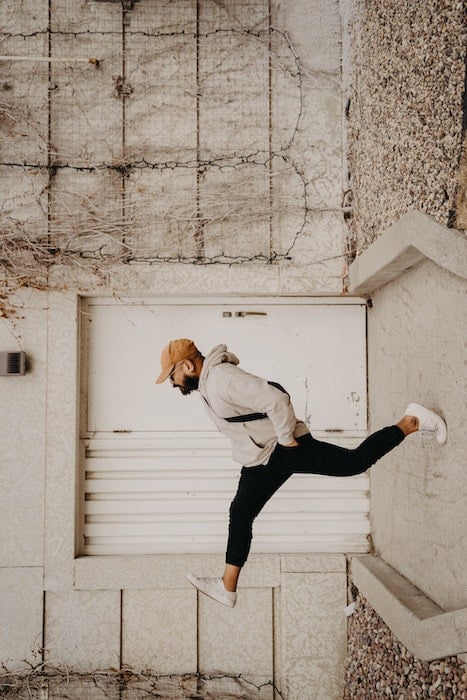
A change of viewpoint can make an ordinary surface hard to recognize. Try framing a corridor so the usual clues about floor and ceiling are less obvious, then rotate the photograph to explore the effect.
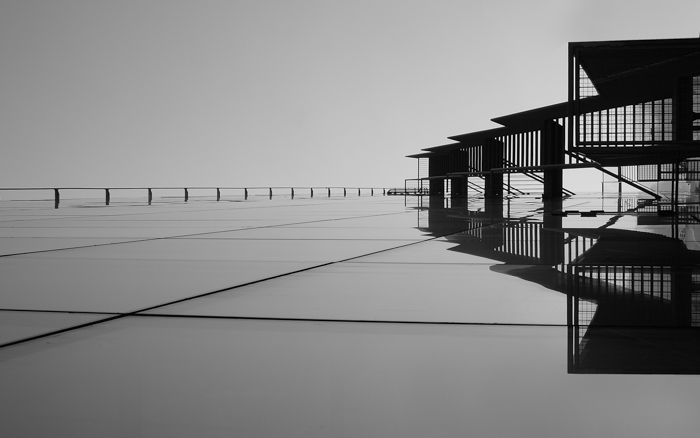
Choose your angle for the specific illusion. A low view can hide the ground between near and distant subjects; an overhead view can flatten a scene. Neither is a universal rule. Rotating or tilting the camera is also different from using a tilt-shift lens.
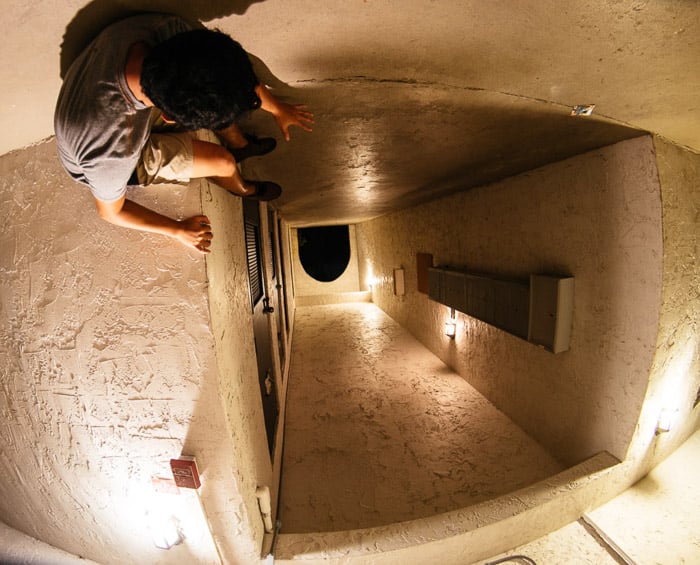
© Chad Verzosa
11. Try a Related Miniature Effect
The miniature-looking neighborhood below illustrates a related illusion rather than the near-and-far alignment used in most forced perspective shots.
A tilt-shift lens can tilt the plane of focus. Used for selective focus, it can leave a narrow area sharp while surrounding details blur, making a full-size scene resemble a small model. A similar look can be created with selective blur in editing. The finished photograph alone does not establish which method was used here.
You do not need a tilt-shift lens for the other setups in this article. If you want to explore this separate technique, see our tilt-shift photography ideas.

David McBee (Pexels.com)
12. Make a Person Interact With a Flat Pattern
Look for a painted line or geometric shape that can become part of the action. In the cycling example, the pattern creates an unexpected route through the picture.
Move around until the person and pattern make sense together in the frame. Avoid angles that expose distracting depth or gaps. This is about finding one convincing viewpoint, rather than making every element physically flat.
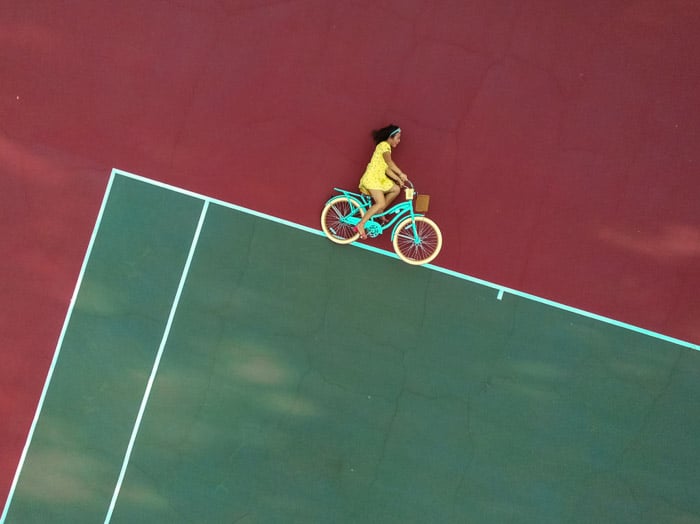
© Chad Verzosa
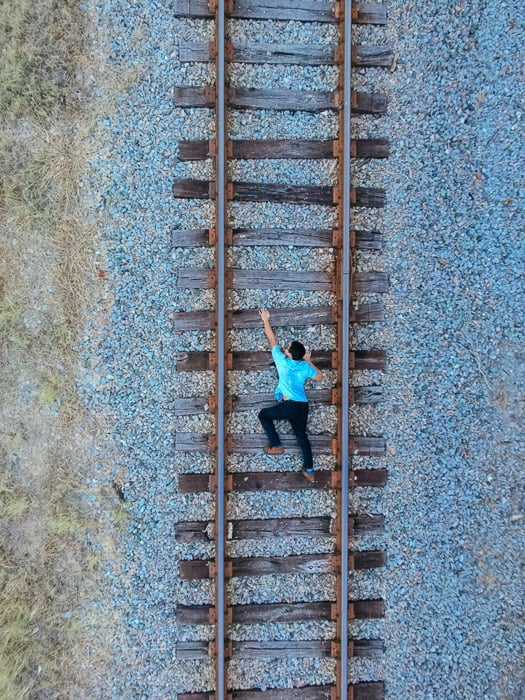
13. Turn Level Ground Into an Apparent Climb
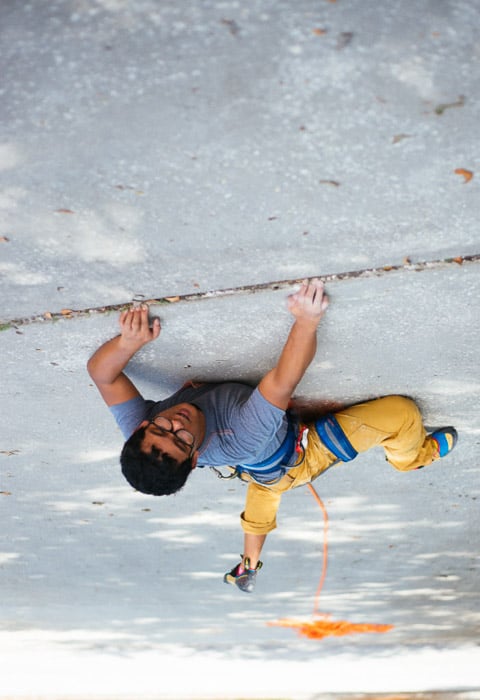
A person posed on a flat surface can appear to climb when the photograph is framed and rotated carefully. Look for paving, lines, or another architectural feature that could read as a wall.
Build the pose around the surface: bent knees and hands placed as if gripping can suggest effort. Crop out signs or objects that reveal the true orientation. Keep people on safe, permitted ground; do not recreate the railway-track location shown below. A path or patio can provide the same visual idea.
14. Make a Toy Vehicle Look Full Size
Place a toy close to the camera and your people farther away. Lower the camera so the toy's base appears to sit on the same ground as their feet.
Adjust the distances until the sizes look plausible. Check focus on both parts and look for a shadow or support that reveals where the toy really sits. Match the direction of light across the scene so the pieces look as though they belong together.
Simple props are often easiest to position. If a very small toy must sit too close to focus, try a larger prop or move the whole arrangement farther from the camera.
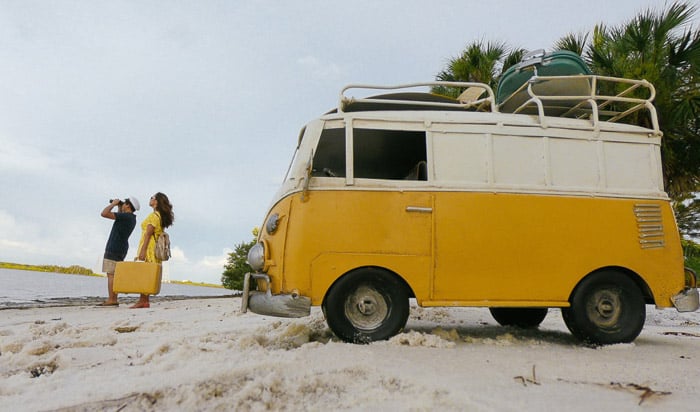
© Chad Verzosa
15. Transform a Building With a Foreground Prop
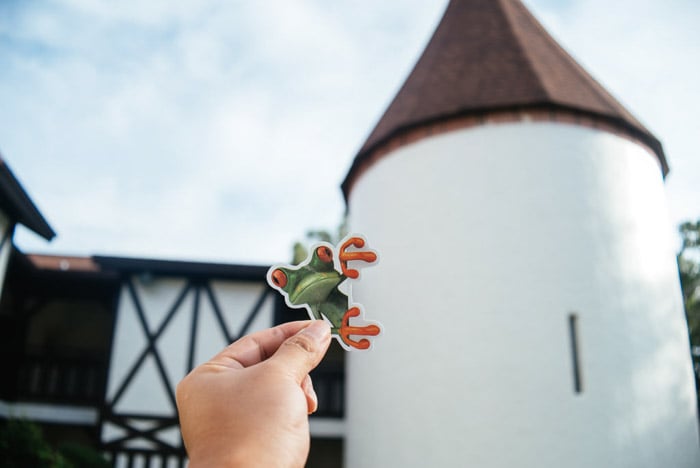
Use a nearby prop to give a distant building a new role. The frog example below shows how a small foreground shape can change the meaning of a much larger object.
Start by choosing the point where the two shapes will join. Keep your camera still and move the prop until the outline fits. Plain shapes tend to be easier to read than props with many small details.
16. Hide the Clues That Reveal the Trick
Context is king when it comes to forced perspective photos. Your image is an illusion. So you want people to ask, “Wow, how did you get that shot?”
Remove distractions from the frame, but keep enough context for the action to make sense. With a floating-object idea, look for supports, revealing shadows, or a familiar horizon that gives away the arrangement.
Review the edges of the photograph as carefully as the center. You can crop an unwanted clue, but first try changing the framing on location. Keep the illusion distinct from a photo manipulation assembled from separate pictures.

(Adobe Stock)
17. Use Paper Cutouts to Transform Objects
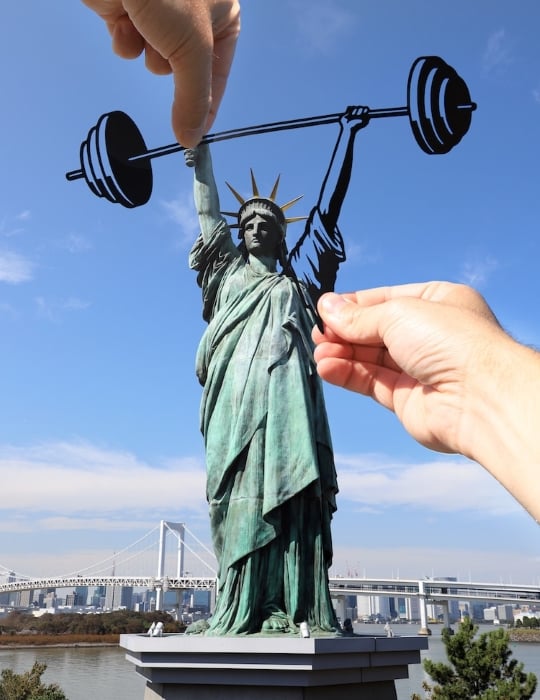
Rich McCor, known as Paperboyo, combines paper shapes with real scenes to create whimsical images. The photograph below is an example of his work.
Sketch a shape that fits a landmark or everyday object, cut it out, and hold it between the camera and the scene. Move the cutout to adjust its apparent size and line up the edges. Keep it far enough from the lens to focus if both it and the background need to be sharp.
Black card makes a clear silhouette. You can use black cards, a cutting mat, and a Xacto knife for detailed shapes.
© @paperboyo (Instagram)
18. Build Your Own Everyday Illusion
Start with something you already have: a coffee mug, a shoe, or a small figure. Ask what it could become if it appeared much larger or smaller.
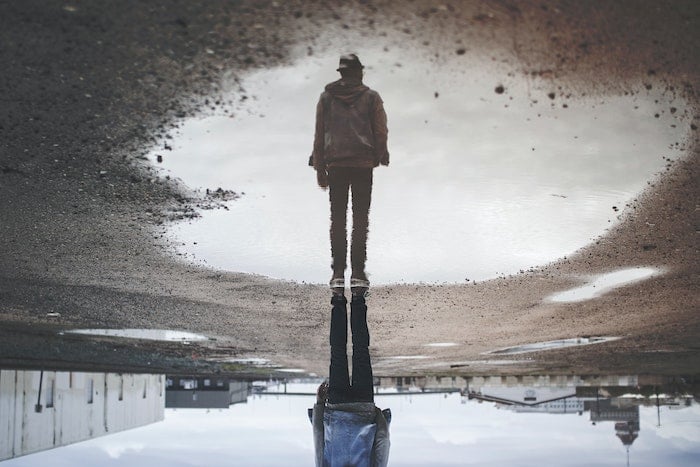
Try making a person emerge from a mug, holding a distant tree between your fingers, or using a puddle and its reflection to confuse the viewer's sense of space. Reflections are a related visual trick rather than automatically a forced perspective effect.
Change one part of the setup at a time and keep the strongest frame. A simple idea with clean alignment is more convincing than a complicated scene with visible gaps.
© Randy Jacob (Unsplash.com)
Conclusion
Start with one near object, one distant subject, and a clear point where they appear to meet. Get the alignment right, check the focus and shutter speed, then remove anything that reveals the real distances.
Once that works, try a toy, a paper cutout, or a new camera angle. For more creative photography ideas, explore spiral light painting or surreal photography.