Macro photography is all about capturing small details that the naked eye cannot see. And in order to get the clearest, most detailed shots, you need a good flash.
But not just any old flash will do. You need a specific flash for macro photography. Here are seven of the best flashes for macro photography on the market today.

Flash For Macro Photography: What Makes Macro Photography Different?
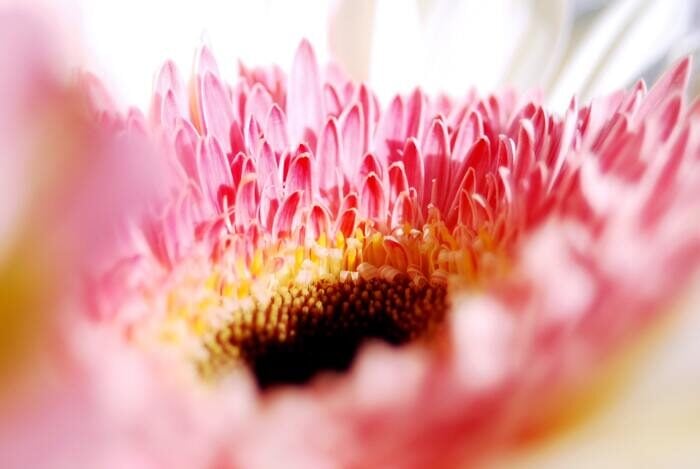
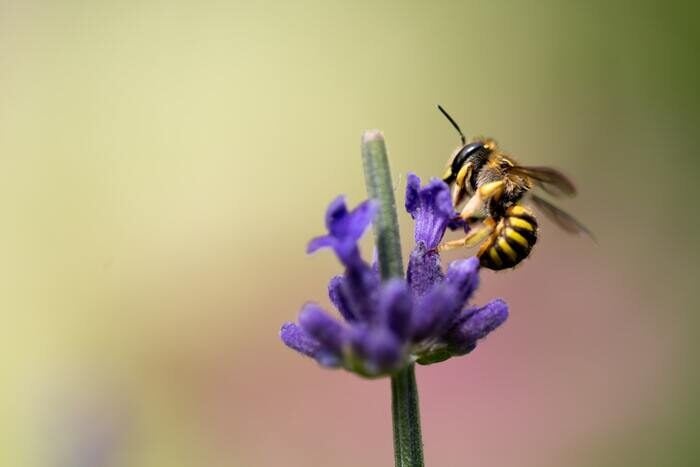
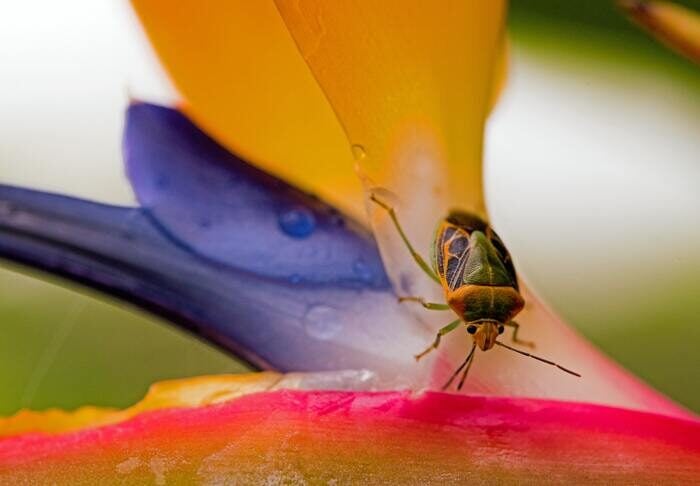
A macro lens gives you the ability to shoot from short focusing distances. This allows you to take sharp photos of small subjects, like insects or the stamen of a flower.
A true macro lens has a magnification ratio of 1:1 or greater. The focusing distance is around 12 inches (30 cm). This means that the size of the subject compared to the size of the subject on the sensor is at least 1:1. In other words, the subject appears on your sensor as either life-sized or bigger.
On a full-frame camera, the lens will function at its stated focal length. For example, a 100mm lens gives you a 100mm focal length. But your macro lens will behave differently on a crop-sensor camera than on a full-frame camera. A 60mm lens on a camera with a cropped sensor will give you a focal length of around 80mm.
The most important thing to understand is that you get a shallower depth of field in macro photography.
Depth of field is the difference between the nearest and farthest objects that are in focus. The shorter your distance from your subject, the shallower your depth of field. This means that less of your scene is in focus than if you had a deep depth of field.
Some of your subject may not be in focus enough with a shallow depth of field. You can shoot at higher f-stops, like f/9 or f/11, but these apertures let less light in through the lens. This is where a macro flash comes in handy.

1. Use a Ring Flash for Even Macro Lighting
A ring flash is perfect for macro lighting. It works differently than studio lighting or a Speedlite because it fits around your lens. This allows the light to spread out evenly around your subject.
If you’ve ever used a camera’s built-in flash, you know how harsh the light can look in photographs.
Because it’s such a small light source, the on-camera flash emits very hard light. Since the light is directed toward your subject, it can be unflattering.
The light from a ring flash is even. It creates a soft, diffused look that is suitable for many lighting scenarios in macro photography.
We recommend the GODOX MF-R76 Macro LED Ring Flash Speedlite, but there are plenty of options on our list of best ringflashes.
2. Understand the Lighting Position
When you have a Speedlite attached to your camera, the light comes from the front. Unfortunately, this isn’t the ideal direction to flatter the subject.
Photography is not just about how much light you capture but also the direction of light you capture. A speedlite mounted to a stand gives you a lot of control over the direction of light. If it’s attached to the front of your camera, the front lighting can look terrible on your subject.
For example, I shoot a lot of food and still life. In these cases, the light looks best if it’s coming from the side or somewhere from the back.
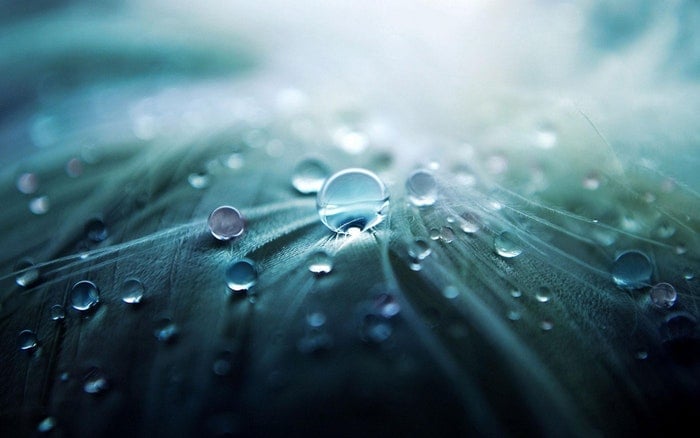
Front lighting is often flat and dimensionless. Sometimes, a lack of shadows makes a photo interesting. Rear lighting emphasizes texture and enhances liquid properties, which you can use to your advantage in macro shooting.
It’s important to understand how your choice of lighting position affects your image. The next time you shoot, experiment with different lighting directions and see how they affect your image.
3. Use the Appropriate Light Modifier
The right light modifier can do wonders for your macro flash photography images, especially if you use a Speedlite.
Modifiers help shape and direct the light. Natural-looking lighting is generally best for macro photography.
Hard light is not an aesthetically pleasing look. A softbox light modifier that you can attach to your Speedlite will help spread the light out and give you a more natural look.
There are many other modifiers available. You could also look at domes, flash brackets, and light spheres.

4. Know Your Camera’s Sync Speed
The important thing is that you set the shutter speed of your camera and Speedlite to your maximum sync speed.
This dictates the maximum shutter speed you can use when using flash. Your camera will dictate your maximum sync speed. It varies from manufacturer to manufacturer and even from camera to camera.
The sync speed for Nikon cameras is typically 1/250 s. For Canon, it’s 1/200 s. Look up the sync speed for your camera if you don’t know it. It’s usually a maximum of 1/200 or 1/250.
Test your camera to make sure. Although the maximum sync speed for my Canon 5D Mark III is 1/200 s, I get a black band across my images if I shoot with a shutter speed over 1/160th of a second. This is due to the shutter closing too slowly during the flash duration.

5. Buy a Mounting System for Your Camera
There are also a lot of useful mounting systems available through various manufacturers.
A mount can have features like articulating arms, which allow you to change the position of your light quickly and easily. And there are specialized brackets that allow you to position large hot-shoe flashes.
6. Use the Semi-Automatic Functions on Your Camera
New photographers always hear how important it is to shoot in Manual mode. However, the semi-automatic functions on your camera are there for a reason. They can make your life easier in certain situations, and there is nothing wrong with using them.
For example, if you put your camera in Shutter Priority mode, you can make sure that you don’t exceed your sync speed. The camera will choose the best aperture for your subject.
Alternatively, you can use Aperture Priority mode. Set your aperture to f/11 or f/13 to get a deep depth of field. This ensures that most of your subject is in focus. And your camera will take care of shutter speed and ISO.
7. Add Color to Your Macro Flash Photography
Add a unique quality to your images by injecting color into them. Color in macro photos can turn the most boring subject into an abstract work of art.
It’s also perfect for so many macro subjects, like flowers. It is easy to add color to your macro photography with color gels.
You can buy gels that attach to your Speedlite in a variety of forms. Some gels come with a strap that you can use to attach to your Speedlite. Others have tabs that allow you to fasten them to the light.
Make sure that whichever gels you get cover the light completely.
Frequently Asked Questions: Flash for Macro Photography
What Is a Macro Ring Flash Used For?
A macro ring flash attaches to your lens. It provides even and natural-looking light with macro flash photography.
Do You Need a Flash for Macro Photography?
You don’t need to use a flash for macro photography, but without one, you might struggle to get enough light on your subject. Shooting wide open will give you a shallow depth of field, meaning your entire subject may not be in sharp focus. A macro flash will allow you to increase your aperture to stops like f/9 and f/11.
What Is the Best Light for Macro Photography?
The best light depends on your subject and lighting preferences. Using a flash will allow you to get more light onto your subject while using a small enough aperture to have your entire subject in focus.
How Do You Make a Flash Diffuser for Macro Photography?
If you’re on a budget, you can make a DIY flash diffuser for macro photography. All you need is a white piece of paper or some white translucent fabric. It’s a very effective tool, especially for how cheap and easy it is to make.
Conclusion: Best Flash for Macro Photography
If you’ve been struggling with your macro photography, a simple macro flash device can take your image to the next level.
Having the right light means you can use the aperture you need to keep your whole subject in focus. And having the right light for macro photography often means using a flash.

- Learn to take stunning photos without stepping outside.
- Discover affordable ways to convert any lens for macro shots.
- Explore unique techniques for lighting and composing your subjects.