One of the most challenging and rewarding results come whenyou take pictures of people. Whether it's a portrait or a candid shot, getting great photos of people takes skill, patience, and practice. Here are some tips to help you take better pictures of people.
1. Take Pictures of People: Research and Gather Inspiration in a Mood Board
Check out Pinterest and Instagram for portraits that inspire you. Creating a mood board is also a good idea when researching.
You can share this with your client.
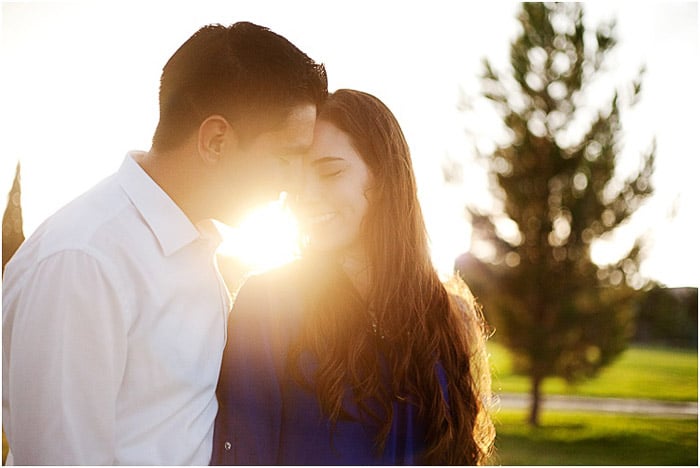
Once you gather images of people that you like, begin to inspect them and take them apart.
What was the lighting like? What type of lighting did they use? How is the subject posing? Are they standing, sitting, how are their arms posed?
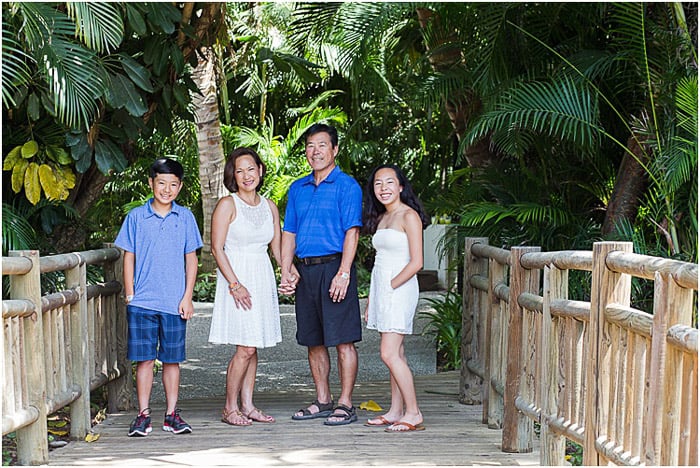
All these details can help you think of posing and lighting rather than the settings on your camera.
2. Save Poses You Like on Your Phone for Reference
Posing isn’t easy, and we’ll get into posing for individuals and groups further on. At the beginning, bring a source of inspiration with you on your phone.
Download and save the images that inspire you. Look for poses you’d like to try, lighting you’d like to experiment with or a certain look that you like.
During the session, use those great photos to pose your subject. By no means do I mean copy.
These photos are only to serve as inspiration to help you create your very own photographs. Use them as a guide to posing and lighting.
3. What to Do On Location
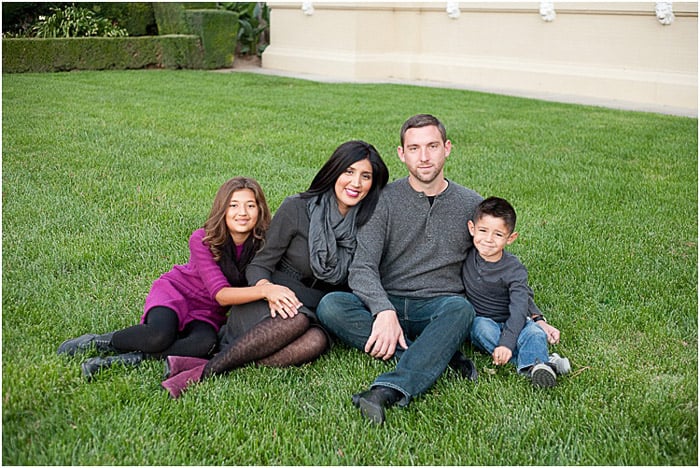
On location offers you more variety when it comes to people photography. Whether you’re photographing individuals, families, or groups.
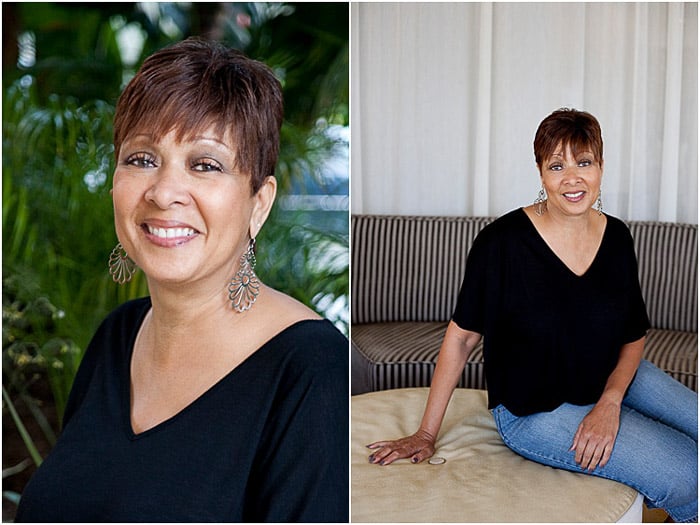
The best way to determine which type of location is perfect for your session? Ask your client what type of feeling they envision for their portraits.
Do they want their photos to feel warm and inviting? Or something a little more fashion forward and urban looking?
This can help you choose where the session should take place. You can then suggest a park, field, or a downtown area with big buildings.
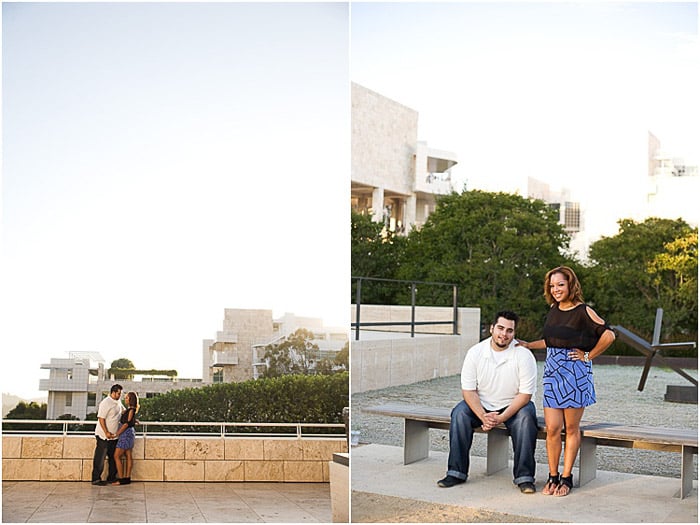
This will also help you determine the time of day that would work best for your session. If you’re in an urban setting with high buildings, the sun tends to set earlier. That’s because it is hidden behind the buildings.
In contrast, a beach offers you more time since the sun goes directly behind the horizon.
The location can also determine what your client should wear to the session. The wardrobe can match or create more contrast with the background.
4. When to Photograph in a Studio
A photography studio offers you more control over the lighting, backgrounds and final image.
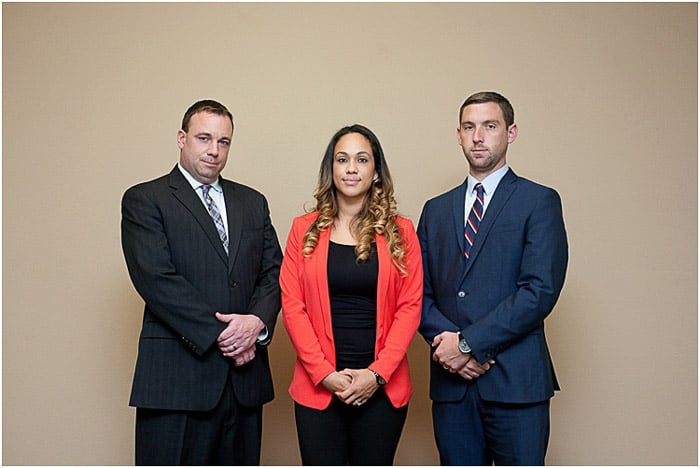
You can use a studio for individuals, families, groups, etc.
If you are renting a studio, make sure to book it early and for at least one hour extra to set up and tear down the set.
Some studios also offer a space for makeup and hair.
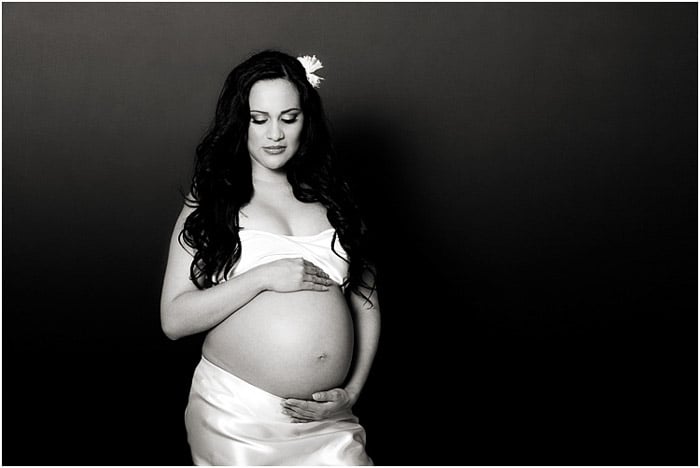
Posing in a studio can be a little tricky. Use stools, chairs or benches to help your subject pose.
Use gaffer tape mark spots for your client to stand on. This is especially helpful if you are looking to do composite photographs later.
5. Posing and Photographing Individuals
Taking photos of one person, versus a group, can be easier.
If you’re in a studio setting, aim to have a bench, chair, or some type of stool for the individual to sit on.
They can try different sitting poses, standing with their hands on the stool or foot on the footrest. It can also add height and change the angle of the pose.
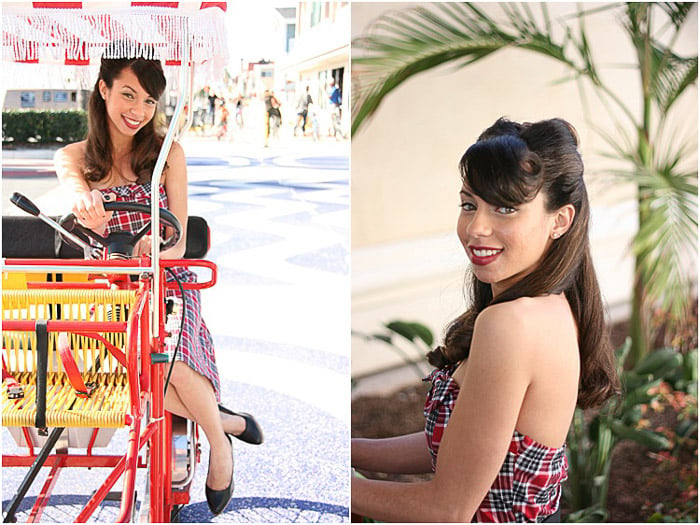
You can also use chairs or stools on location. This, of course, depends on the look that your client wants.
Outside, you can use stairs, walls, curbs, benches, and railings for your subject to sit on. Walls are also good for your subject to lean against.
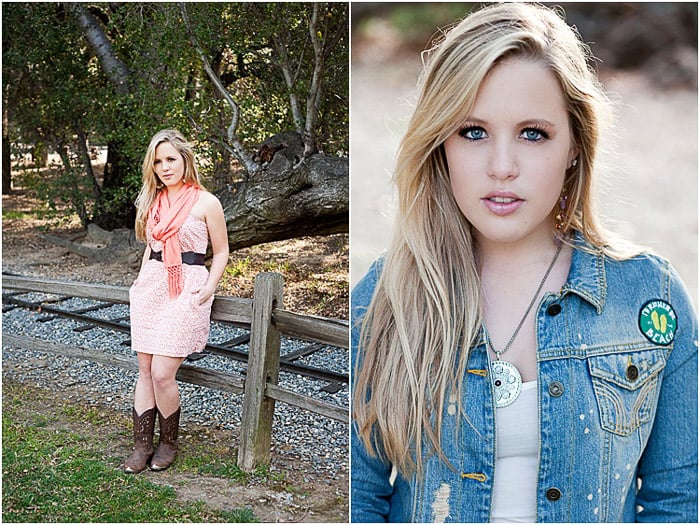
If you are posing your subject standing, give their hands something to do.
Have them put their hands in their pockets, adjusting their shirt or watch, or in their hair.
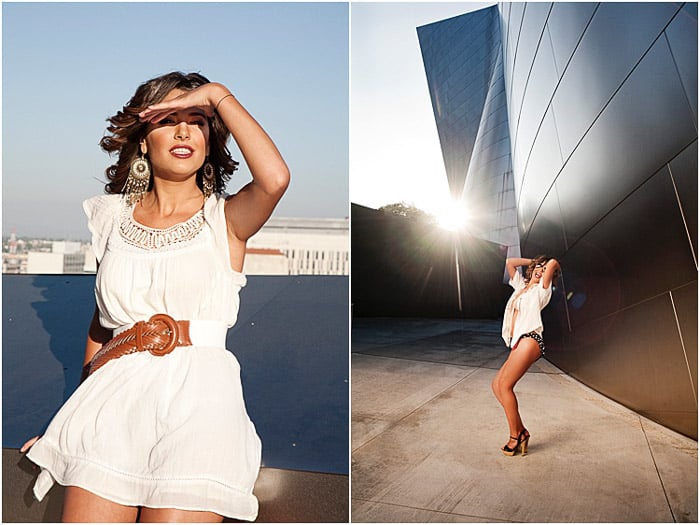
Make sure that the poses that you’ve chosen are flattering. This may mean that one pose may work for one individual may not work for another.
Try them out and see which angles work best for your client.
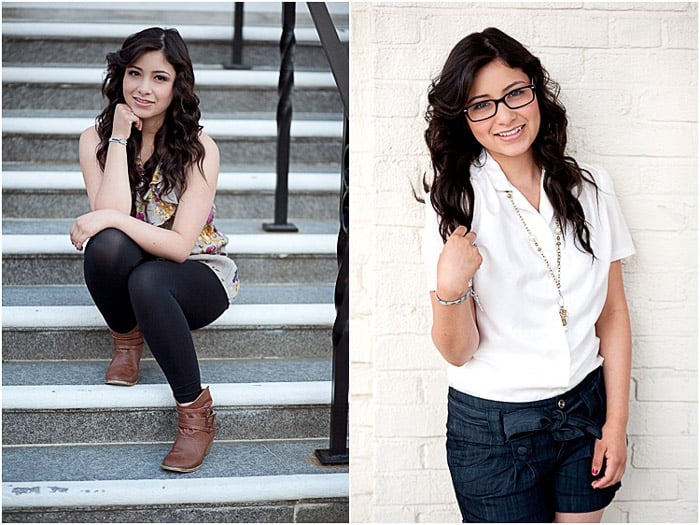
Once you see an angle that works, get different focal length photos of the person.
Get full-length photos, mid-length photos, and up-close photos of each pose.
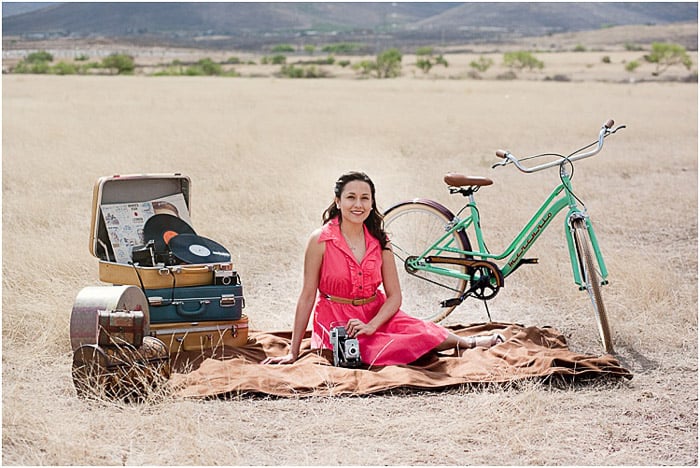
The great thing about photographing individuals is that you can have more time to experiment with lighting, locations, and poses.
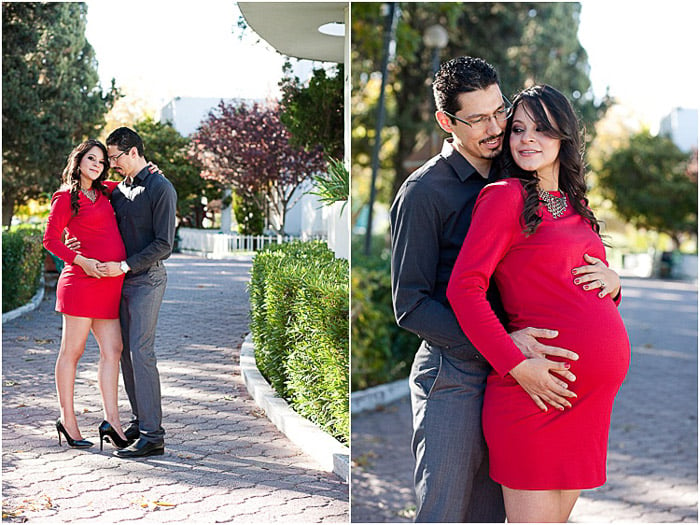
6. Photographing Couples
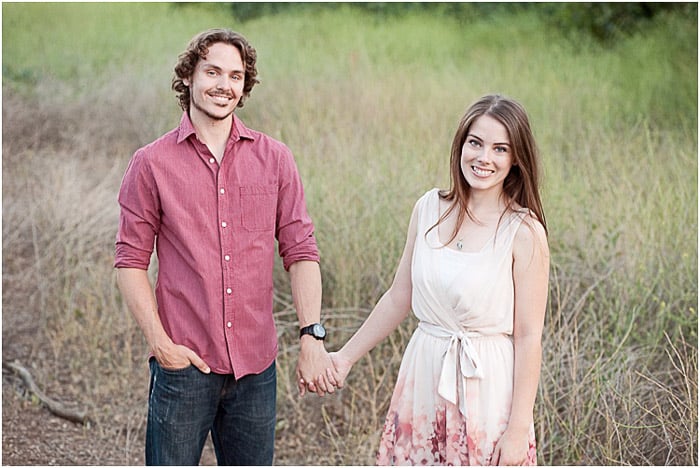
Romantic couples are easier to pose since they are usually holding hands, hugging, or touching in some way.
Have about 5-10 poses that work for all couples. These are going to be your base poses. You can build, change, and move around from these.
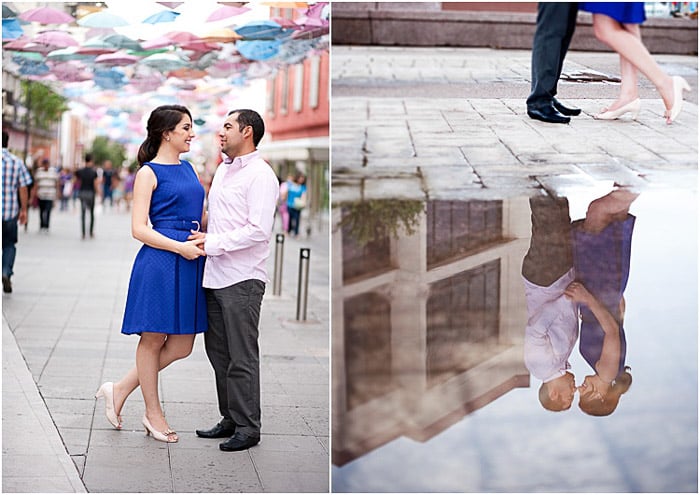
For example, start with the base pose of one person leaning on the other’s shoulder facing the camera.
From there you can build the following poses:
- The couple looking at the camera;
- One person looking at the other while one looks at the camera;
- The couple looks at each other;
- The couple kisses;
- You photograph the same pose from behind the couple as they look at each other;
- From behind the couple, have one person look at the camera and the other person looking down or up at the person who is looking at the camera.
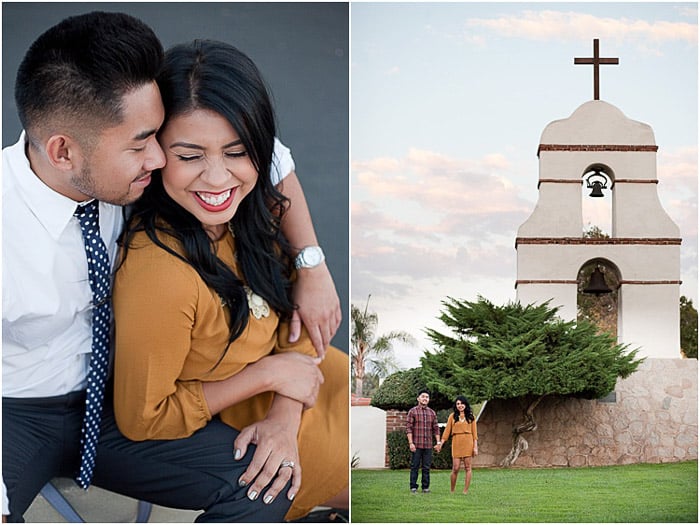
From one base pose, you can get anywhere from 5 to 10 poses. All you have to do is change where the couple is looking and your own camera angle.
You can also change focal lengths and this will expand the variety in poses and photos.
With at least 10 base poses, you can easily get anywhere from 150 -200 photos. This will give the couple enough variety for an engagement album or slideshow and for professionally printed photos.
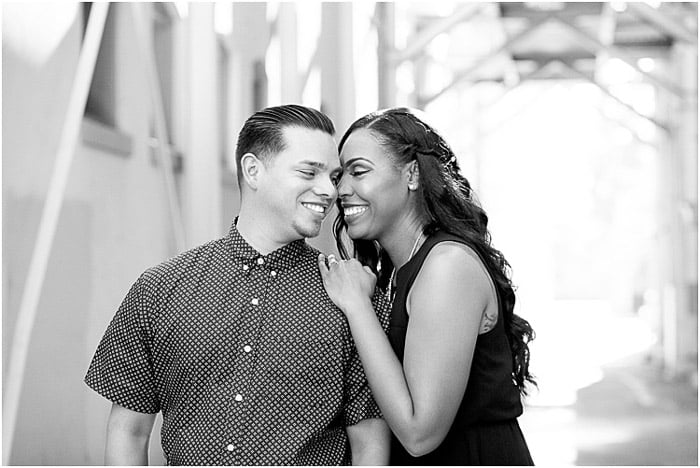
Allow for moments to develop organically or take candid photos as well. If the couple starts to laugh or joke, capture it as it unfolds naturally.
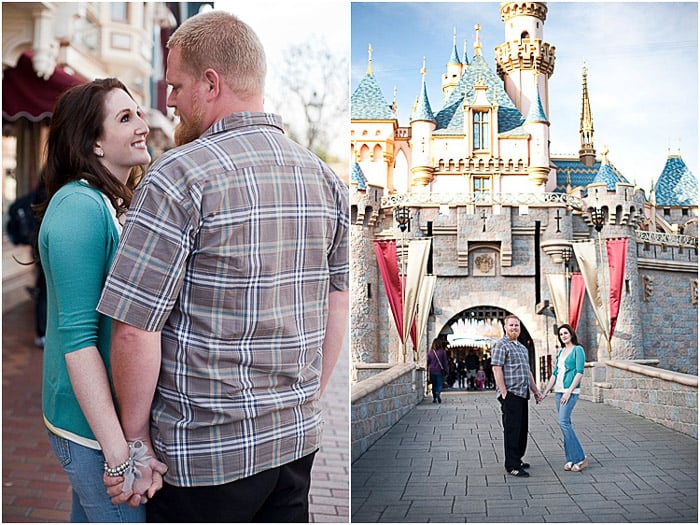
Giving the couple space to just walk or be together can also help them loosen up.
7. Taking Family Portraits
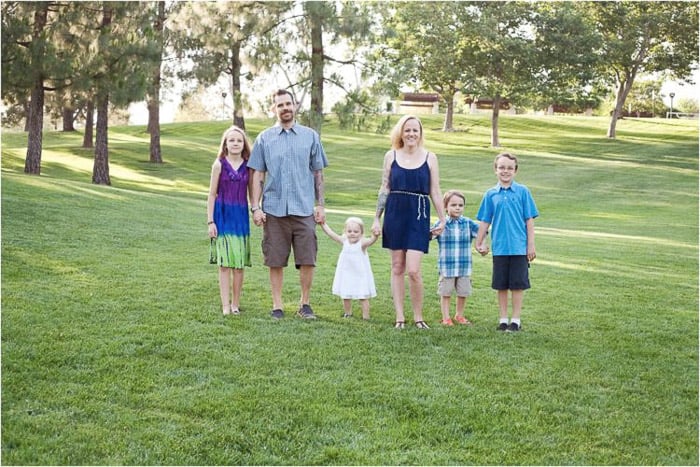
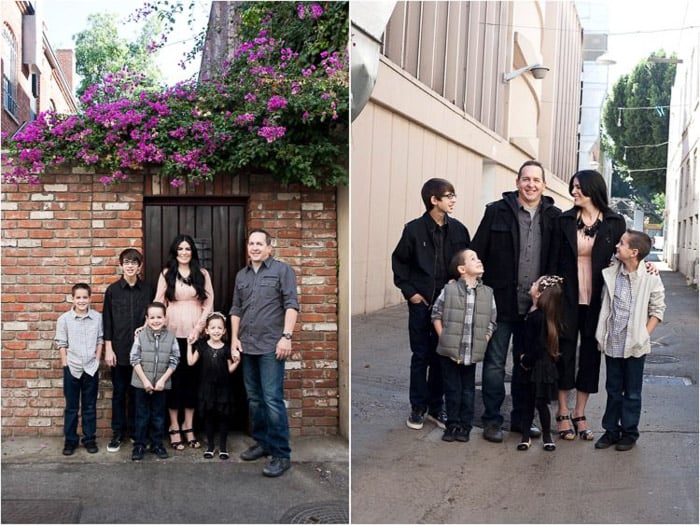
Photographing families can be a little tricky. First thing is to stick to the posing triangle rule and you will be just fine.
This rule allows everyone to be seen in the photos and also creates a nice path for the viewer’s eyes to move through the photo.
You can use the triangle rule with the family standing, sitting, or walking.
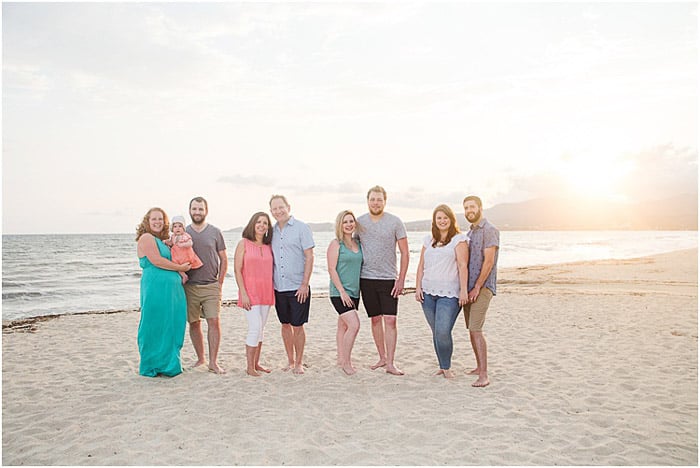
Allow the family to walk or talk while you get your exposure and settings ready.
It is an important element because this can help them settle. It will also let the children explore the surroundings, especially if you are on location.
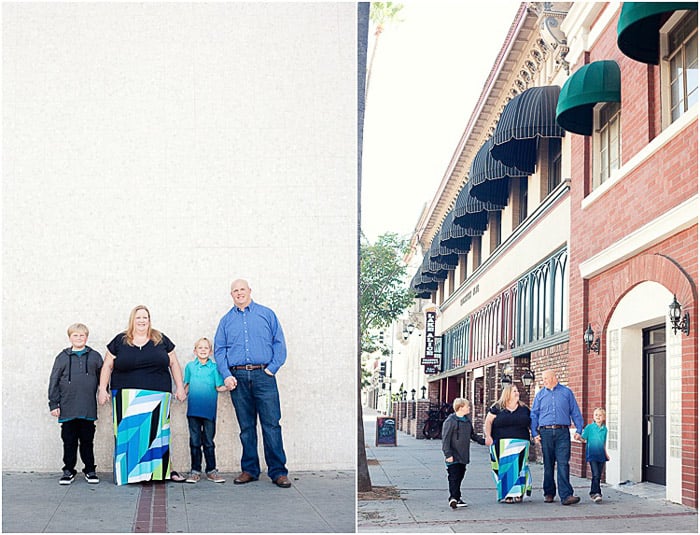
Pose families with each member connecting with another. This gives the photos a more emotional feel.
If they are posed far apart, have them face inward toward each other at a 45-degree angle.
This way the family pulls the viewer’s eye into the center of the photo.
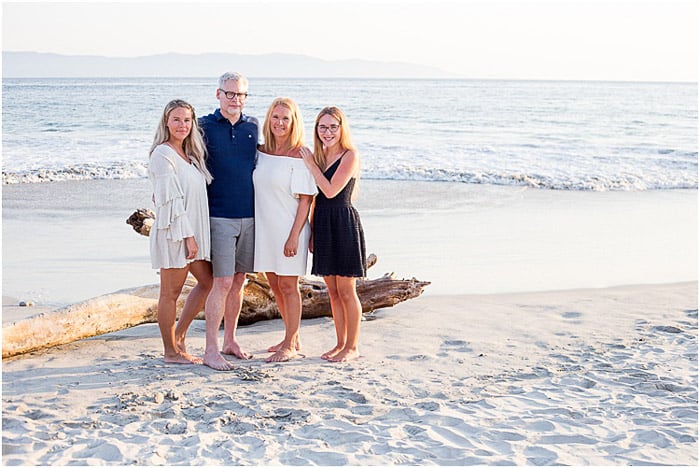
After you’ve taken various photographs of the entire family together, break up the session with photos of individuals and then smaller groupings.
Take photos of each child, then photograph the parents together without the children. Then take a photo of the dad or mom with the children.
If possible, also take generational photos of family members of one gender or the other.
And make sure that if a grandparent is at the session, you get those photos too.
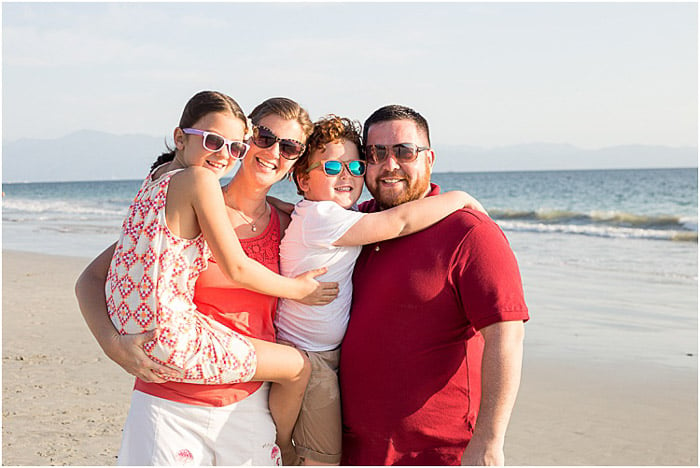
8. Photographing Children Up to 10 Years Old
Children are a bit more tricky depending on their age. Here are some tips for each age bracket so that you can photograph them without a hitch.
Newborns
It is really important that you are first and foremost comfortable with handling newborns. If you are not, let the parents handle the baby.
Newborn sessions aren’t too difficult except for the fact that they run a bit long.
This also goes for babies up until walking stage. Babies can hold their head up at 3 months.
At 7 or 8 months they should be able to sit up on their own, and at 10 months they can begin standing and walking.
Children 1-3 years
Children during this stage are walkers, runners, and natural explorers.
Photographing them playing, interacting, exploring, or doing an activity can help to loosen them up in front of the camera.
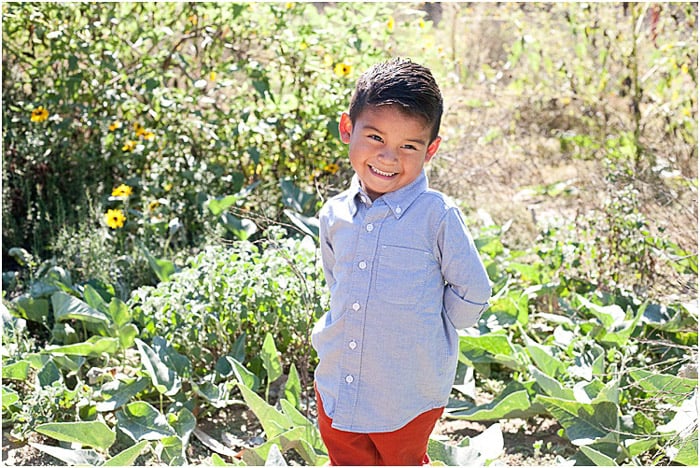
After building a little rapport with them, they may begin to look at you if you do something funny or unexpected. Or have mom or dad behind you doing something funny.
This can set off laughs and get them looking in your direction.
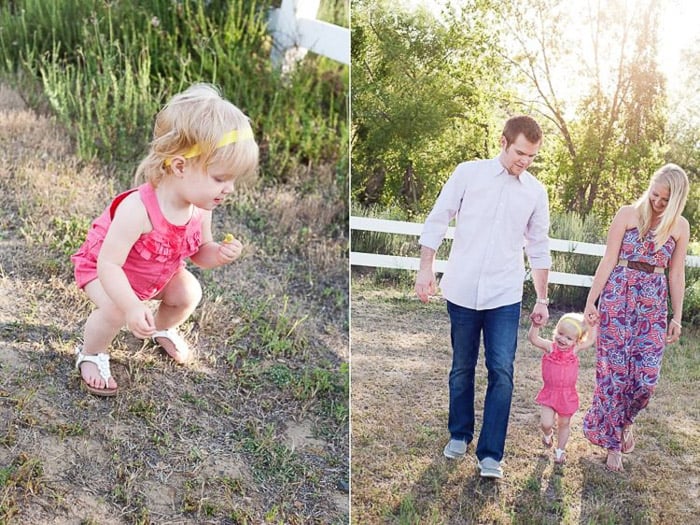
Don’t put your camera down. Kids move quickly, are usually done with photos around 30-40 minutes, and don’t really care if mom or dad paid you to be there.
Take breaks, allow time for play, and always bring snacks and drinks for them.
Also, make sure to schedule the session during the time of day when they are the happiest. This may mean before nap time, after nap time, before dinner or right after lunch.
Children 4-6

This age group is a little more fun and will ask you questions and be more talkative.
Joking, playing games or making funny faces can help get real expressions out of them in different angles.
They are also more aware that you’re a stranger. It might take a little bit of time for them to warm up to you.
You’ll find that some children this age may be a little shy and won’t smile, that’s okay!
Photograph them anyway in a more serious tone and it will create a timeless portrait of them.
Make sure to tell the parents to not force them or say no to their requests or if they are being silly.
During the photo session, you may have to remind the parents to let them be children.
This can help the session run more smoothly and avoid meltdowns.
Children 7-10
These children feel silly in front of a professional camera and are more aware of how they look.
Try and talk to them about things they might like, music, activities, etc.
Also, children on the older side of the spectrum can sometimes feel more comfortable if mom or dad are not watching.
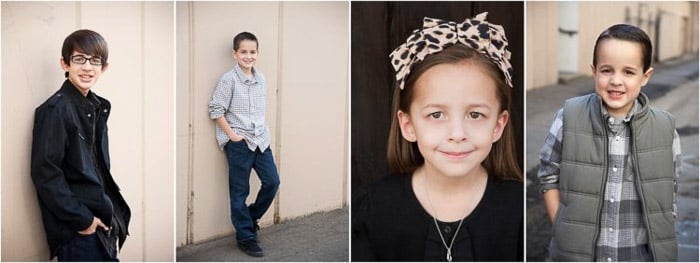
This also allows the child to be more themselves without hearing comments or commands from mom or dad.
You’ll find that children this age can sometimes smile the whole time or not at all. The best tip for any age group is to not pressure them to smile.
Sometimes simply letting them get their nerves out and showing them a good portrait of them during the session can help them open up.
9. Best Aperture for Portraits
As with any portrait, be aware of your aperture and make sure that you are choosing one that best suits the individual and the concept of the photo shoot.
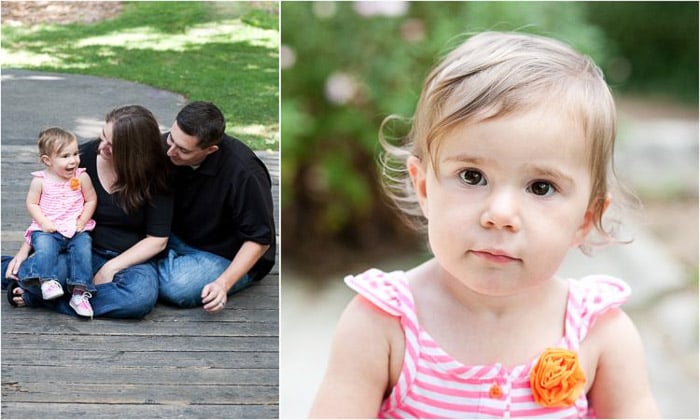
Photographing an individual at f/2.8 is a great aperture, especially for an up-close portrait or headshot.
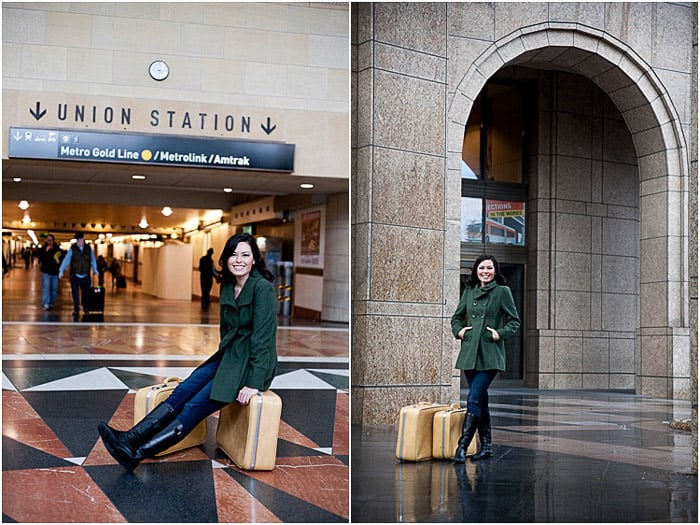
If you’re going for something more commercial and also want to get the items or wardrobe in focus, close the aperture to at least f/11 to make sure the focus is ample enough.
Photographing a couple can be a little tricky at any aperture wider than f/3.5. You want to make sure that you have both people in focus and can clearly see their faces.
Try to avoid photographing at wide apertures like f/1.8 unless you’ve had lots of practice nailing down the focus for both subjects.
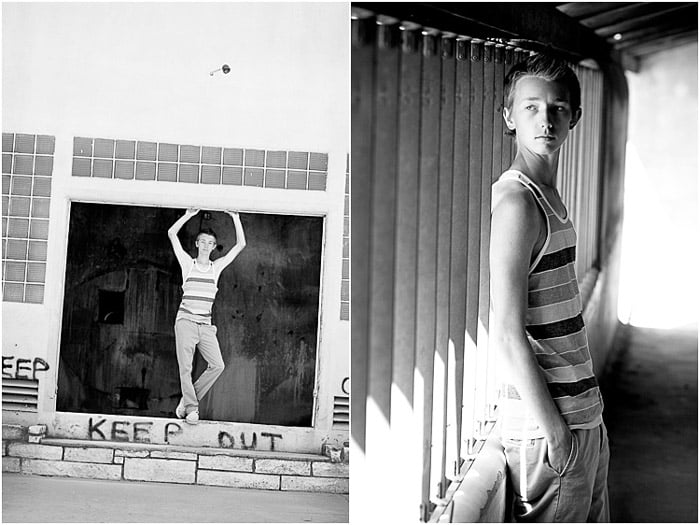
It can be really distracting to see a photo of a couple facing the camera and only one eye of one person is in sharp focus.
Stick with f/3.5 or higher to keep everyone in focus and see more detail.
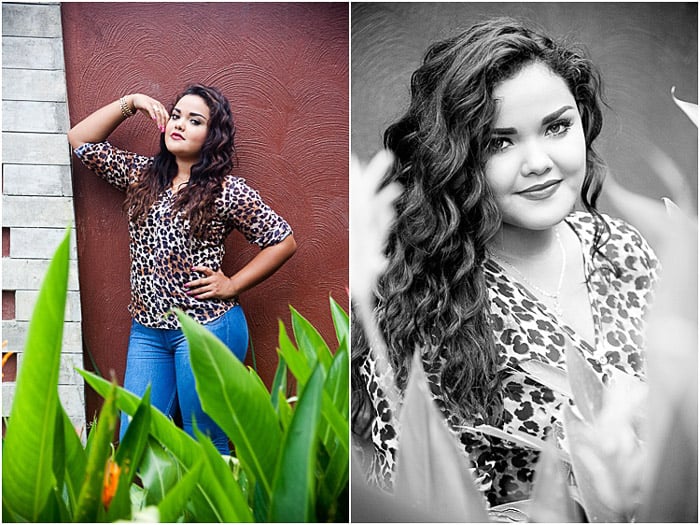
For groups, you will want to have everyone in focus from the center out to the edges of the frame.
If you stick to an aperture for groups larger than 5 people at f/8 or higher, it can help you to get everyone in the portrait in focus without losing some of the blurred backgrounds.
For large groups, like bridal parties or multiple family portraits, use an aperture of f/11-f/20 to have everyone in focus.
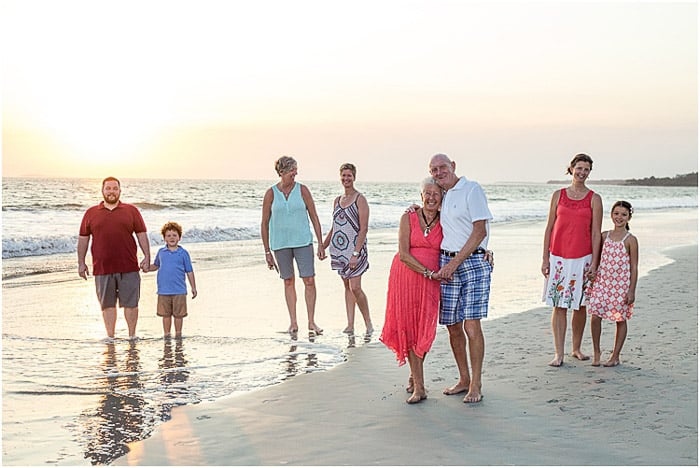
Using smaller apertures will also cause your shutter speed to slow down.
Bring a tripod or extra lighting to make sure that you have everyone lit evenly and can create a solid portrait of the entire group.
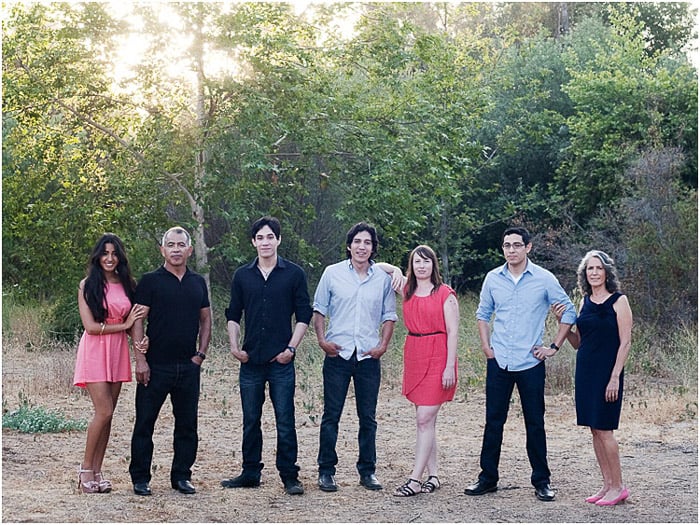
In this photo the aperture is f/6.3
10. How Much Retouching Should You Do
Retouching largely depends on your photographic style and what kind of look you like to give your final photos.
When it comes to people, keep skin tones as even as you can and don’t over-retouch the skin.
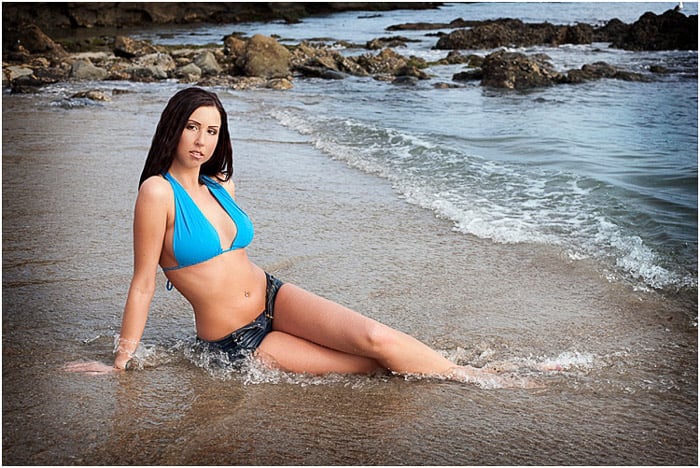
Doing too much smoothing or “perfecting” of the skin can sometimes change how the person really looks in real life.
If you’re photographing something commercial or editorial, the client will do their own retouching. For regular clients and photographs of real-world people, keep it to a minimum.
Retouching out blemishes on a person’s face or something specific that your client has asked for is okay. This being because blemishes are usually momentary, so taking them out is recommended.
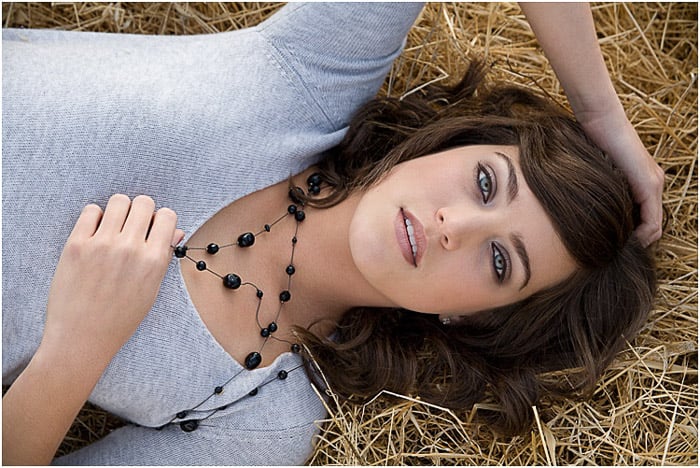
Some clients may ask for no retouching and that is okay. You can do the normal color correcting, curves, contrast, and apply your signature look without taking out anything from the skin or modifying the person at all.
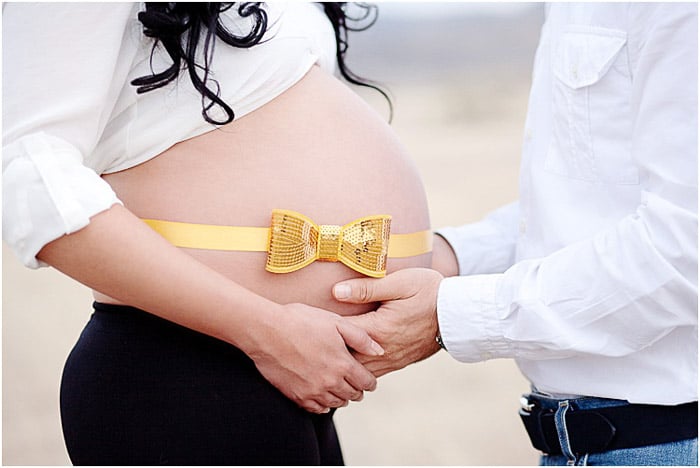
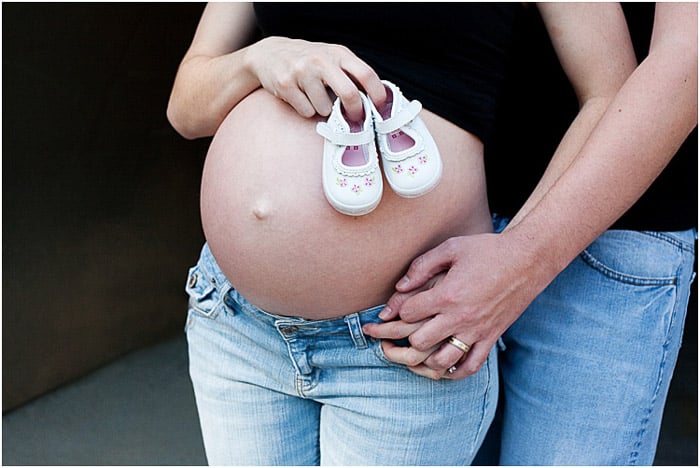
For maternity photos, ask your client if they would like to keep the linea nigra. This is the dark line that goes down the belly when a woman is pregnant.
Even if they don’t say anything before you ask, it can save you double the work if you retouch it out and the mother wants to keep it natural, or vice versa.
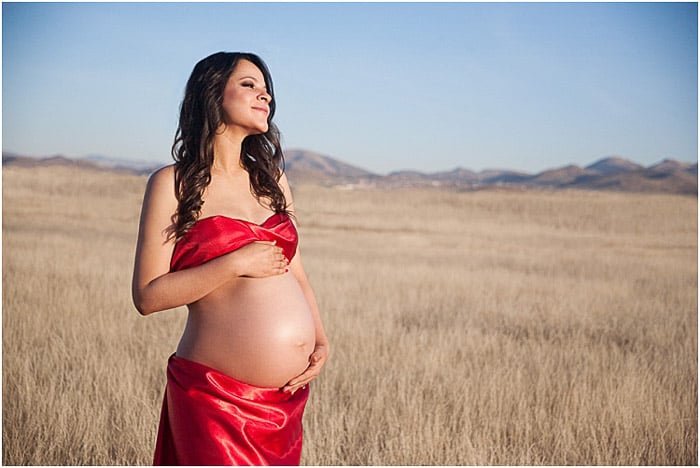
A good rule of thumb is to ask before you do any heavy retouching. Let your clients know upfront what your retouching style is like so that they are aware as well.
Luckily, the clients who hire you will be more than excited to have your style. This shouldn’t be much of an issue, unless it’s something specific like maternity sessions or commercial projects.
11. Why Great Client Experience Is Important for Your Business
I believe this is probably the most important of all photography tips in the whole article. The client experience is what will ensure that your new clients becoming returning clients.

When you are dealing with people, giving them excellent customer service should be your number one priority. This does not mean that you must bend and give in to every request that they have, but give them the best service possible.
Guide them through the wardrobe process. Give them advice on locations or help them choose a location that best suits the needs of their session.
During the selling process talk to them as you would friends and help them choose the best products for their home.
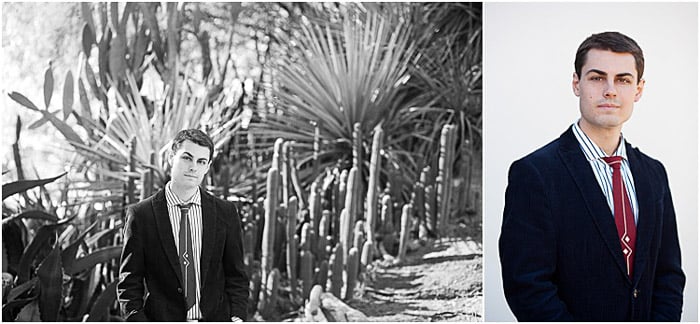
Giving this type of service before the session even begins will create more excitement and most importantly, trust.
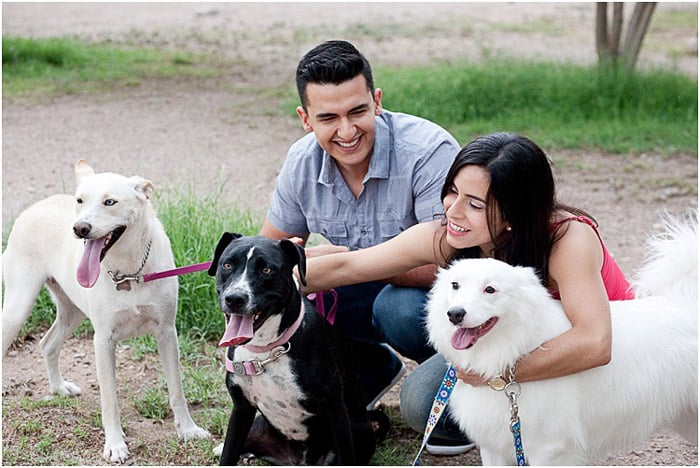
During the session, be patient with children, allow for play and snack breaks. Help the session move smoothly when families disagree or are clearly uncomfortable with photos.
Try and stay positive throughout the session. Don’t allow your clients to see that you’re struggling with exposure or poses for whatever reason.
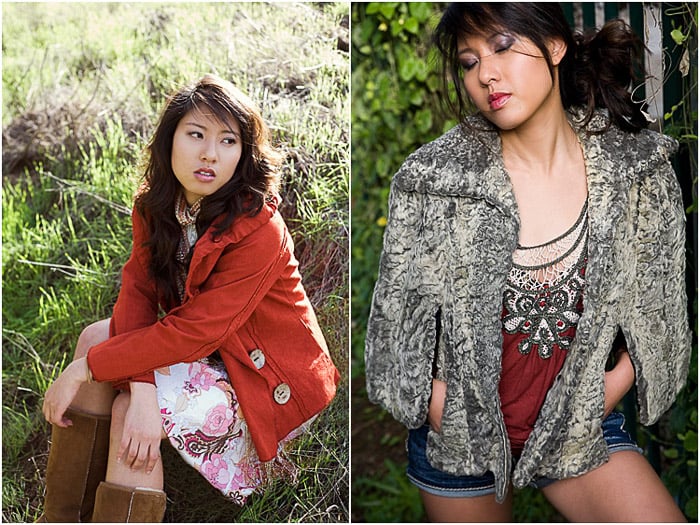
After the session, send them a quick thank you note with a watermarked sneak preview image to get them excited for the rest of the images.
Anytime you correspond with your client after the session has been photographed and delivered, always do so in a friendly manner. You are now their go-to photographer!
12. How to Keep Your Clients Coming Back
The most rewarding experience for you will be seeing your clients return to you for all of their photographic needs.
Returning clients also tend to be the ones who make bigger purchases because they believe in your work as a professional photographer.
There is also less work involved to get them booked time and time again.
Anytime you run a promotion, send your current client list an early bird special or email so they can book with you first.
When you post to social media, tag them in the photos so that they can share and like the photo. This will remind them they should probably update their photos.
If you run a print special, send them all of the information and a link to their gallery already ready. Or a link to an appointment calendar so they can come into your studio and get the most out of the promotion.
On the anniversary of their session, send a reminder email that you’d love to photograph them again to catch up and update their portraits.
People often need reminders for services that aren’t a need but more of a want. Photography is a luxury but it has a really important purpose, keeping your clients’ memories alive.
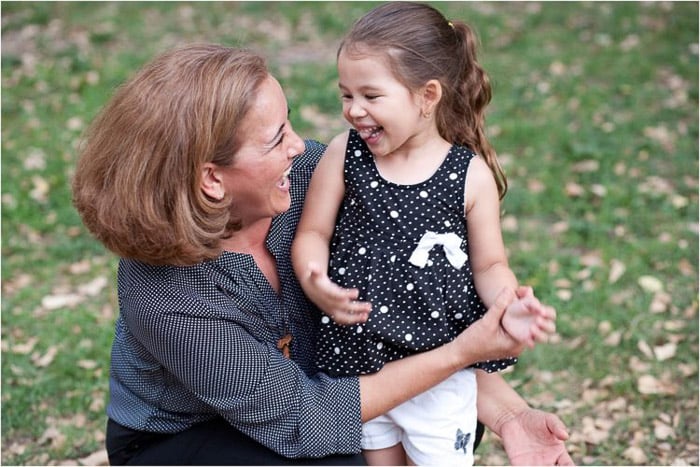
Sending clients holiday cards or emails can also help keep you in their minds. Blog posts, social media, and especially when the photographs are featured in a publication both online or written can help keep you active.
The point is to keep your business in their view at all times throughout the year.
Conclusion
Photographing people can be really exciting but it’s best to experiment before you begin charging for sessions.
Getting familiar with the different types of portrait photography, posing, and what you like best can help you best serve your future clients and gain more business in the long run.
Give clients the best experience and chances are you’ll be seeing them again and again for many years to come.


