When it comes to photography, natural light is always the best light. It's free, and it's available any time of day. The trouble is, not all natural light is created equal. You have to know how to work with the different types of natural light in order to get the best results. In this article, we will show you 12 different tips for working with natural light, along with some amazing natural light examples you can use.
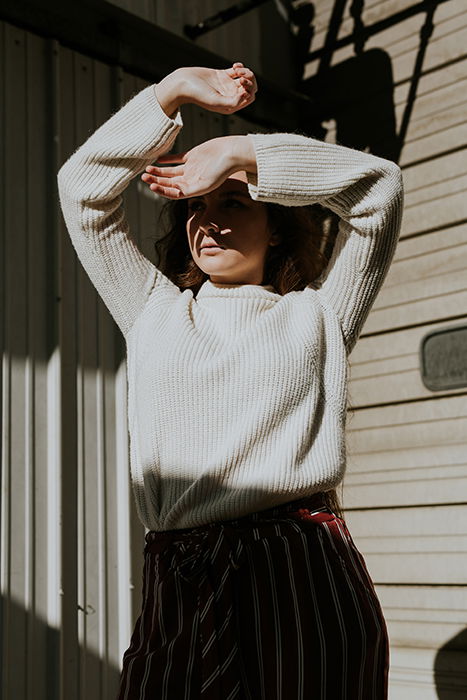
Direct light exists in different versions. It depends on whether you shoot outside or inside. It’s usually harsh and hits your subject. This light is great for emphasising textures and creating dramatic shadows.
It’s also great for creating raw, powerful images with a strong contrast. You’ll notice this effect in gritty photojournalism and street photography.
Because of its harshness, direct light isn’t ideal for portrait or pet photography. The excess shadows can make it difficult to capture a subject’s face in a flattering way.
You can manipulate harsh light to complement any kind of photo. You’ll find out more about this in #4.
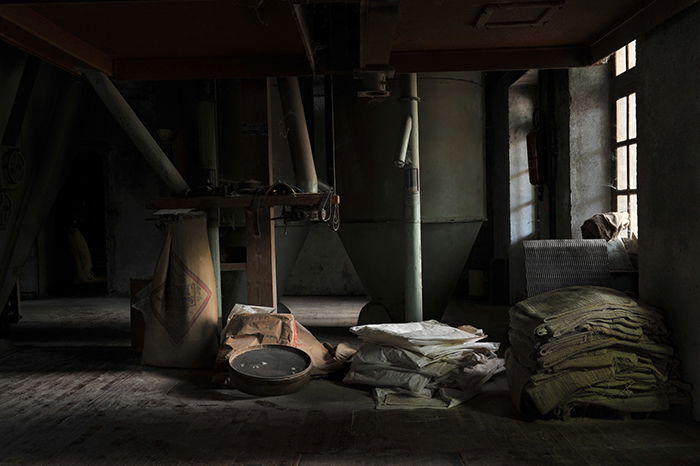
As its name suggests, side light comes from one side and hits part of your subject. The rest should fade out into darkness.
Side light is common in portrait, food, close-up, and still life photography, to name a few. The natural transition from light to dark creates a moody, atmospheric look.
If you use this in the right situations, you’ll be able to give your images a polished, fine art feel.
If you want a soft side light transition, photograph your subject next to a large window or a door that’s ajar.
For a more dramatic look, shoot outdoors when the sun is about to rise or set.
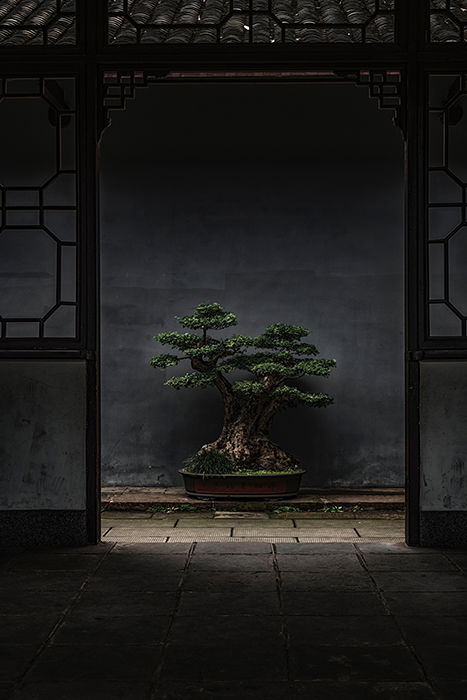
Top light is often considered a fixed artificial light. It’s the ceiling light you see in metro stations and supermarkets. The harsh top light effect works well in mysterious photos of people and objects.
You can achieve this effect without using any kind of artificial light. All you have to do is manipulate the natural light you have.
You can find natural top light in abandoned buildings. Look for those with open roofs, narrow alleys, and attics.
This isn’t every photographer’s go-to lighting technique. But it’s a great tool for those who want to take mysterious and conceptual photos of their subjects.
To give your photos a dreamy effect, throw flour in the air throughout the photoshoot.
This will emphasise the top light and create streaks of dramatic light around your subject. Of course, make sure you create a makeshift studio for the flour to fall on so the cleaning process is easier!
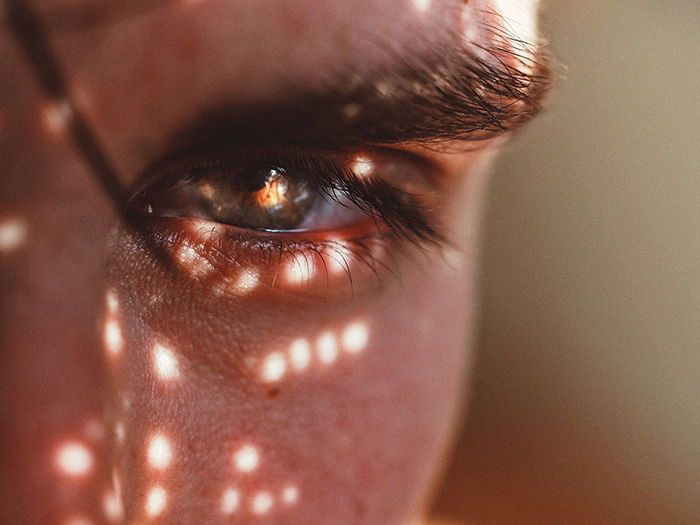
If direct light doesn’t appeal to you, you can use it to create a different version of light altogether.
In essence, patterned light is harsh light that’s broken into pieces by a pattern. You can use lace curtains, doilies, hair, hands, and anything else that will create shapes on your subject.
Patterned light is often used in portrait photography to create ethereal photos. You can use it to highlight specific parts of a model’s face, such as their eyes.
You can also use this light to take whimsical photos of products. Or you can improve your lifestyle photography. Or capture the complexity of light on a smooth surface.
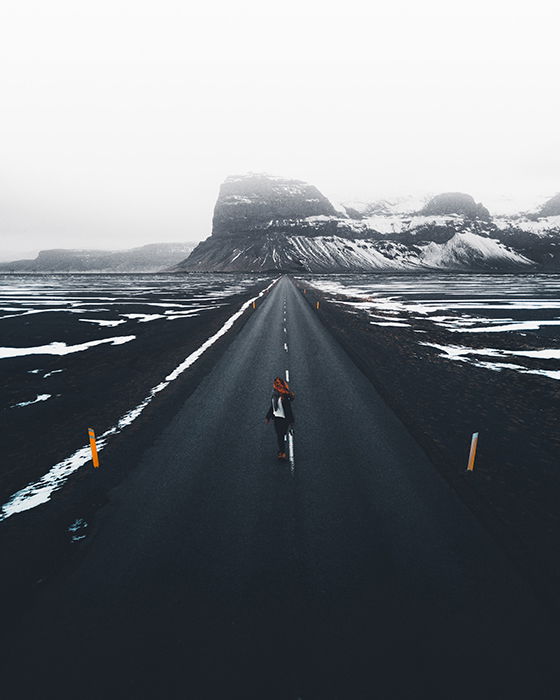
Soft light is almost every photographer’s best friend. It’s even, creates a balanced amount of shadows, and is available almost all year round.
Even if you’re in the middle of winter, you can still take interesting photos by using this light.
To make the most of this light, shoot in an open space where the light can hit your subject evenly. The weather can be cloudy or gloomy.
The more consistent the light, the more balanced your composition will be. If the sky is empty, shoot as close to your subject as possible so your composition doesn’t end up looking dull.
If you’re photographing a person, make sure they face the sky. This will help you avoid unflattering shadows. For still life photography, use a reflector (or a sheet of foil) to remove unwanted shadows.
For dramatic landscape shots, take photos when the sun peeks through. This will create streaks of light. You can use these to enhance your landscape compositions.
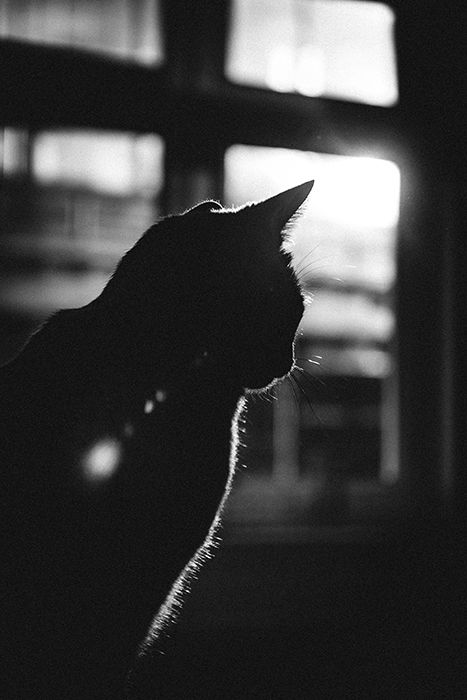
Backlight means that the light source is directly behind your subject. If your subject completely covers the light source, then you’ll get a dramatic silhouette.
If part of your lens captures the light, you’ll get sun flares or halos of light. These are great for dreamy photography.
To achieve the backlit effect, you can use several methods:
No matter what kind of backlight you use, it will highlight your model’s silhouette. It will emphasise the textures around them (such as stray hair), and create warm golden light.
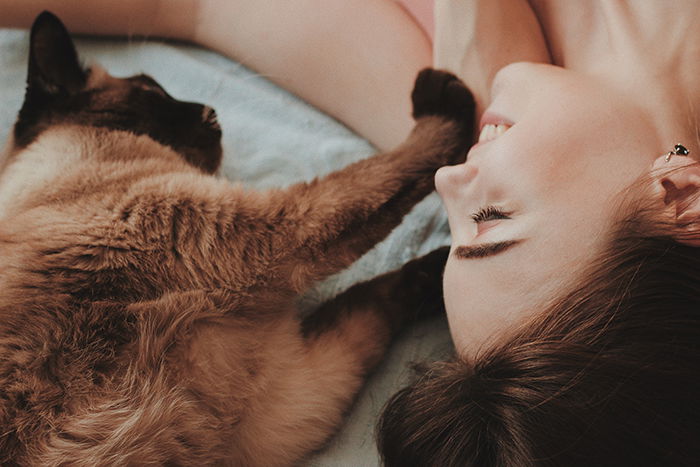
When bright light enters a room through large windows, a very specific kind of light is created. If you shoot in an open space with white walls, you’ll have a lot of different kinds of light to work with.
Indoor light is soft and even. You can use it to take eye-catching interior photos and minimalist portraits. You can even take photos of objects with a lifestyle photography feel.
Given the limitations of indoor spaces, you won’t be able to move around as much.
You can use a wide-angle lens to make up for the lack of space, but you can also use a prime or zoom lens to take intimate photos.
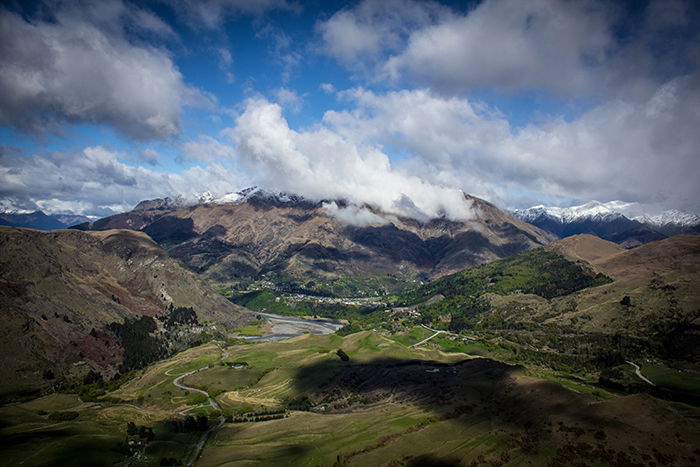
Spotlighting is very rare because it relies on the weather. This special light is available only when there’s a small opening in a blanket of clouds.
If the opening is very small, a circle of light will appear and emphasise whatever is lands on. This is perfect for moody landscape photos.
An alternative to this lighting is spotty lighting, which is easier to achieve on cloudy days.
As you can see in the image above, you need a combination of bright sunlight and a few scattered clouds for this to work.
The sharp contrast between the shadows and bright light can make for interesting landscape pictures.
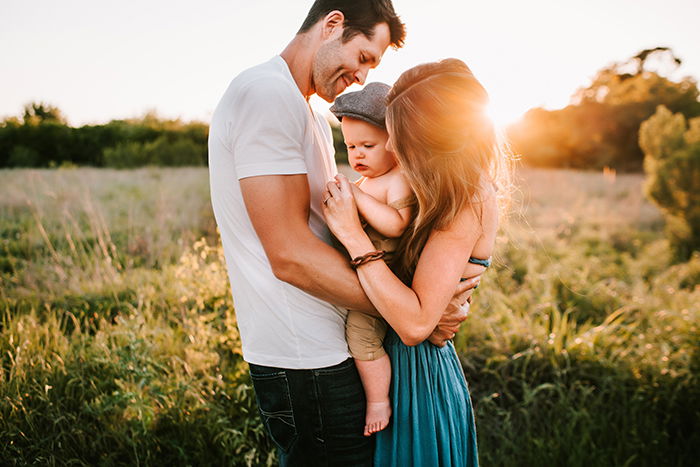
Golden hour happens right before the sun sets and shortly after it rises.
The light during this time is soft and warm. This means you can shoot from virtually any angle and get an appealing shot. Even direct golden hour light is pleasant compared to its midday alternative.
A common lighting technique that’s used during this time is backlight.
You can achieve backlight by photographing your subject while they stand in front of a light source. The sun is very low during the golden hour.
You can take stunning backlit photos of people and objects, as pictured above.
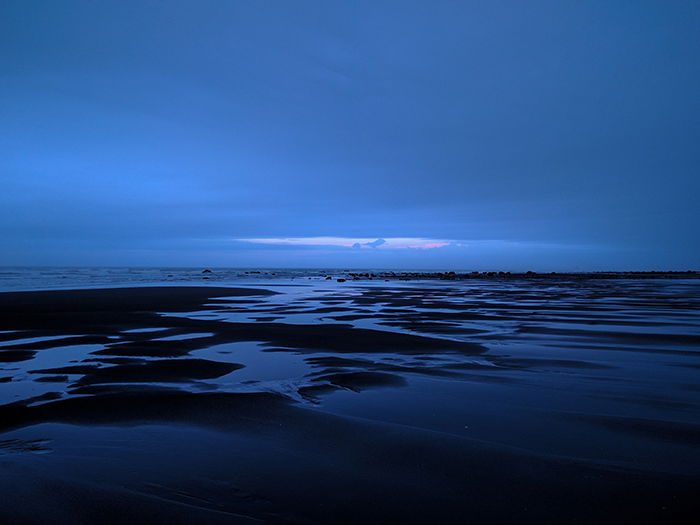
The blue hour occurs when the sun is below the horizon. This creates a soft blue light that is often found in landscape photography.
According to Wikipedia, the blue is hour is at its most intense “when the Sun is between 4° and 8° below the horizon.”
You can use this light to take soft, atmospheric, and peaceful photos of landscapes.
The intense blue color is perfect for cityscapes and waterscapes. Because of its tranquil nature, it can also complement long exposure photos.
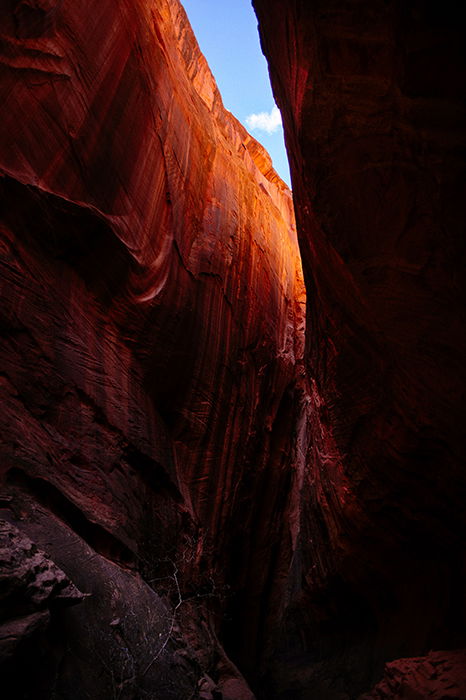
Reflected light is exactly what it sounds like: light that’s reflected off a surface. It can be any reflective surface, including a piece of glass, sunglasses, or even a prism.
This is a great way to manipulate natural light. Especially if the weather is being unpredictable. You can use a DIY reflector to create more light on a gloomy day, for example.
Some surfaces, like blankets, aren’t naturally reflective. But if enough light hits them, they’ll create reflections of their own.
For example, a red blanket will create subtle red reflections. A gold reflector will create warm reflected light.
You can also find reflected light in nature. Cliffs, trees, etc., all reflect light in their own ways. These create pools of indirect light around them. Look out for these subtle reflections the next time you go out to take photos.
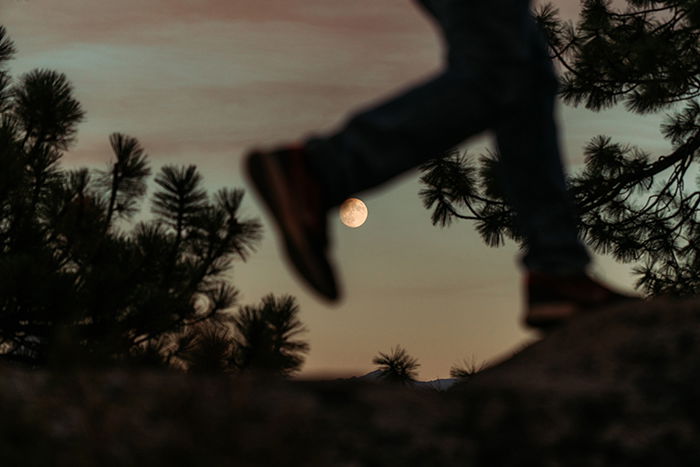
Moonlight may not be the most popular kind of light because it’s considered weak. With the right camera settings, you can take ethereal photos of silhouettes and landscapes.
For this to work, your ISO needs to be high but not extreme. Use a tripod so you don’t end up with blurry photos.
You can use the moon to light your subjects from behind and create silhouettes. You can also use it as a subtle light source for dreamy landscape pictures.
You can approach natural light in a wide variety of ways. It depends on your photoshoot theme, your preferences, and the weather.
The more you experiment with these kinds of light, the easier it will be to take unique photos. No matter where you are or who you’re photographing.
Start with these twelve, and you’ll discover many more throughout the process.