Trying new techniques is a great way to test your skills. Sometimes, a new perspective is all you need to unlock a whole new world of creativity!
Worm’s eye view photography is a great technique, and it’s pretty simple. Shots can draw the viewer’s eye to minor details or increase scale. You can also position other objects in the foreground to mix up your pictures.
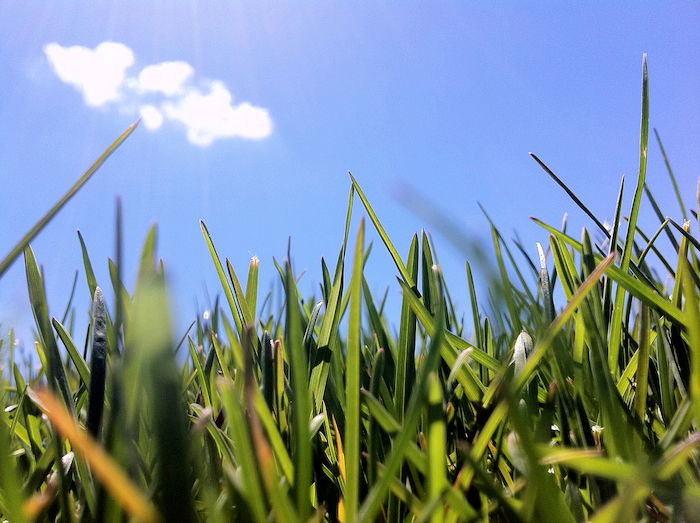
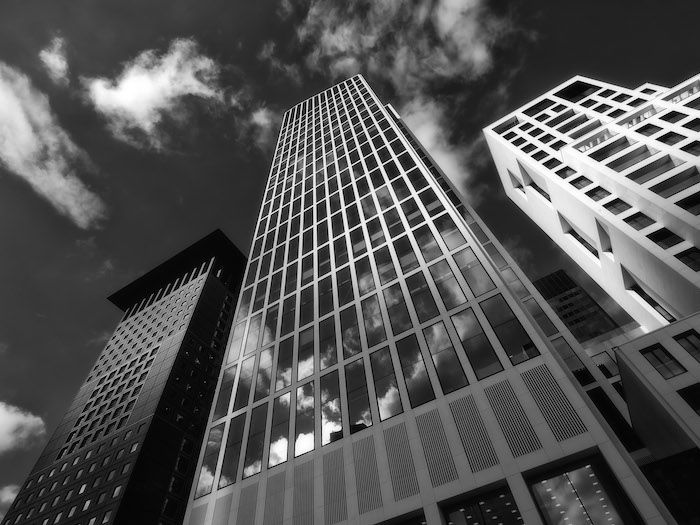
Because most people prefer to photograph the world around us, we don’t often look straight up when taking photos. But worm’s eye view photography is precisely this—a shot looking straight up or from a very low angle. Despite the name, you don’t have to be lying on the ground like a worm. You can take shots looking up at a tall building or any other object. This shot style offers a new perspective on a recognizable subject, making it look taller. This conveys a different feeling to the viewer, and you can even use this point of view to tell a story in your images.
This style of shot grounds your perspective against objects in the image. It helps your photos feel and look tangible and full of depth. A great example is a worm’s eye view combined with a long exposure shot of the night sky.
A more commonly known technique is the bird’s eye view—shots looking straight down. Think of worm’s eye view photography, but the exact opposite. If you want to practice this shot style, you can find inspiration and tips below!
© Jordan Hipwell
To take great worm’s eye view photos, you need to angle your camera upwards. Either lie flat or sit with your camera facing upwards. If you’re struggling to keep your shots steady by hand, a tripod or monopod will solve this issue. You can also use a remote trigger or mobile shooting app if your camera is compatible. You can either shoot straight up at the sky or towards an object at an angle.
One of the benefits of the worm’s eye view shot is how striking the images can be. You can also get significant light and scale effects with your subjects. You can easily fit different-sized objects in your frame.
While aiming your camera up sounds simple, getting the most out of this approach can be tricky. We’ve put together five top tips to help you improve your worm’s eye view photography!
© BertK212
Like many other photography techniques, light is vital in getting great images. As you’ll be shooting straight up or at an angle, you’ll likely be directing a lot of light into your lens. While your camera settings and auto-exposure may be good enough in some situations, it’s best to shoot manually.
Be sure to measure the exposure of your image. You’ll also want to experiment with your aperture. Try setting your aperture to around f/8 – f/11. This will limit the amount of light hitting your sensor. The opposite can also be true. If you’re shooting in low light, a wide aperture might work best. If you don’t adjust for exposure, your shots will lack sharpness and contrast. You may also find that your photos are washed out and over-exposed.
Using a low ISO will help retain detail in your shot, especially with a wide-angle lens. Try ISO values between 200 and 400. To complete the exposure triangle, using a higher shutter speed can help keep things sharp and well-focused.
Adjust your exposure before you position yourself and experiment with composition. Keep in mind that you might have to compensate for reflections and glare if you’re shooting architecture.
© Kyle Bushell
You should experiment with different lenses, depending on what you want to capture in your shot. Standard 35-70mm lenses can work great, especially with effective composition. They allow you to capture a natural-looking worm’s eye view shot. But if you want your photos to stand out, consider a wide-angle lens. Don’t go for super wide-angle unless you want the distortion that comes with it.
A wider field of view means that you can get more into your shot composition. This is especially useful when you’re shooting close to the ground. Wide-angle lenses are great for capturing striking images of forests, mountains, and architecture. They allow you to capture more without making your shot appear unnaturally stretched. For wide-angle, stick to 24-35mm lenses. These are great for capturing all the objects in your composition sharply.
Another option is a fish-eye lens. These are great for more creative, distorted shots. They work well if you want to go for striking edits in post-production or are shooting your subject right up close.
A final option is the telephoto lens. If you want to capture faraway objects in your worm’s eye view, this is the lens choice for you. As a plus, they also offer a variable focal length.
© Daniela Micali
Like any other technique, composition is critical. Consider what you can place in your shot to make it more unique or striking. How can you use shadow, silhouette, and light in your approach? Knowing the basic rules of composition will always improve your shots.
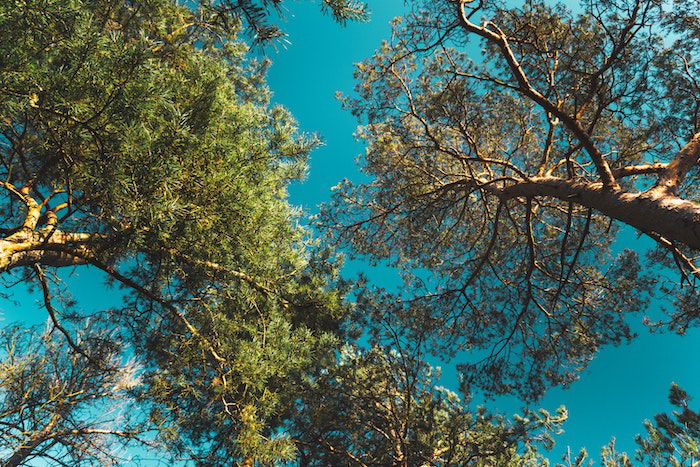
Don’t forget the rule of thirds! This is key if you’re shooting symmetrical objects or patterns. Going hand in hand with the rule of thirds is form and pattern. Consider how you can create focus and movement within your shot. Take an example of a photo looking up from a forest floor. The shapes of the trees and the snaking forest canopy create patterns, flow, and direction.
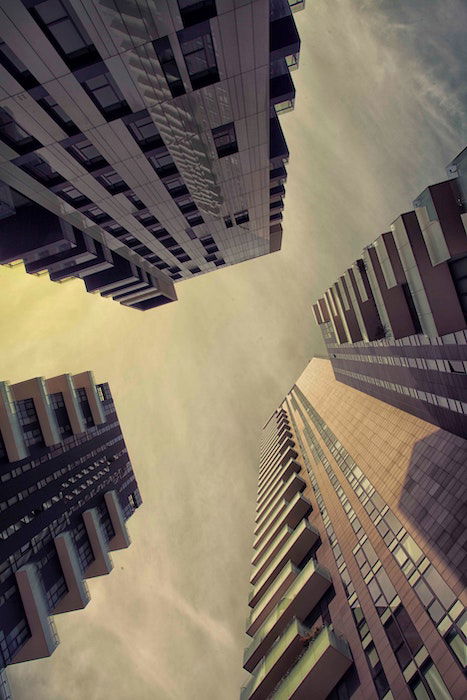
Worm’s eye shots are great for capturing architecture. Picture mosaic ceilings or ornate brickwork perfectly aligned in a photograph taken from below. Balance objects in your images, and consider if you want to focus on a specific point. This doesn’t have to be an object but rather a point within your frame. In essence, look for what is appealing, and try to maximize its potential in your worm’s eye view photography.
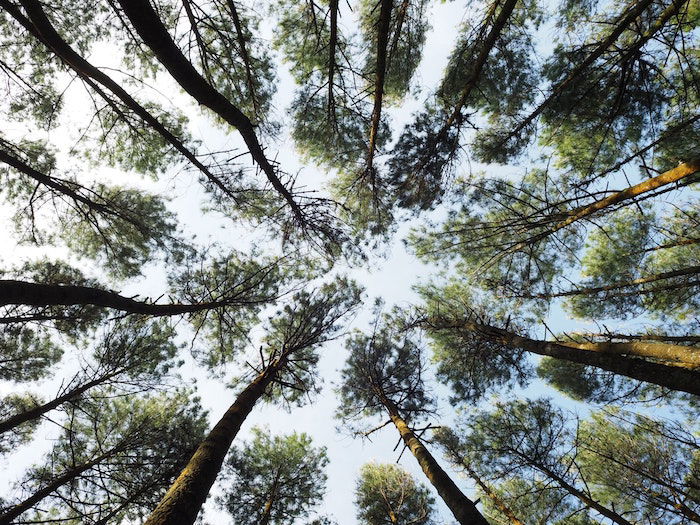
© Aldino Hartan
Staying steady while lying flat on the ground or at an angle can be tricky. A monopod or tripod can help you align your shot. If your camera is compatible, you should combine this with a remote trigger. Even the most accomplished photographers will cause a slight camera shake when they take a shot.
Using a remote trigger removes this potential for camera shake, which is ideal for macro shots. They’re also great for setting your focus once your camera is stable. If you’re aiming to shoot a photograph of an animal, your position away from the camera might be key.
If you’re waiting for the light to change or your subject to perfectly align, using a remote can save you from back strain! If you’re shooting portraits from a worm’s eye view, you could use your camera’s self-timer. This locks in the focus, allowing you to place objects in the frame.
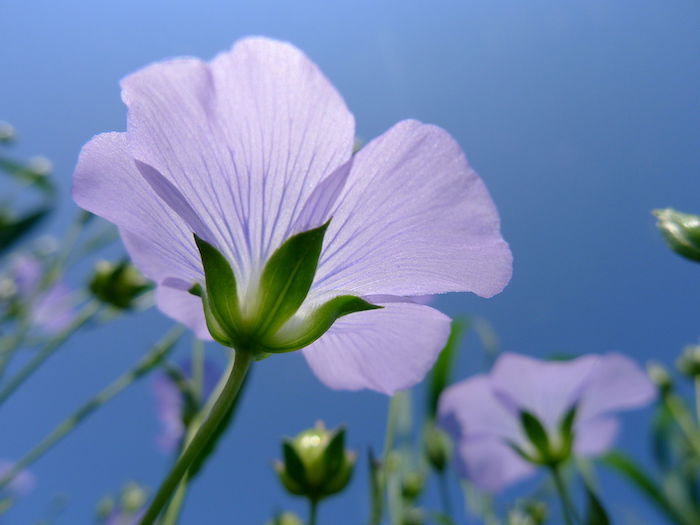
© Flax Linacaea
To make your subject stand out, you need to be aware of the depth of field and the focal point in your shot. You can adjust the depth of field in your picture to make subjects pop and remain sharp. Depth of field in an image also impacts how much of your subject is in focus. If you’re shooting objects such as flowers or plants from up close, a shallow depth of field works perfectly.
A wider depth of field is excellent for shots of tall buildings or wide-angle photos. If you want to draw focus to a particular aspect of your image, make sure you understand depth of field.
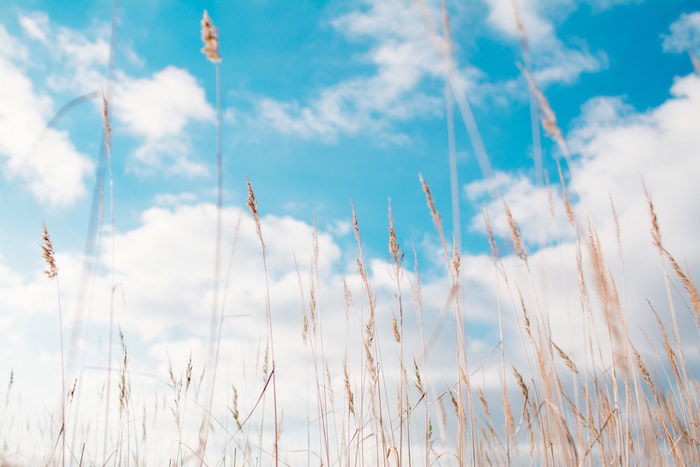
© Rodion Kutsaev
The worm’s eye view shot offers excellent potential. The style is perfect for getting great images of forestscapes and cityscapes. It’s also a good option for wildlife photography. Architecture and macro photography of plants and objects also look fantastic. Long exposure with a stable worm’s eye setup can be an astrophotographer’s dream. Worm’s eye view photography is creative, simple, and full of potential.
You can start practicing worm’s eye photography with minimal kit and experience. This is what makes it such a versatile approach. Whether you’re a pro photographer or a beginner, you can incorporate it into your arsenal.
Give this technique a try the next time you’re photographing, especially at ground level. The world around us offers so much potential for beautiful photos at eye level, but don’t forget to look up!
Check out our Shooting Skies ebook to ensure the best-looking skies in your worms-eye view photography!
The images in this article are provided by unsplash.com.