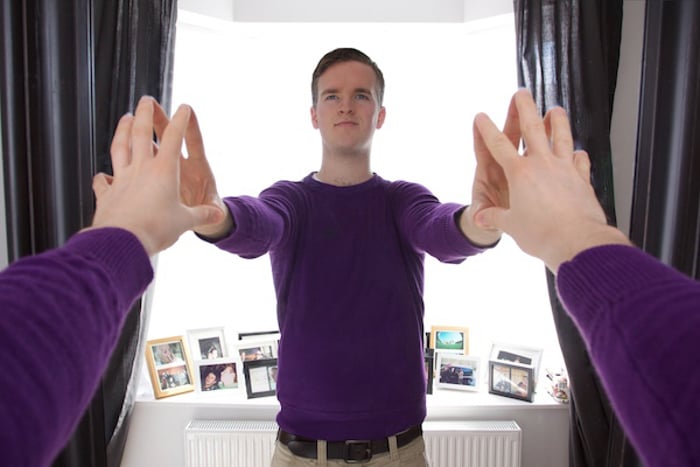
DIY photography is all about creativity and problem-solving. Tapping into the Do-It-Yourself mindset opens the creative channels in your brain, giving you more mental flexibility and fewer limitations. DIY solutions also save you money, as you don’t need to fork out for expensive equipment.
If you’re a photographer looking for creative solutions to age-old problems, you’ve come to the right place. This article is packed with DIY tips and tricks any photographer can try at home. This is the best place to start if you want to cultivate a Do It Yourself mindset.
What is DIY Photography?
DIY photography is where you take a hands-on, craft-based approach to solving problems. Instead of buying a new piece of equipment every time you want a particular type of shot, you make your own tool out of things you have at home.
The do-it-yourself approach encourages creativity, as you have to find solutions without resorting to buying new gear. Using nothing but your own ingenuity and a few household bits and pieces, you are forced to think outside the box.
Taking the DIY approach makes you more resourceful as a photographer. You can’t rely on your credit card as your get-out-of-jail-free option., so you make do with what you have. This problem-solving mentality then bleeds into other areas of your work and life, helping you find solutions to any sticky situation.
Experimenting with DIY solutions is also a great way to save money. We all know how expensive photography gear can be, so it’s worth saving a few dollars by making your own equipment.
Of course, you can’t always find DIY solutions, and if you want the best results it’s often worth spending the money. But looking for homemade fixes develops your creativity when it comes to problem-solving. And this will benefit your photography work in ways you never imagined.
DIY Photography
Now we’ll look at how you can bring the DIY mindset to specific genres of photography. Whether you’re shooting furniture or portrait headshots, there are DIY solutions to add to your photography process.
Click the links to see the full articles on each topic.
Product Photography
You don’t need expensive gear for great product photos especially if you take the do-it-yourself approach.
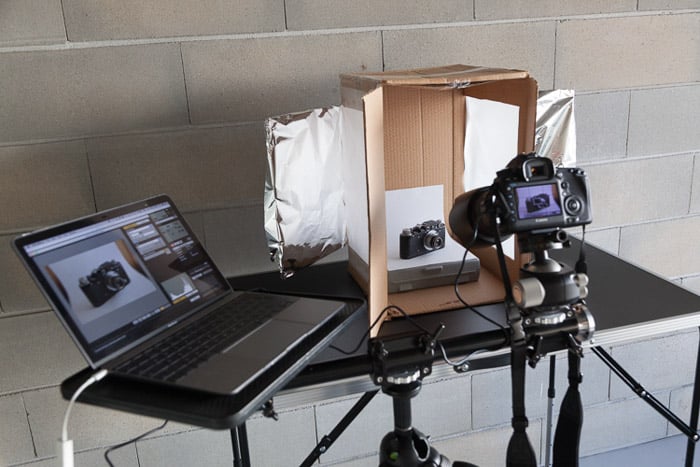
White card stock is a versatile tool that provides a clean background and can be used as a DIY infinity curve or bounce card. Reflectors made from cardboard or tin foil are helpful for eliminating harsh shadows when using one light.
Glass offers a creative, reflective surface that works with any product. A lazy Susan is an inexpensive turntable for capturing 360-degree product shots. Draping a white shower curtain over a table creates a DIY lightbox, while using it in front of a window diffuses natural light.
Experiment with window lighting at different times of day for distinct effects. Outdoor settings work well for lifestyle product images, especially for healthcare, outdoor, and food products.
Check out the full article for more DIY product photography tips.
Furniture Photography
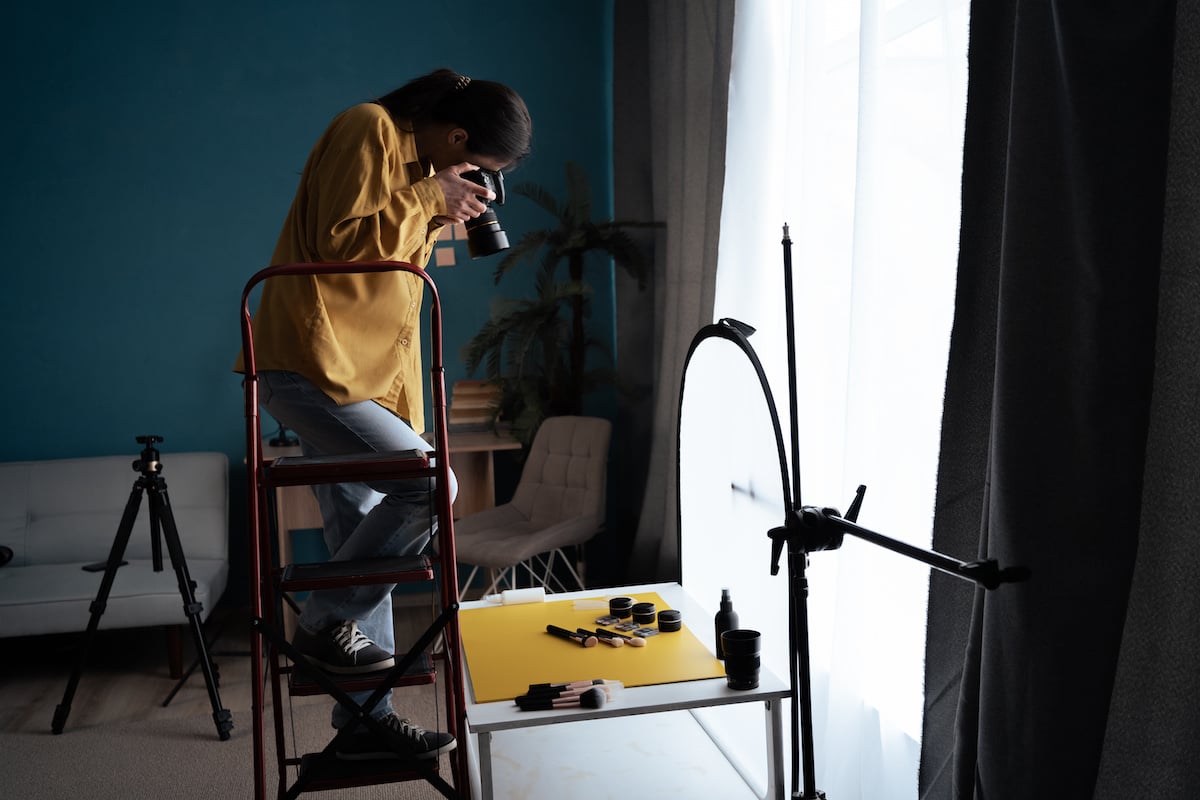
Good furniture photography is important if you’re selling these types of products online. Clean and polish your furniture before shooting. Use an attractive backdrop if shooting in a studio.
Natural light near a window works well. You may need to use a reflector or portable flash to manage shadows. Shoot the furniture at an angle to show its best features.
Use a tripod to keep your images sharp. Choose the right lens to avoid distortion. Keep props minimal to enhance the furniture without detracting from it. To learn more about furniture photography, check out this in-depth guide.
Headshot Photography
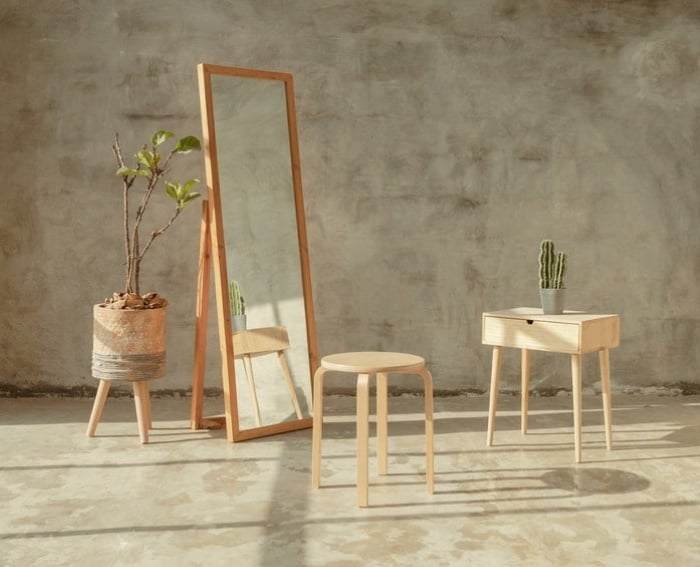
These DIY photography tips will help you produce professional headshots without the need for more expensive gear.
Wear neutral-colored clothes to put the focus on the face in your headshots. Avoid bright colors, patterns, and accessories. Use a tripod, shutter remote, and reflector to make the photoshoot easier.
Set your camera to a large aperture like f/4 for a blurred background that makes your face stand out. Keep the shutter speed fast and ISO low for sharp, noise-free results.
Find a simple location with good natural light, like a shaded area outdoors or a well-lit room with a white wall.
Stand sideways at eye level and turn your head towards the camera for a flattering angle. Ask someone to make you laugh for an authentic smile, or think happy thoughts to brighten your expression. Get comfortable with your camera settings by practising on friends first.
For more tips on taking great DIY headshots, check out this in-depth guide.

© Trevor Marshall
Boudoir Photography
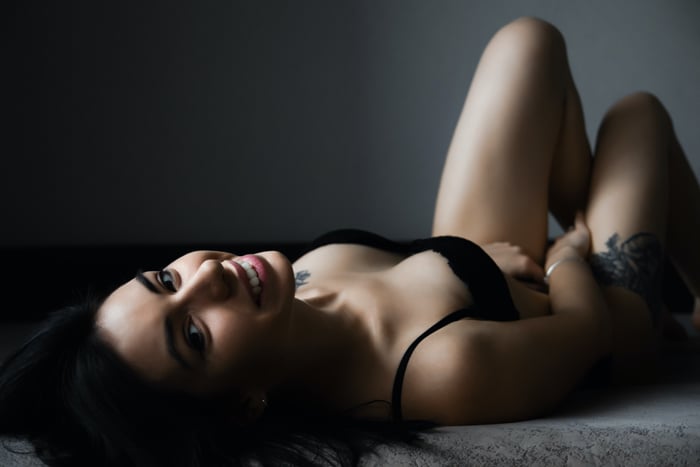
Boudoir photography captures the intimate side of a person. It can be as simple as taking photos in your bedroom or an elaborate photoshoot with professional hair and makeup. Choose a familiar place where your models will feel comfortable, like their bedroom or your studio
Declutter the background and use minimal props to keep the focus on the subject. A tripod and remote or timer are essential for taking self-portraits. Natural light from a window can provide flattering lighting, and practising poses beforehand will help you feel more comfortable in front of the camera.
Get creative with your outfit, hairstyle, and makeup to showcase your personal style. Most importantly, have fun and let your personality shine through in your DIY boudoir photos.
Flat Lay Photography
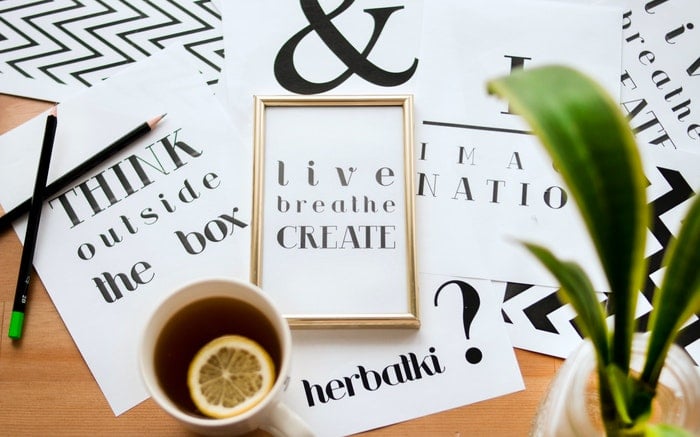
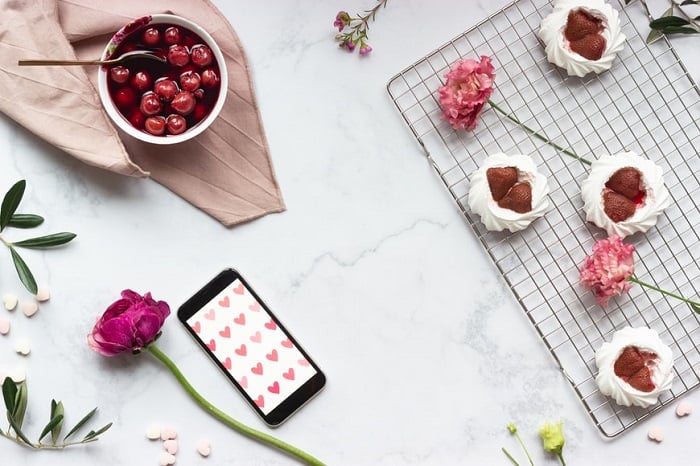
Flat lay photography is a popular way to create eye-catching images for social media and marketing. You don’t need fancy equipment or real marble surfaces to make awesome flat lay backgrounds. White paper is a great starting point, as it provides a clean space that makes colors pop.
Black paper can change the mood, softening colors for a different look that works well for food photography. Experiment with stacking sheets of paper to add texture and volume, or use colored paper to create vibrant, bold images.
Repurpose materials like wrapping paper, fabric, or even clothes to tell a story in your flat lays. Chalkboards allow you to personalize your photos with words and drawings. For a rustic feel, use wooden surfaces or imitation wood like vinyl flooring or wallpaper.
Maps make excellent backgrounds for travel-themed flat lays, implying a voyage and adding visual interest. With these DIY flat lay background ideas, you can create fantastic images without spending a fortune.
Newborn Photography
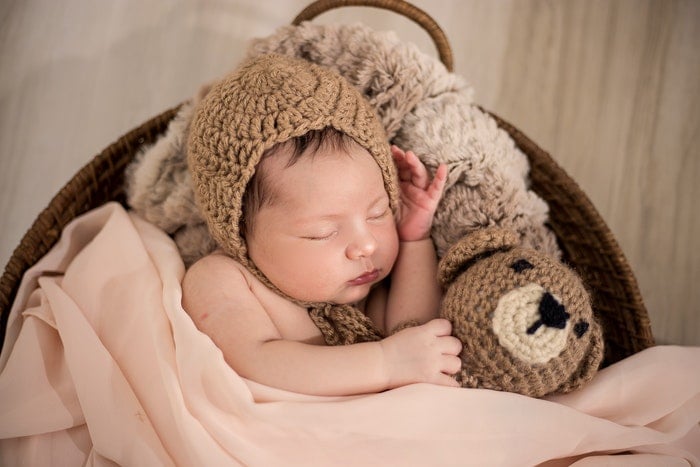
Taking DIY newborn photos with a smartphone is possible even on a tight budget. The key is to keep the baby safe by using simple poses the infant can hold without help. Place the baby on their back or side on a soft blanket.
Use window light and keep the room around 80°F to help the baby sleep. Simple props like hats, headbands, and wraps can add variety without clothing that’s too big.
Gently adjust the baby’s arms and legs, but take photos from different angles before moving them. When editing, keep it simple. Remove temporary flaws like rashes, but avoid blurring the skin. Adjust exposure, color, and use filters for a polished look.
For more tips on capturing precious newborn memories, read our full guide on DIY newborn photography.
Cake Smash Photography
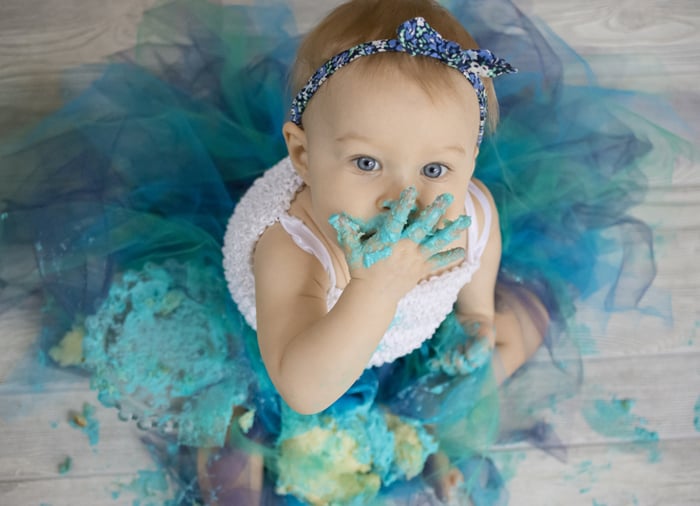
Cake smash photography is a fun way to celebrate a baby’s first birthday. Keep it simple with just a few props and a colorful background. Choose a soft, natural light source like a large window for the best results.
Encourage shy babies by giving them a taste of frosting. Shoot from different angles to capture a variety of shots, from close-ups of frosting-covered toes to wide shots of the entire messy scene.
Plan for easy cleanup by keeping paper towels handy and heading straight to the bath after the shoot. With a little creativity, you can capture cherished memories of this milestone birthday. For more tips on capturing the perfect DIY cake smash photos, check out the full article.
DIY Photography Tricks
You don’t need expensive gear to take cool photos. With a few DIY tricks and techniques, you can solve your photography problems without reaching for your wallet.
Use a sandwich bag to create a dreamy effect. Cut a hole in the bag for your lens, then place it over the camera. The plastic will blur the edges of your image.
A prism held close to the lens can add rainbows, reflections, or blur distractions. Cut shapes out of paper to place over your lens and change the shape of the bokeh. Fishing line taped across the lens creates a cinema-style horizontal flare.
Household objects can also modify the light. A kitchen strainer makes spotted light patterns. Placing a smartphone screen angled under the lens can create a mirrored effect in the bottom of the image.
DIY photography tricks are a great way to get creative without buying anything new. Most use basic items you already have at home.
Backdrop Ideas
Are you tired of the same old plain backdrops for your photos? Colorful DIY photo backdrops can make your images pop. From birthday parties to newborn sessions, these backdrops are useful for many different types of photography.
Paper streamers are a simple and versatile option. Choose your colors, stick them on a wall with tape, and you have a striped backdrop ready to go. You can also use paper plates in different shades or patterns to create an Ombre wall or mosaic effect.
For a magical fairytale look, drape fairy lights over a curtain rod and cover with a sheer curtain. Add flowers at the top for an extra touch. Doilies also make for easy DIY backdrops – stick them on the wall in any pattern you like. With some creativity, you can turn everyday items into stunning photo backgrounds.
We have a load more ideas in the full article on DIY photography backdrops.
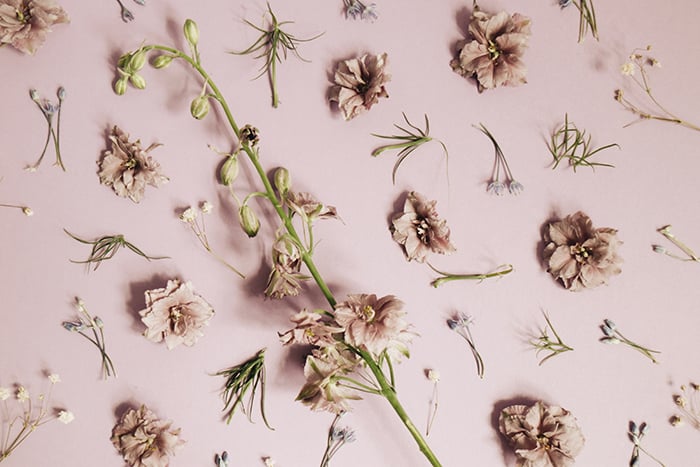
Photo Gifts
Here are some fun and creative ways to use your photos. Frame them with scrapbook paper to add color and texture. You can also decorate old frames by drawing on them with markers or adding washi tape.
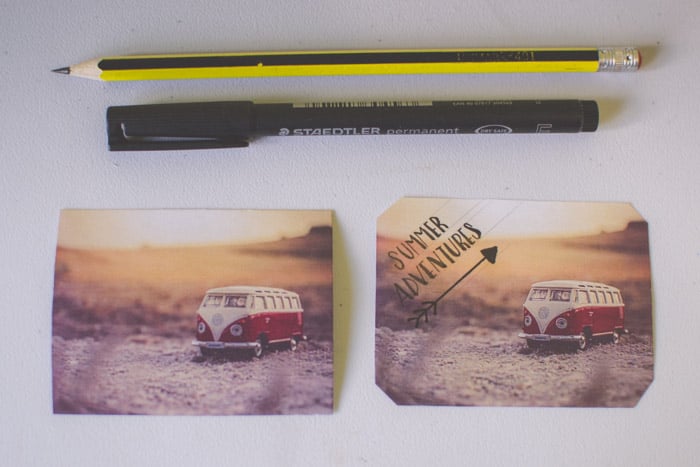
Make your own custom coasters using corkboard, photo transfer glue, and photos printed on regular paper. You can also print photos and turn them into magnets using adhesive magnet tape. Creating unique photo stands using smooth stones and metal wire is another great gift idea.
Display photos in a box using an accordion-style folded paper. Attach binder clips to wood planks to hang photos as wall art. Or you can use a large empty frame with hook screws and elastic cord to create a photo display.
See more DIY photography gift ideas in our full article.
Using Flour
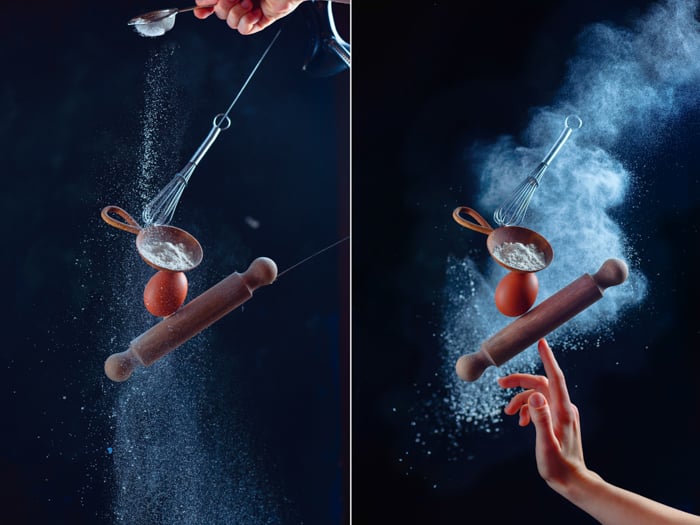
Creating magical flour photoshoots is easy with a DIY flour cloud gun. All you need is a balloon pump, paper cone, flour, and a few extra props. Secure the objects in place using glue and knitting needles to create a steady composition.
Use two light sources to illuminate the scene and freeze the motion of the flour cloud. Take a sequence of photos, starting with your hand in the scene before adding the flour action. Merge the best shots later in post-processing and remove any visible supports.
With this simple yet versatile technique, you can add a creative touch to your still-life photography. Experiment with different powders and themes to find your own unique style. Flour photoshoots offer endless possibilities and adds a new level of creativity to your photography.
DIY Photography Props
DIY photography props are a fun way to get creative when taking picture. You can make flower crowns using hair clips from Amazon or eBay. Arrange the clips into a crown that fits the theme of your photoshoot.
Foam boards are great for making photo booth frames. Cut a rectangle in the center and decorate the frame however you like. You can also use chalkboard paint to create custom photo backgrounds.
Milk baths are perfect for unique portrait photos. Fill a bathtub with water and milk powder, then add some flowers. The key is to use natural light from a nearby window. like these will help you take your photos to the next level.
Filters
Experimenting with DIY lens filters is a fun way to bring new effects into your photos. You can make interesting effects using everyday items like water, Vaseline, plastic sheets, and even hosiery.
Spray water droplets on a clear filter for a dreamy, bokeh effect or use a piece of plastic with a hole cut out to create a soft focus look.
Colored plastic sheets or pens can be used to add unique color filters to your photos. For a retro vibe, try dangling tinsel or wool strands in front of your lens. Vaseline smeared around the edges of a filter will give a soft, blurred effect.
With a little creativity, you can achieve looks similar to expensive specialty lenses. Fishing line taped across the front of your lens can mimic the flare effect of an anamorphic lens.
If you’d like to learn more DIY photography ideas, check out the full tutorial.
Infinity Curve
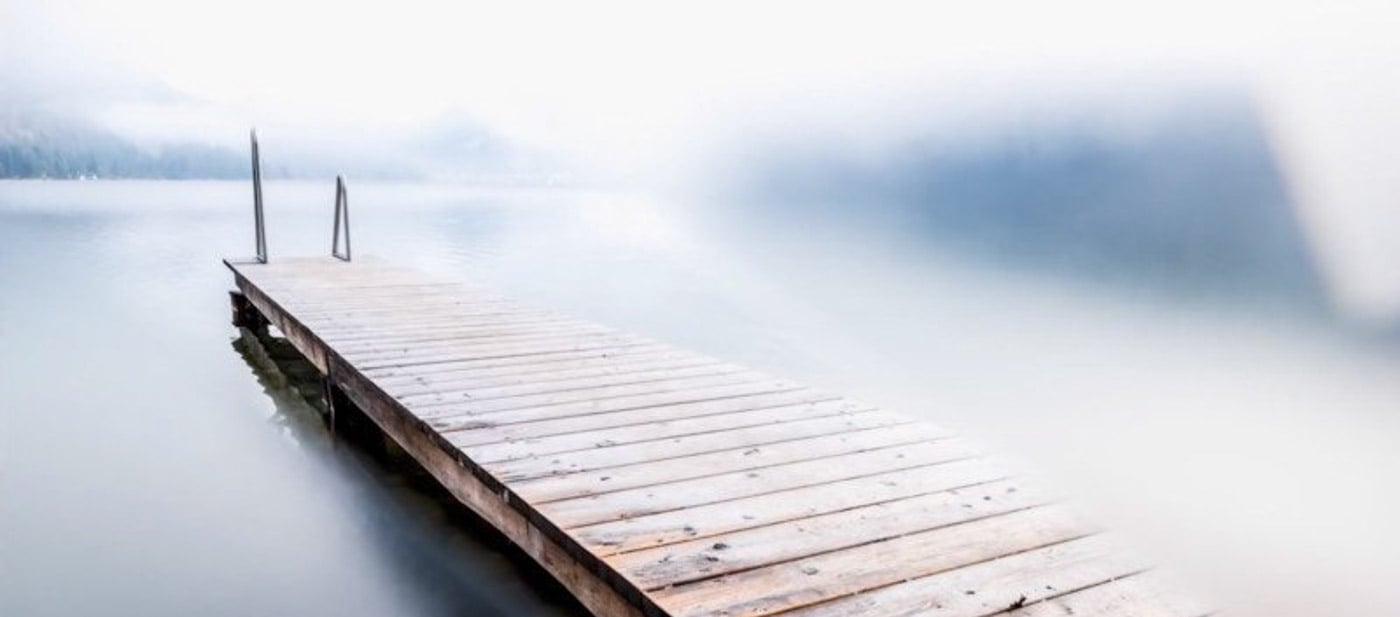
An infinity curve is a seamless background with no visible lines or corners, creating a clean look that draws attention to the main subject in product photography. To make an affordable DIY infinity curve at home, use a poster board for small products or seamless paper for medium to large items.
Tape a poster board to the wall and let it rest on a table for photographing small products. For medium-sized objects, use a 4 ft seamless paper background with a stand. Secure the paper to the stand’s horizontal rods and position it about 4 ft apart.
When shooting large products, use an 8 ft seamless paper background. Drape at least 4 ft of the paper onto the floor, providing ample space for your product. Take care not to step on the background with shoes and store the paper vertically to avoid creases. While seamless paper has limitations, it’s an inexpensive and versatile option for creating infinity curves in various colors.
To learn more about setting up an infinity curve, check out this in-depth guide.
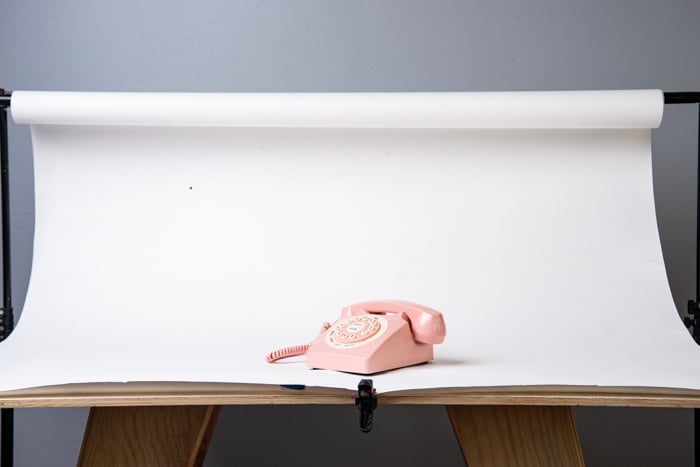
Photo Booth
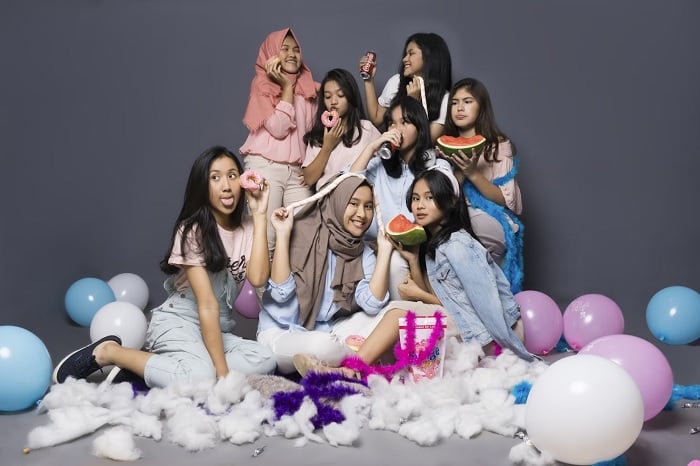
A DIY photo booth is a fun and affordable option for events like weddings, parties, and family gatherings. To set one up, you’ll need a camera, tripod, and an eye-catching background.
Lighting is key for great photo booth shots. Natural light works well if you have enough of it, or you can use studio lights for more control. Place the lights close to the subjects for stronger illumination and interesting shadows.
Let your creativity shine with the background! You can use a natural setting or craft your own backdrop with decorations. Interactive backgrounds encourage livelier poses and expressions from your subjects. Don’t forget props like costumes, masks, and speech bubbles to add extra flair. With a little planning and some DIY spirit, you can create a DIY photo booth that will be the hit of your next event.
Food Photography Backdrops
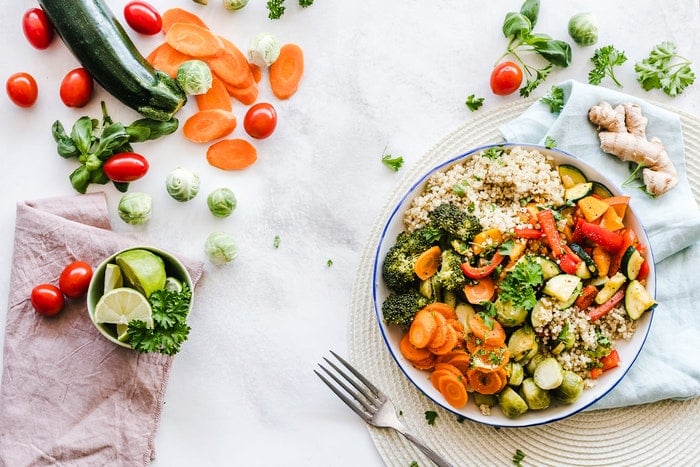
Creating DIY food photography backdrops is a great way to get unique looks without spending a lot of money. Painted canvas backdrops have beautiful textures that create a rustic yet elegant vibe. Porcelain or ceramic tiles from home improvement stores are inexpensive, wipeable, and look great in neutral colors.
Painting thin plywood sheets is another affordable option. Use water-based paint samples or craft paint in similar colors, and apply with a sea sponge for a subtle, mottled effect. Seal with a matte, water-resistant sealer to prevent stains and wear.
Craft paper, used baking paper, vintage trays, vinyl contact paper, and even paper grocery bags can all be used as interesting backdrops. Burlap and linen add texture, while wooden cutting boards and parchment paper are versatile options. With a little creativity, you can find many household items to use as DIY food photography backdrops.
Backdrop Stand
A DIY backdrop stand is an easy and affordable way to take creative photos at home. To make one, you’ll need PVC pipes, T-pipes, and elbow pipes from a hardware store. Assemble the legs using the pipes to form a sturdy base.
Attach a long pipe across the top using T-pipes and elbow pipes. This will be where you hang your backdrop. Secure your backdrop material, like fabric or paper, to the top pipe using clips.
You can use different materials for backdrops to get creative looks. Iron fabric backdrops for a professional look, or try textured backgrounds for artistic shots. Set up your DIY backdrop stand near a large window to make the most of natural light in your photos.
For more details on DIY backdrop stand setups, check out our full guide.
Wood Backdrop
A wood backdrop is great for many different types of photography, including food and product photography. They even work well for portraits.
Choose pine flooring boards for your backdrop. They’re lightweight, affordable, and easy to work with. You can leave the wood light-colored or stain it for a vintage look.
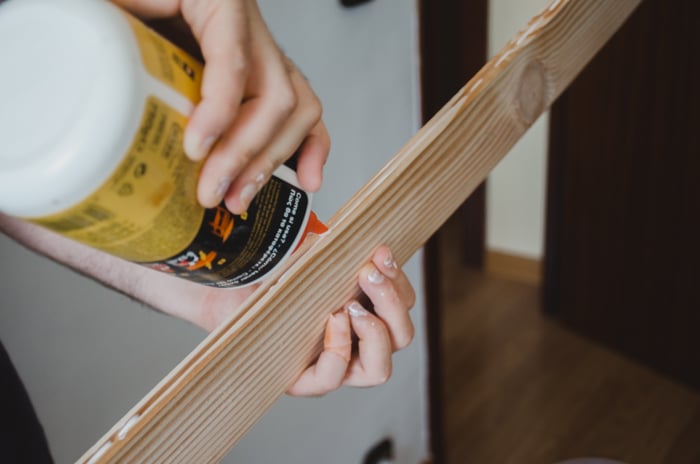
Glue the boards together and attach beams to the back using wood screws. This will make the backdrop more rigid. Let the glue dry overnight.
Stain the wood using a diluted bitumen or turpentine stain. Apply it with a sponge, moving along the wood grain. For a distressed look, add petroleum jelly to certain spots before painting a second layer of white acrylic paint. Once dry, scrape off the paint where you applied the jelly.
To make the backdrop stand on its own, attach a support leg with hinges. Use a cord to anchor the leg to the back of the backdrop. This will keep it from slipping and allow you to use the backdrop anywhere.
A wood photo backdrop is a versatile tool for many types of photography. Use it for portraits, product shots, food photos, and more.
Colored Powder
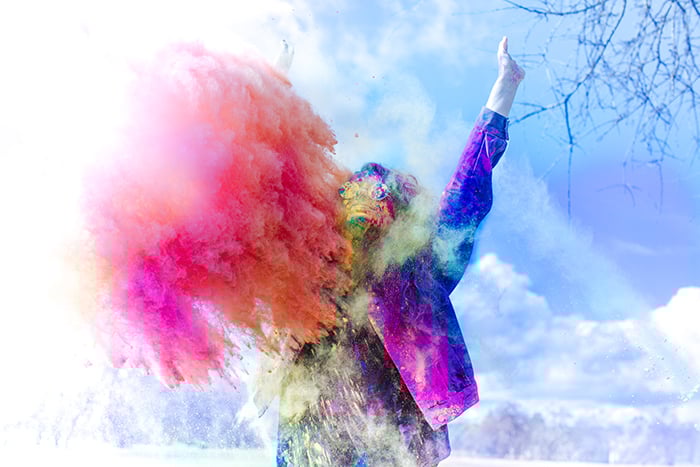
Colored powder is an easy and fun way to add vibrant colors to your photos. To make your own, all you need is flour, food coloring, and a few basic supplies.
Mix the flour and food coloring in a clear bowl until you get the desired color. Let the mixture dry completely, then transfer it to a plastic bag or container for easy transport.
For the best results, hire an assistant to throw the powder while you focus on taking photos. Use a fast shutter speed to capture the details sharply, and shoot in front of a simple background to make the colors pop. Let your model express themselves through dance and movement to create powerful, dynamic images.
Learn more about colored powder for photography in our detail article.
Smoke
Creating smoke for photography is a fun way to add drama and atmosphere to your images. You can use incense sticks, dry ice, or even a hand steamer to make theatrical smoke.
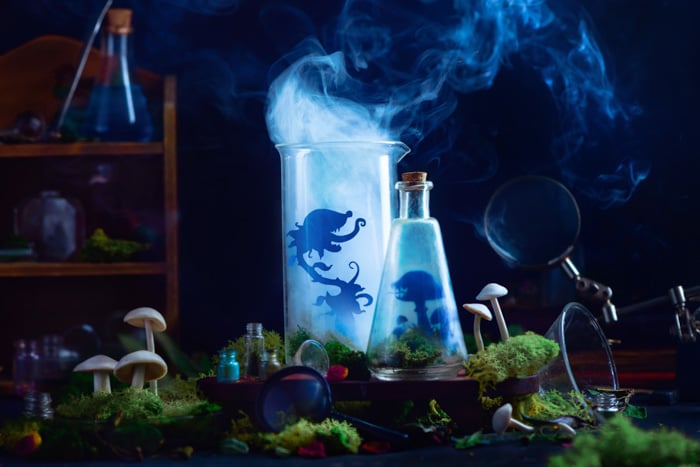
You can place the smoke source in a glass jar or bottle and let it condense at the bottom. This makes it look like you’ve made a spooky concoction in the glass vessel, which is a great effect for Halloween themed photos.
To tell a story with your smoke photography, use paper silhouettes of characters like witches, bats, or monsters. Cut them out yourself or buy pre-cut silhouettes from a craft store. Arrange your scene with the jars and silhouettes, adding other props like leaves, scrolls, or potions to create a mystical atmosphere.
Lighting is key to making the smoke visible. Use a backlight, like a flash with a strip box or snoot, to make the smoke glow. Take a series of shots with different smoke swirls and curls.
Our detailed blog post on making smoke for photography gives you even more tips and tricks.
DIY Lighting
You can create impressive DIY photography lighting with simple items like flashlights and light modifiers made from repurposed materials.
A basic diffuser can be made by stretching white fabric across a large picture frame or plastic pipe frame. Placing the light source closer to the diffuser creates harsher light, while moving it further away softens the light.
Reflectors and flags are essential lighting tools. White poster boards make great reflectors to bounce light and smooth out shadows, while black poster boards act as flags to block light and create moody shadows.
Fairy lights are a versatile and creative DIY lighting option that can be incorporated into photos in various ways. They come in different colors and temperatures, allowing you to achieve the desired effect. By blurring the image or placing the lights in the foreground, you can create a dreamy bokeh effect.
Click on this link to learn more about DIY photography lighting, or keep reading to see more specific DIY lighting tips.
Reflector
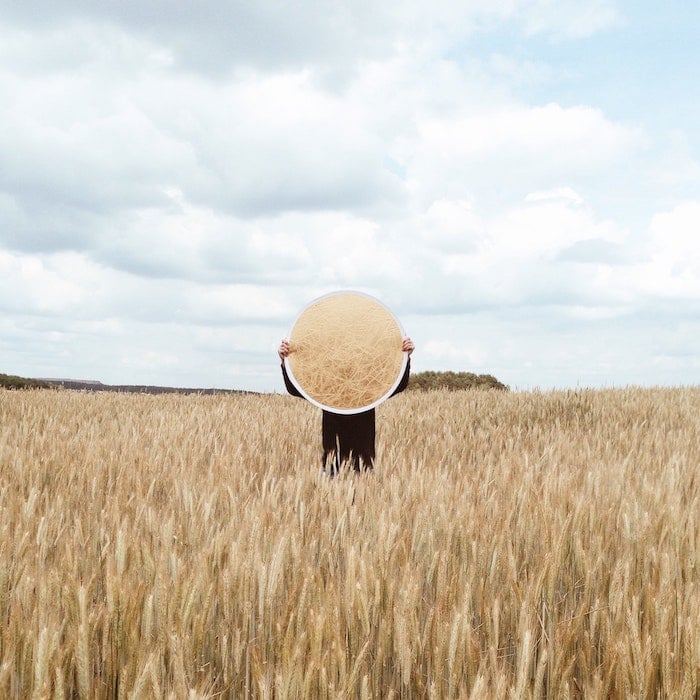
Making a DIY light reflector is simple and can be done with materials found around your house. A reflector has a surface that reflects light to fill in shadows or add a bit more light to a subject or scene. White surfaces provide a soft, natural light while aluminum foil can create a harsher effect.
To make your reflector, cut foam board or cardboard to your desired size. If using cardboard, tape white paper or foil to the surface. Wrap foil tightly and secure with strong tape on the back.
Use bulldog clips on either end of smaller reflectors to create stands for easy maneuvering. For larger reflectors, tie them to tripods or prop them up to angle the light. Place the reflector on the opposite side of your light source and experiment with different angles.
The tutorial continues in our full post on DIY light reflectors.
Softbox
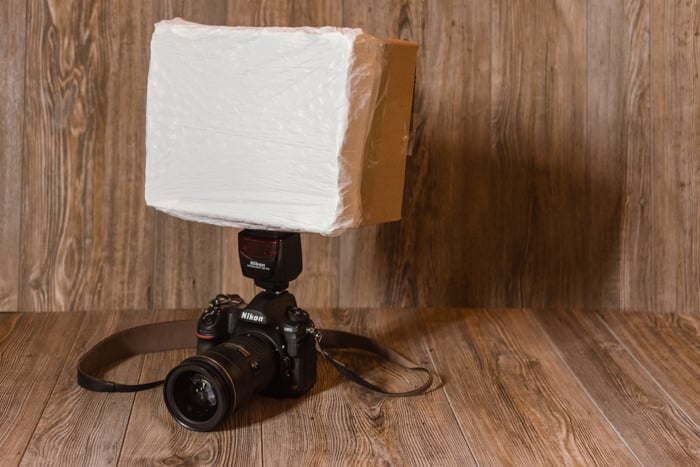
Building a DIY softbox is a simple way to improve your photography lighting. You only need a few basic materials like a cardboard box, white garbage bag, tape, and scissors. Start by cutting off the top flaps of the box to create an open end.
Next, trace the flash head on one side of the box and cut an “X” shape inside to create flaps that will hold the flash snugly. Line the inside of the box with aluminum foil, leaving a hole for the flash opening. This will help bounce the light inside the softbox.
Cover the open end of the box with a white garbage bag or diffusion material, securing it with tape. Insert your flash head through the opening, pointing it straight up. The DIY softbox will create a softer, more flattering light compared to a bare flash.
To learn more about building your own DIY softbox, check out this in-depth guide.
Lightbox
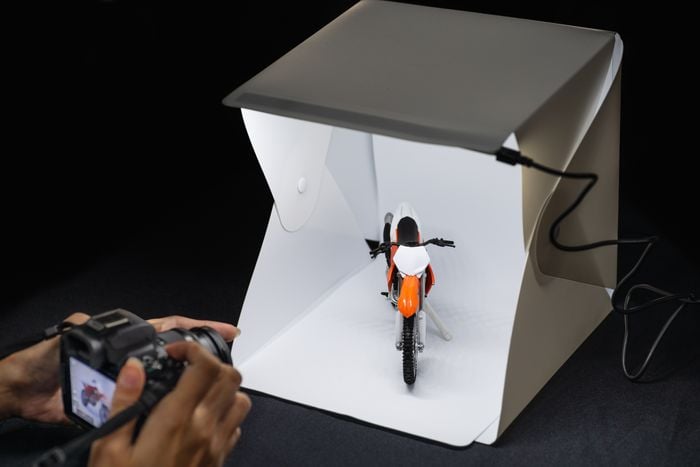
Creating a DIY light box is an easy way to achieve professional-looking product photos without spending a lot of money. You can make a light box using a cardboard box, baking parchment or wax paper, aluminum foil, and a white sheet of paper.
Cut holes in the sides of the box and cover them with wax paper to diffuse the light, then use aluminum foil on the flaps to reflect light into the box.
For a more advanced option, you can create a compact LED light box using an acrylic sheet or white cardboard and an LED light strip. This allows you to shoot at night or in low light conditions. You can also make a simple light box using a translucent white storage box and two speedlights.
With a DIY light box, you can achieve even illumination and shadowless backgrounds for your product photos. Learning how to make a DIY lightbox is a valuable skill for any photographer on a budget.
Flash Diffuser
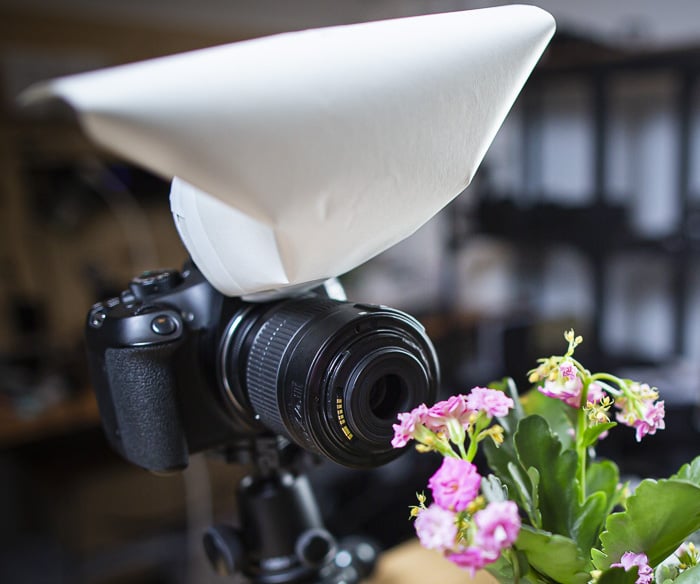
A DIY flash diffuser is a simple yet effective tool for improving your macro photography lighting. It softens and evens out the light from your flash, reducing harsh shadows.
To make one, you’ll need white paper, tape, a hollow tube like a Pringles can, and scissors. Cut the tube to match your lens length, leaving one side longer to direct light downwards. Fold white paper and tape it to the tube in a smooth curve.
Attach the diffuser securely to your pop-up or external flash. The difference in lighting quality is significant, giving you more flattering and balanced results in your macro shots.
For more tips on creating your own DIY flash diffuser, check out our in-depth guide.
Speedlight Modifier
Speedlight modifiers are a great way to add versatility to your photography lighting setup. Using different modifiers, you can change the shape and direction of the light from your speedlight to create more interesting effects in your photos.
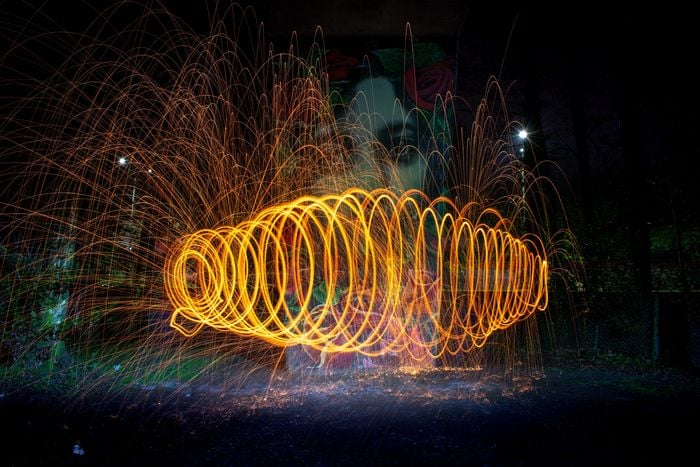
Some easy DIY speedlight modifiers include using silicone kitchen accessories as color filters and snoots, baking paper as a light softener, and steel wool as a diffuser. You can also turn a Pringles chips can into a snoot or barn doors, use a poster storage tube as a light-shaping tool, or make a beauty dish out of disposable plastic bowls.
These DIY modifiers are not only budget-friendly but also allow you to explore different lighting options beyond commercial brands. By experimenting with these creative ideas, you can improve your photography lighting skills and create unique images.
Check out our in-depth article to learn more about DIY speedlight modifiers.
DIY Film Photography
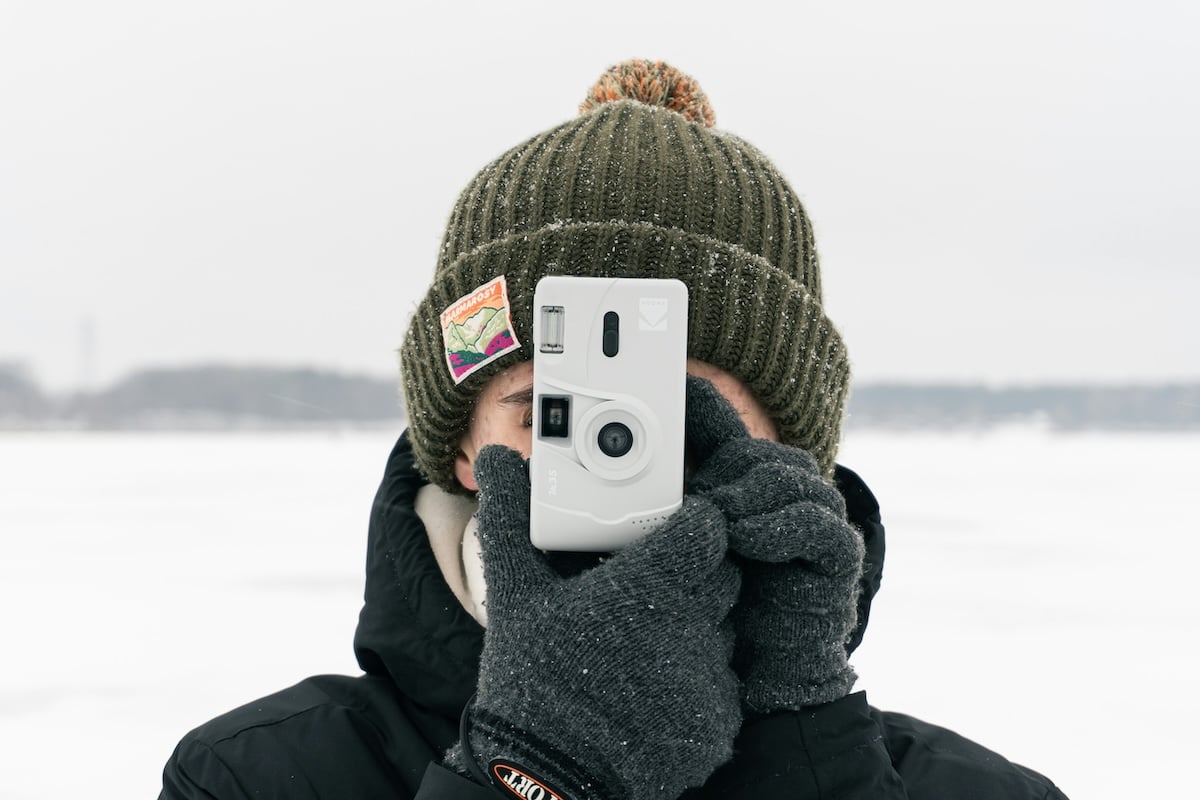
Film photography continues to grow in popularity, and more and more people are returning to analog photography. And while experimenting with different film stocks is great fun, film photography does have a few additional costs. Buying rolls and getting them developed, scanned, and printed in a lab can take it out of you financially.
However, there are a few DIY techniques film shooters can use to save themselves a few coins. These allow you to shoot film while keeping costs low. That’s why learning these skills is such a win-win.
DIY Darkroom
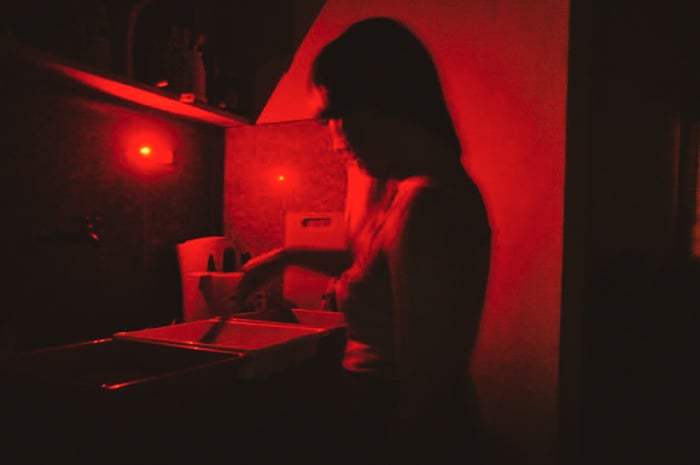
Building a DIY darkroom for film photography is easier than you might think. The most important part is finding the right equipment, such as a developing tank, film-changing bag, chemicals, trays, safelights, an enlarger, and a timer. You can find most of these items online or at photography stores.
The best location for your darkroom is a bathroom or any room with running water and no light leaks. Use black duct tape or thick towels to cover any gaps where light could enter. Make sure to keep your equipment organized and close to the sink for easy access during the developing process.
Installing a red safelight will allow you to see what you’re doing without exposing the photo paper. However, it’s best to use a film-changing bag when loading the film into the developing tank to avoid accidental exposure.
With a bit of practice and patience, you can set up your own darkroom for less than $200. If you’d like to learn more about setting up a DIY darkroom, we have a detailed guide that covers everything you need to know.
Develop Film at Home
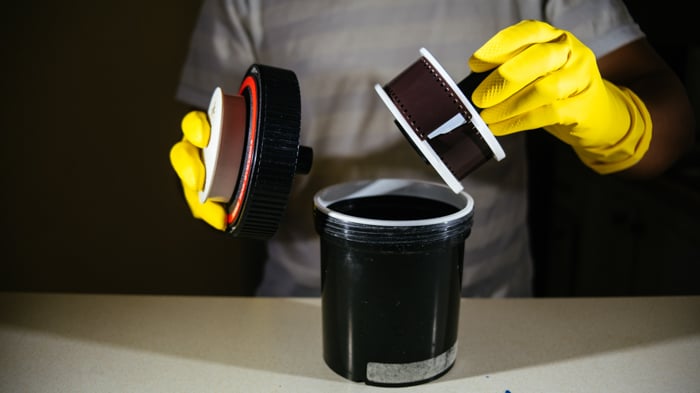
Developing film at home is a convenient and economical way to process your photos. You only need a few items to get started, like developing chemicals, a tank, and some kitchen supplies. The C-41 kit is commonly used for processing color film.
Loading the film into the developing tank is the most challenging part. Practice the steps before attempting it in complete darkness. Mix the chemicals according to the instructions, then pour them into labeled amber bottles.
Developing the film involves pre-soaking, using the developer, adding the blix, washing, and using the stabilizer. Each step is time-sensitive, so use a multi-timer app to stay on track.
Developing film at home is a great way to save money and hone your skills. You can then scan the negatives with a scanner or a smartphone app.
DIY Bokeh Techniques
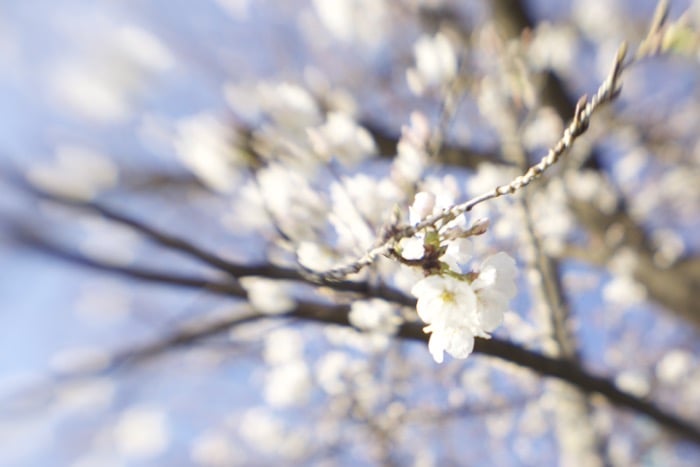
Using a bokeh effect to make subjects stand out is a classic photography technique all photographers should learn. By using a wide lens aperture, you create a shallow depth of field. This means everything in front and behind your subject is out of focus, and this blurred background effect is called “bokeh”.
While it’s mainly a practical effect achieved by using wider apertures, there are a few other DIY techniques you can use for bokeh. These give you even more creative options if you’re want a dreamy bokeh effect in your photos.
Soft Focus
Soft focus photography creates a dreamy, ethereal look. It’s different from simply taking an out-of-focus photo. With soft focus, the lens is focused but there is a diffusion of light.
You can achieve soft focus with filters, DIY methods, special lenses, or in post-processing. Soft focus filters come in varying strengths and diffuse the light for a consistent effect. DIY options include stretching a black stocking over the lens or smearing a small amount of Vaseline on a UV filter.
Some lenses, like the Lensbaby Composer, are designed for a soft focus look. You can also modify a standard lens or use a magnifying glass, teleconverter, or close-up diopter lens. In post-processing, apply a surface blur filter selectively using a layer mask in Photoshop. Soft focus is great for adding interest to portraits, floral photos, and landscapes.
To learn more about soft focus, check out this in-depth article.
Bokeh Filter
Creating custom bokeh shapes is a fun and easy way to add a unique touch to your photos. To make a bokeh filter, cut a circle out of black paper that fits over your lens. Then, draw and cut out a shape in the center, such as a star or heart.
Attach the filter to your lens and find some lights to photograph. Set your camera to manual focus and use a wide aperture like f/4. Twist the focus ring until the lights blur and take on the shape of your cutout.
For a more advanced effect, place a subject in the foreground and focus on it while keeping the background lights blurred. With a little creativity, you can capture magical photos with custom bokeh shapes.
Dive deeper into creating your own bokeh filter by clicking the link check.
Heart-Shaped Bokeh
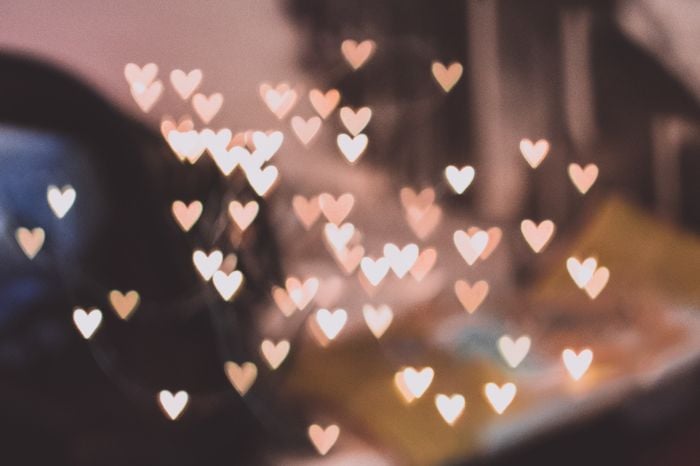
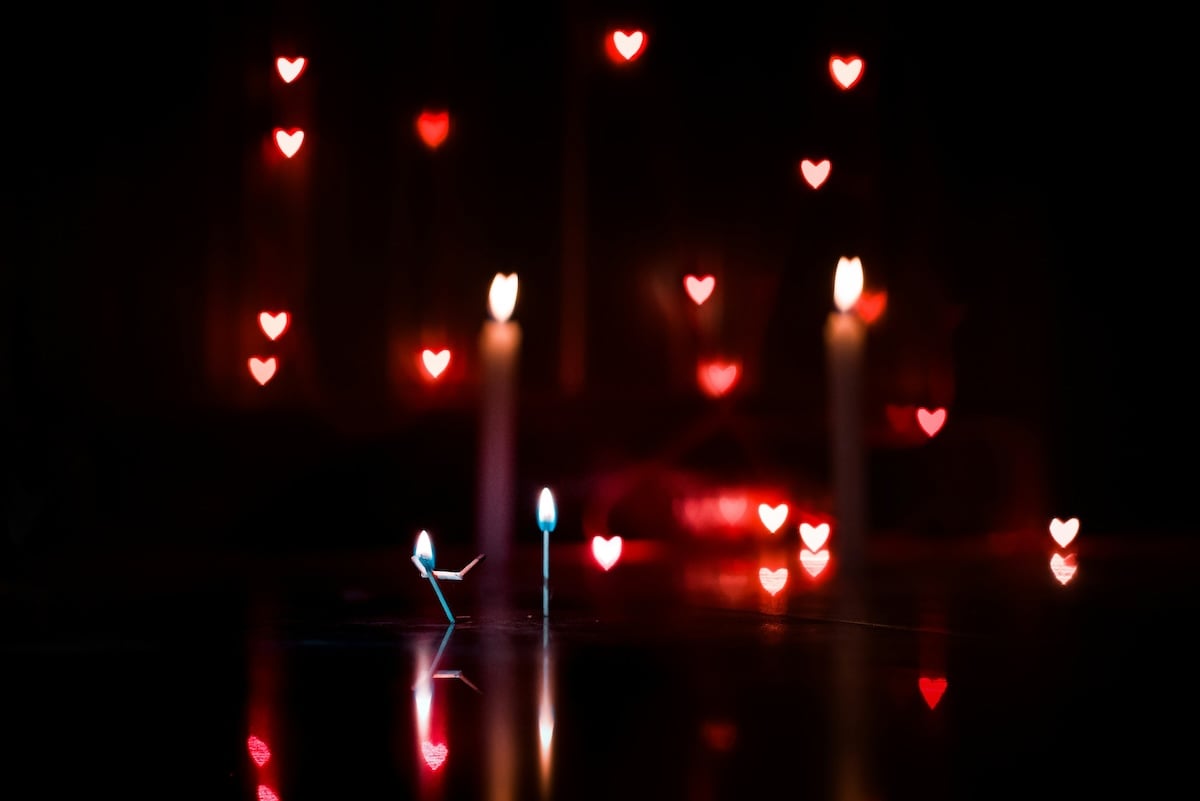
Creating heart-shaped bokeh is a fun and easy way to add a romantic touch to your photos. You’ll need a few simple materials like paper, scissors, and tape. Draw circles that match your lens’s circumference on the paper, then cut out heart shapes in the center.
Tape the paper to your lens, making sure the heart is centered. Use a large aperture like f/1.8 for the best results. Focus away from the lights to make the heart-shaped bokeh larger and softer.
Experiment with different heart sizes to find what works best with your lens. The farther away you are from the lights, the bigger the bokeh will be. A tripod can help avoid shaky photos.
Check out the full guide for more tips on capturing beautiful heart bokeh.
Christmas Light Bokeh
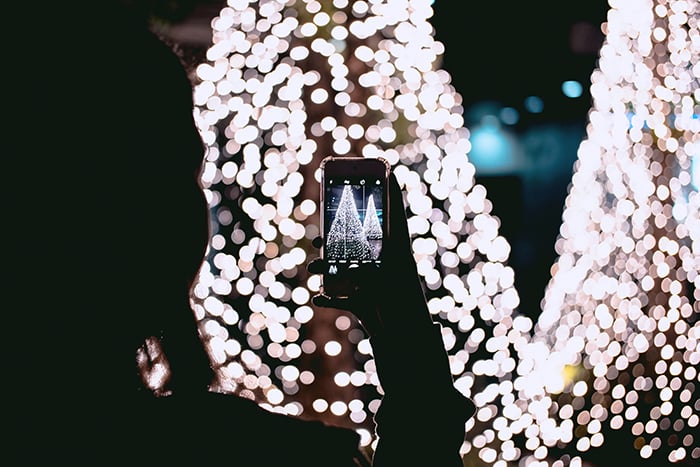
Christmas is the perfect time to grab your camera and capture stunning bokeh photos. Thanks to all the lights, you can create spectacular bokeh wherever you go.
Photographing bokeh is simple – just use a wide aperture like f/1.8 or f/2.8 for a shallow depth of field that blurs small spots of light into beautiful circles.
Since you’ll likely be shooting in low light, set your camera to a higher ISO. Most modern cameras can handle high ISO well, but too much can still result in digital noise. Aperture priority mode is a good choice, allowing you to set the aperture while the camera adjusts other settings.
For the best bokeh, use a lens with an aperture of f/1.2 to f/2.8. Stand close to your subject with the Christmas lights a few meters away in the background. Experiment with different lighting – use plenty of light for festive portraits, or shoot in the dark for moody shots.
Capture christmas bokeh in creative ways, like in reflections, as a subject itself, or with silhouettes.
Transfering Photos to Other Materials
Having photos printed onto other materials is a great way to celebrate and display your work. The trouble is that it can cost a pretty penny to have photos printed onto anything other than paper. Thankfully, there are a few DIY tricks you can use to transfer your photos onto other materials.
Transfer Photos to Fabric
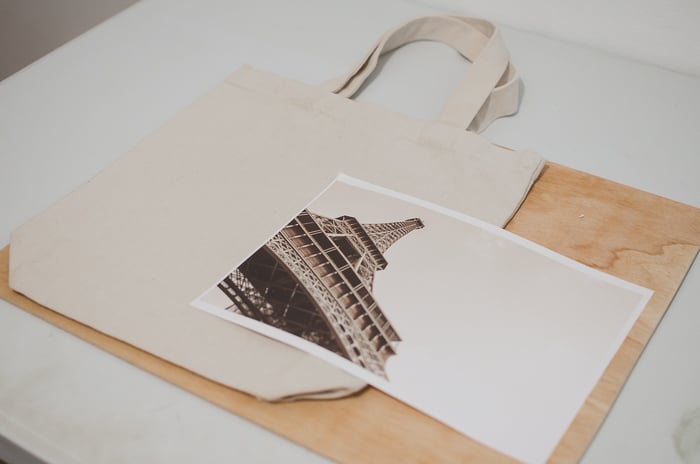
Transferring photographs to fabric is a fun and creative way to display your photos. To get started, you’ll need a few supplies like cotton fabric, transfer gel medium, and photos printed with a laser printer.
Before transferring the image, wash and iron the fabric to remove any wrinkles or stains. Then, apply a generous amount of transfer gel evenly on the printed photo. Place the photo face-down on the fabric, press it firmly, and let it dry for a couple of hours.
Once dry, carefully remove the paper by soaking it with water and gently rubbing it off with your fingers. This step requires patience to avoid damaging the transferred image. After removing the paper, let the fabric dry completely and iron it from the back to help set the colors.
If you’d like to learn more about how to transfer photographs to fabric, our article gives you step-by-step instructions.
Transfer Photos to Wood
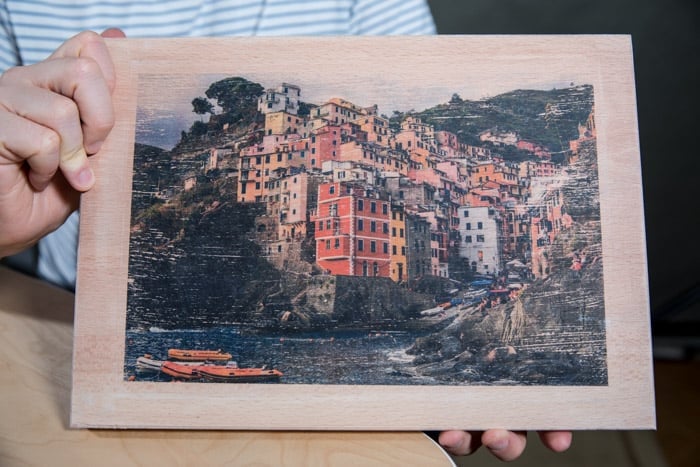
Learning how to transfer photos to wood is a unique and simple way to display your photographs. It’s one of the easiest yet most original DIY photo projects you can do at home.
To transfer photos to wood, you’ll need Mod Podge, sandpaper, a paintbrush, a laser-printed image on copy paper, wood, a cloth, and something to remove bubbles. Sand the wood to roughen the surface, then apply a thick layer of Mod Podge to the print and place it face-down on the wood. Smooth out wrinkles and let it dry completely.
After drying, use a damp cloth to gently rub the paper and reveal your transferred photo. Repeat until you’re happy with the results. The wood texture will show through, making each piece unique.
Click the link to see each step in detail so you can transfer photos to wood with great success.
