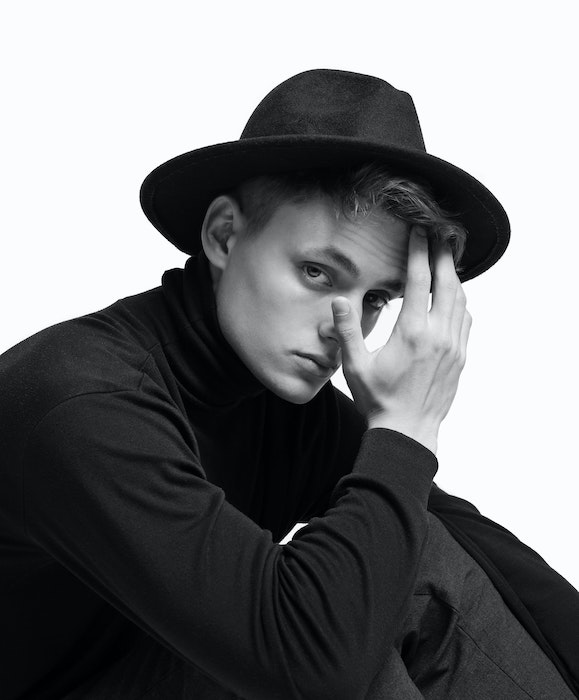
A window-lit headshot, a colorful wall, or a portrait doing something you love can all make cool profile pictures. Choose an idea that suits your account, light your face, and check that the photo still works as a small thumbnail.
Below are seven profile picture ideas you can shoot yourself, followed by lighting, focus, posing, and cropping tips. You can also use our creative self-portrait photography guide when you want to try a more unusual setup.
7 Cool Profile Picture Ideas to Try
Pick one idea before you set up your camera. That gives you a starting point for the background, clothes, and expression.
- A window-lit headshot: Face a bright window out of direct sun. Keep the background simple and frame your head and shoulders. This is an easy starting point for a professional profile.
- A colorful-wall portrait: Choose a wall that contrasts with your clothes. Leave some space between you and the wall, then try a straight-on pose and a slight turn. Keep the color as the main design element.
- An outdoor portrait: Stand near the edge of open shade with trees or a garden behind you. Check that branches do not appear to grow out of your head. Keep your face large enough to recognize.
- A hobby portrait: Hold your camera, a musical instrument, or another object you use. Keep it beside or below your face so it adds context without hiding your expression.
- A candid-looking laugh: Ask a friend to talk to you while taking photos, or use a timer and try several expressions. A glance just past the camera can feel less formal than direct eye contact.
- A black-and-white portrait: Try converting a photo with distinct light and shadow. Check that your face stays separate from the background when the colors disappear. Keep the color version too.
- A mirror portrait: Angle the camera so you can see your face in the reflection. Check the mirror edges and room for distractions. Decide whether the phone or camera belongs in the picture.
For a personal account, choose the mood you like. For an account where people need to identify you, choose a photo with a clear view of your face.
What You Need for Our Profile Picture Ideas
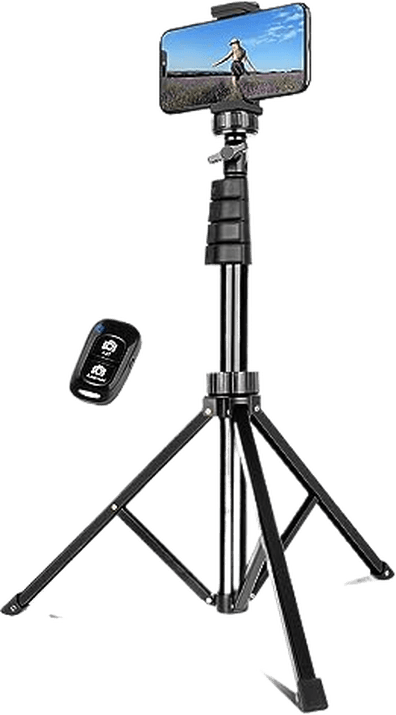
- Tripod: A tall, stable tripod gives you room to frame your whole pose. The UBeesize Tripod with Smartphone Stand extends to 62 inches and includes a phone holder, so you can compose full-body profile photos without holding your phone.
- Camera: A smartphone, mirrorless camera, or DSLR can work. Start with the camera you have and get the light and framing right.
- Timer or compatible remote: Use your camera’s self-timer, or a remote that works with your device, to release the shutter while you are in position.
- Editing program: Lightroom or Photoshop is great for light retouching work.
What Makes a Good Profile Picture?
A good profile picture works at the size people will see it. Reduce your chosen photo to a small thumbnail: can you still see the face, expression, or shape that matters?
For a professional account, make it easy to recognize you. For a personal account, you have more room for humor, a favorite place, or an artistic look. A busy background or a distant face can lose its meaning when the image shrinks.
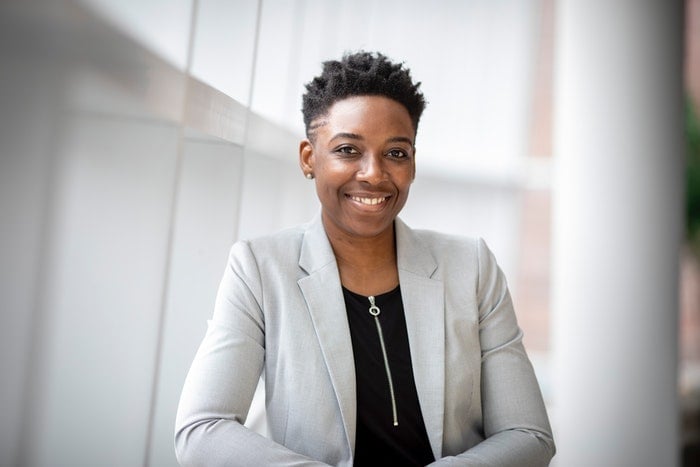
Profile pictures with friendly smiles, simple backgrounds, tidy hair, and good light will attract people to the subject.
Choose the Right Profile Photo for the Right Platform
Choose a profile photo style that fits how you use the account. A relaxed travel portrait can suit a personal profile, while a headshot can make sense for a work account.
To get even further ahead with your social media profile, read our ebook, Social Success Strategies!
Profile Picture Ideas for Facebook
For a personal Facebook account, a casual photo can show what you enjoy. Choose one where friends can recognize you, even after cropping.
It can be a travel photo you took. Or it can show you while you do something you love. For example, I’m using the one below. I like hiking. And I admire the beautiful colors of Lago di Sorapis. (It’s a lake in the Italian Dolomite region.)
Notice that it isn’t a professional photo. My face has unwanted shadows. And there is a tree trunk in the background. But you don’t have to be a perfectionist about a Facebook profile photo.
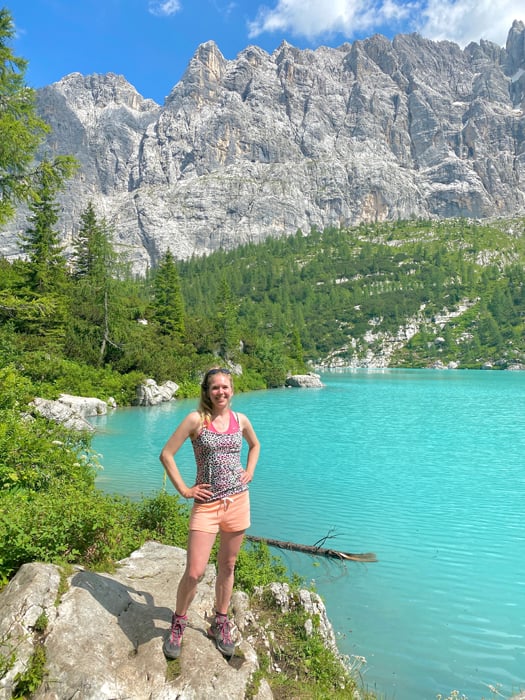
A casual Facebook profile photo. It shows what I like doing in my free time.
I used to have another Facebook profile photo when I worked as a tour guide. It’s me sitting in a gondola in Venice. I have my clipboard and phone in my hands. It’s how my tour groups usually saw me. I’m smiling. And I don’t wear sunglasses, which make my face open and friendly.
I always created Facebook groups for my travel groups. They saw my profile before they saw me. So it was important to convey the impression of a friendly yet committed tour guide.
If you use Facebook to promote your business, you should have a more professional profile photo. That’s especially true if you have a photography business.
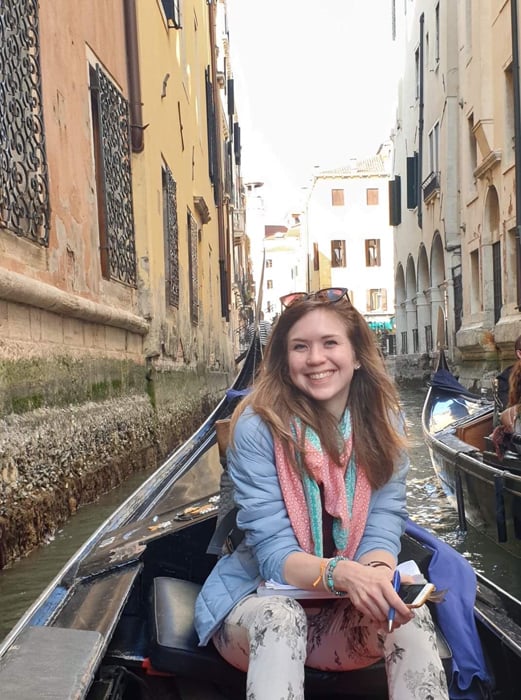
I liked using this photo because it shows me working. It shows I’m a tour guide who is always busy. But I have fun with my group and enjoy the job’s perks.
Profile Picture Ideas for Instagram
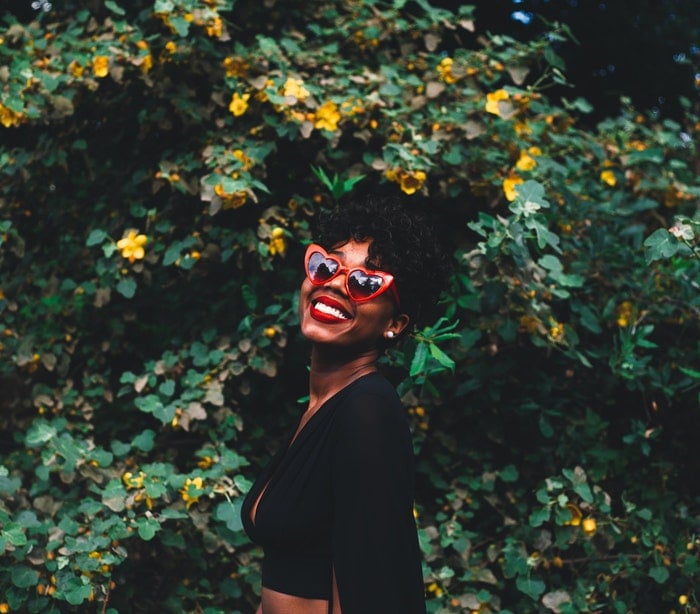
A close portrait against a colorful wall, a candid expression, or a hobby photo can suit a personal Instagram account. Check the image in the profile crop before you settle on it. Small props and a detailed landscape may be hard to see there.
For a business account built around you, choose a recognizable portrait that fits the look of your work. Using the same photo across your accounts can make it easier for people to identify you. Choose clothing and styling that fit the audience you want to reach.
© Jermaine Ulinwa (Pexels.com)
Profile Picture Ideas for LinkedIn
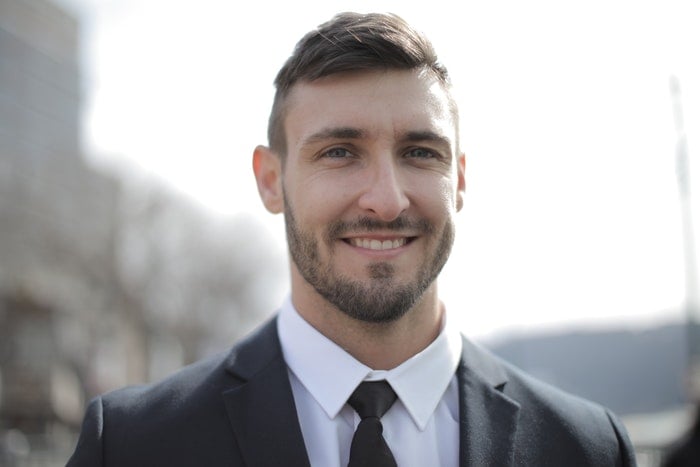
LinkedIn is a social media platform for professional networking. Aim for a recent professional portrait photo that looks like you now.
Wear clothes that fit your usual work setting. You do not need a suit, a white shirt, or professional makeup for every job. A simple background and a head-and-shoulders crop keep attention on you.
LinkedIn’s own photo advice recommends a recent likeness, a solo portrait, and clothing you would wear to work. Start there, then choose an expression you are comfortable with.
© Andrea Piacquadio (Pexels.com)
Technical Tips for Self-Portraits
Before you plan your shoot, you must know how best to use your camera’s settings for portraits.
Take a test frame before the main shoot. Check the light, focus, and crop, then adjust one thing at a time.
Find a Well-Lit Location to Flatter Your Features
This can be a shaded area in a park, a room on a bright day, or any place with good lighting for portraits.
Natural light is an easy place to start. Face a large window or the open side of a shaded area, then check both your face and your portrait background. Soft artificial light can work too.
Daylight can still look cool or warm, and mixing window light with room lights can complicate skin tones. Check the white balance in a test photo. Canon’s portrait settings guide explains how matching white balance to the light helps render skin tones accurately.

© Anna Shvets (Pexels.com)
Avoid Hard Light for a Softer Image
Hard light creates more defined shadows and can emphasize skin texture. Direct sun may also make you squint. Use it if you want a dramatic look; choose softer light for gentler shadows.
You can shoot at midday by moving into open shade. Canon’s outdoor portrait tips suggest working near the edge of shade, where light can reach the face. Golden hour is another option for warm light, but low direct sun is not automatically soft.
If you’re indoors, try a window with a sheer curtain when direct sunlight is too strong. Turn slightly toward it and compare a few facial expressions.
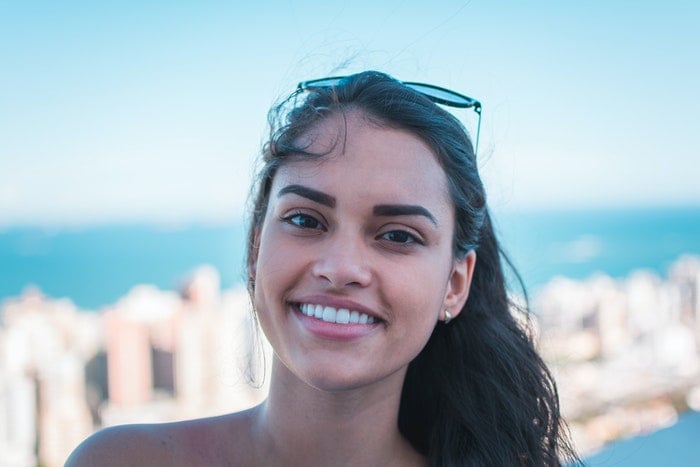
© Daniel Xavier (Pexels.com)
Take Vertical Photos to Show a Pose
If you want to emphasize more than your face, rotate your camera to a vertical position.
A vertical frame gives you room for an outfit or standing pose. A horizontal photo can work too, especially when the surroundings are part of the idea. Neither orientation is a rule for portraits.
Think about the final aspect ratio before shooting. Leave room around your head and shoulders so you can try a square crop, then check the platform’s preview. A full-body picture may look good at full size but leave your face too small in an avatar.
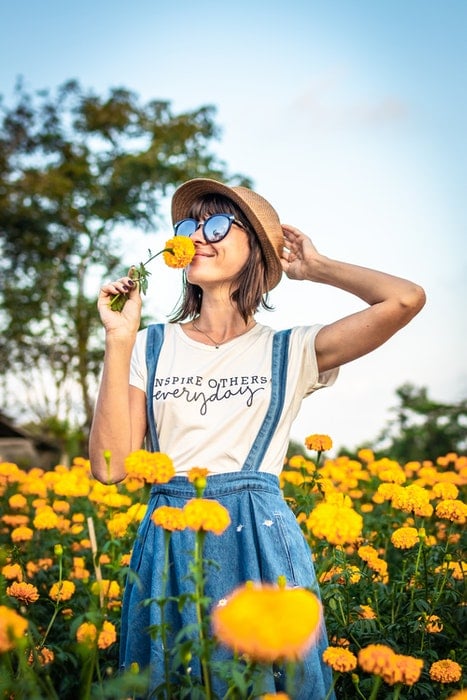
© Artem Beliaikin (Pexels.com)
Set Focus Before You Take the Photo
Use autofocus, but check where the camera is focusing. Select face or eye detection if your camera supports it, or place the focus point on your eye. A camera can focus on the background or a foreground object instead of you.
For a self-timer shot, find out whether your camera focuses when you start the timer or when it takes the photo. If focus is locked before the exposure, stay at the same distance from the camera. You can mark your position and focus on a stand-in object at eye level if you need to set focus manually.
Use a compatible remote or camera app if it lets you check framing and focus from your position. Take a test image and enlarge it to inspect your eyes. Nikon’s portrait guide recommends checking focus carefully, especially with a wide aperture.
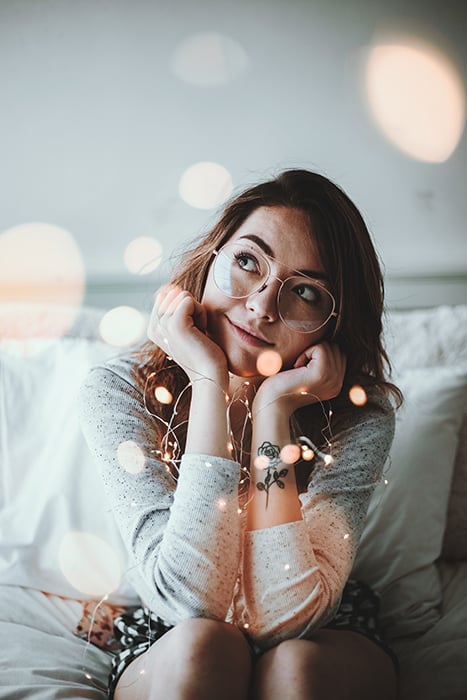
Have a Mini-Test Photo Shoot Before You Start
Even if you’re using a remote, you must ensure that your self-portraits are focused. During the first few minutes of your photo shoot, go back and forth to check.
Make sure that you’re standing in the right place, that the composition looks great, and that your image is tack sharp. Ideally, your eyes should have a crisp focus in your photo.
Finally, check that nothing is covering your face!
This test shoot helps you improve your weak spots and find your best creative strengths.
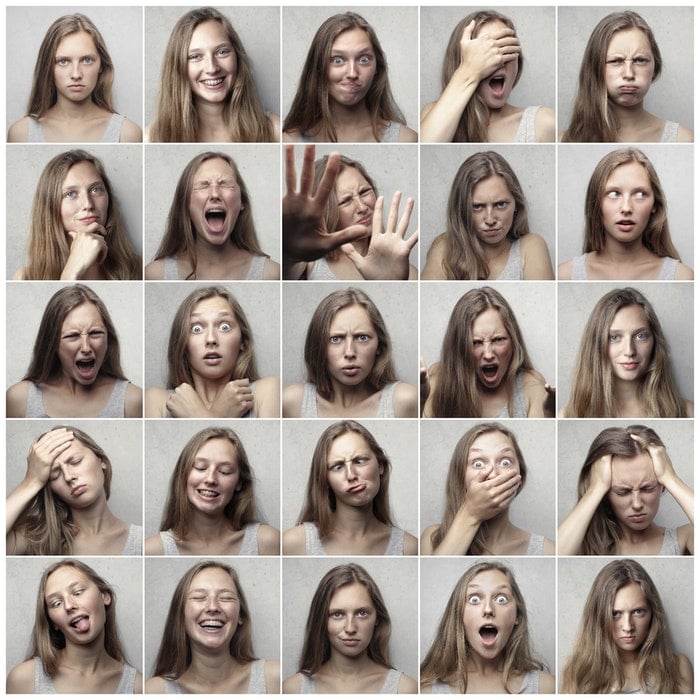
Sometimes, pre-shoot outtakes end up becoming the best photos! Be as silly and open as you want before taking professional photos. The results might surprise you!
Use a Large Aperture to Separate Yourself from the Background
A wide aperture, such as f/1.8, can help blur the background and create beautiful background bokeh. The result also depends on your framing and the distances between the camera, you, and the background.
You do not have to use the widest setting. Try f/4 or f/5.6 as a starting point when you need more of your face in focus. Then compare the eyes and background. Check the shutter speed too: a tripod holds the camera still, but it does not stop blur from your own movement.
For me, the perfect profile pics use a large aperture. Separating the subject from the background makes them stand out. But keep in mind that a wider aperture always requires more precise focus!
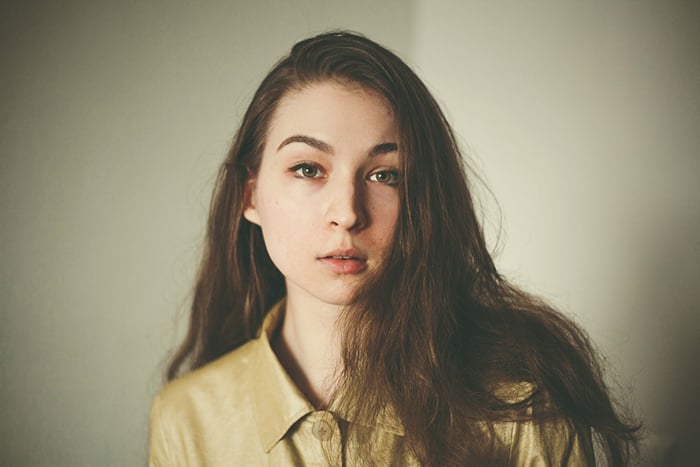
I took this self-portrait with an aperture of f/1.8. Larger apertures are harder to work with because they focus on very specific parts of a subject. But they’re worth the hard work. The composition wouldn’t have looked appealing if I hadn’t blurred the background.
Profile Picture Posing Tips
Posing might seem like a daunting task. But it’s easy to master once you find your favorite go-to selfie poses.
Try a few small changes in each pose rather than forcing one expression for the whole shoot.
Take Smartphone Selfies Before You Begin
A few smartphone selfies can help you choose a camera height and head angle before you set up the main shot.
You don’t have to practice in front of the mirror. Instead, use your smartphone camera to try different expressions, angles, and poses.
You can even take a few photos to reference during your actual photo shoot.
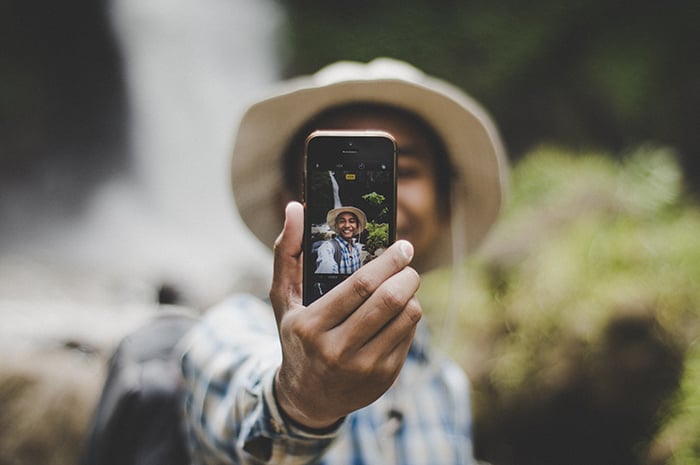
Stand Up to Look More Comfortable
Standing gives you room to shift your weight and turn your shoulders. Relax your hands and try a slight angle to the camera. Sitting can work just as well: avoid a rigid pose and choose a position you can hold comfortably.
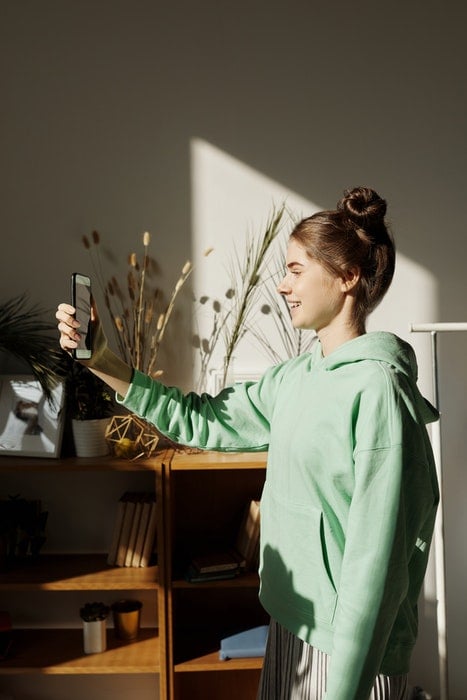
© Julia M Cameron (Pexels.com)
Turn Toward the Light
If your eyes sit in deep shadow, turn toward the open side of the shade or toward your window. Watch how the shadows change as you move.
Keep your chin in a comfortable position. You do not need to lift your face toward the sky or stare into the sun. Start with the camera near eye level and make small adjustments.
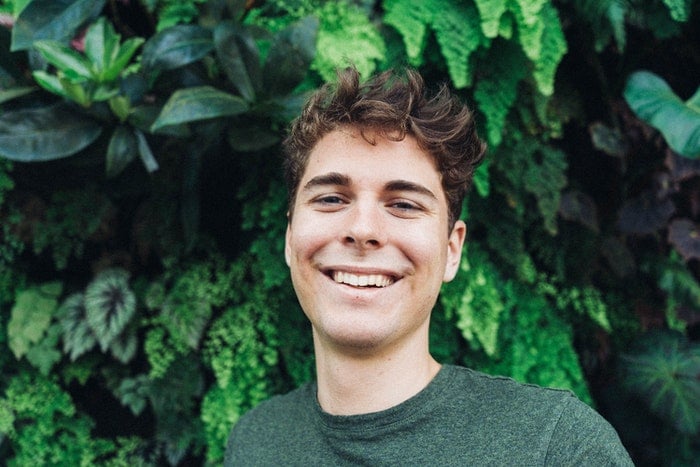
© Martin Péchy (Pexels.com)
Don’t Press Your Arms Against Your Body
Leave a little space between your arms and torso if you want the pose to feel less compressed. Try a hand in a pocket or rest it on a nearby surface. Keep your shoulders relaxed rather than stretching your arms into an awkward position.
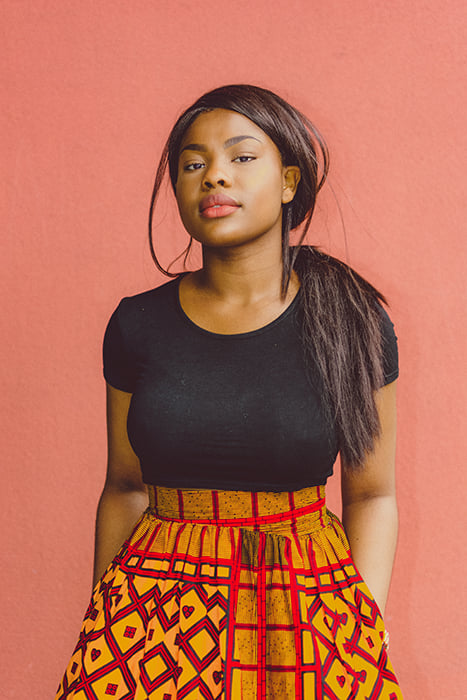
Hands in pockets is another great pose for casual profile pictures.
Stand in Front of a Simple Background
A bright color can work well if the background is simple. Watch for clutter, signs, and strong lines behind your head. Move yourself or the camera before deciding that a location will not work.
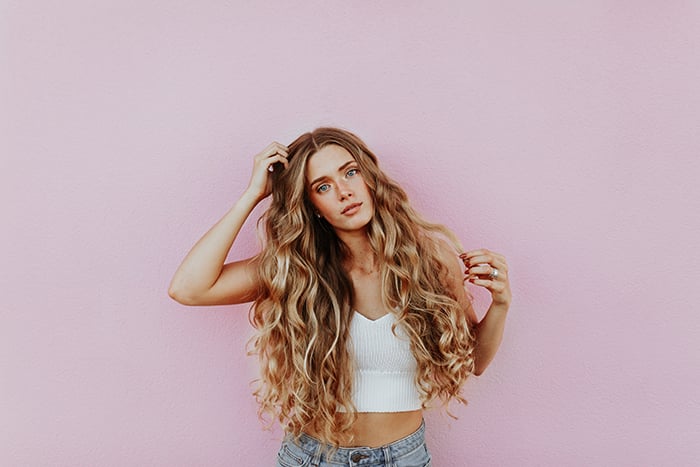
Neutral and pastel colors, like this light shade of pink, will complement your profile picture.
Make Sure Nothing is Covering Your Face
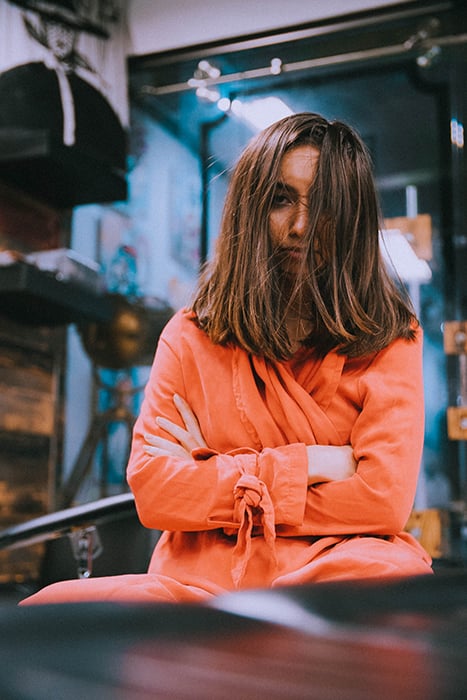
- The photograph below is a well-executed one. But it wouldn’t make a great profile pic. The subject’s face and expression are barely visible.
If recognition is the goal, check that hair, hands, sunglasses, or foreground objects are not hiding the features people use to recognize you. An obscured face can suit an artistic personal image, but it serves a different purpose from a recognizable headshot.
Be Extra Tidy for Professional Profile Photos
Before a professional portrait, check your clothes, hair, and glasses for anything that distracts from your face. Remove lint and adjust a twisted collar before shooting. Choose grooming that looks like you in your usual work setting.
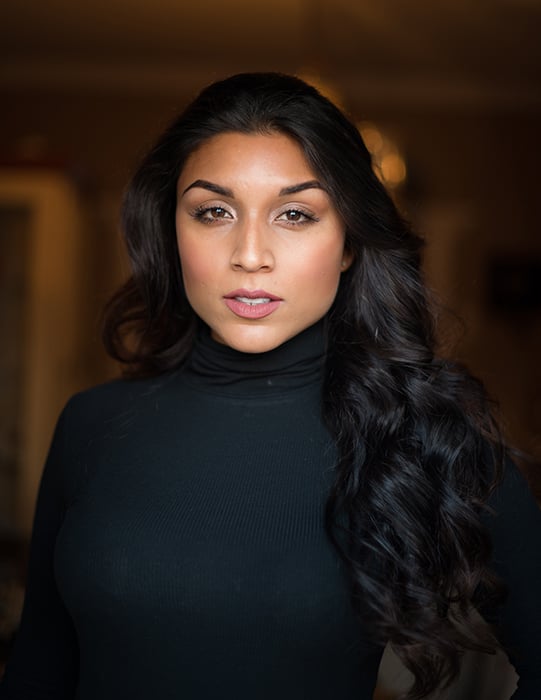
The subject’s hair, eyebrows, skin, and outfit are all tidy. But you don’t need to look this perfect to take professional profile photos. You can remove a few stray hairs, blemishes, and dust in Photoshop.
Best Backgrounds for Awesome Profile Pictures
Here are some background ideas to make your profile pictures pop.
Textured Walls
A brick or plaster wall can add texture. Move away from it if the pattern competes with your face, and compare a few aperture settings rather than assuming the widest one is best.
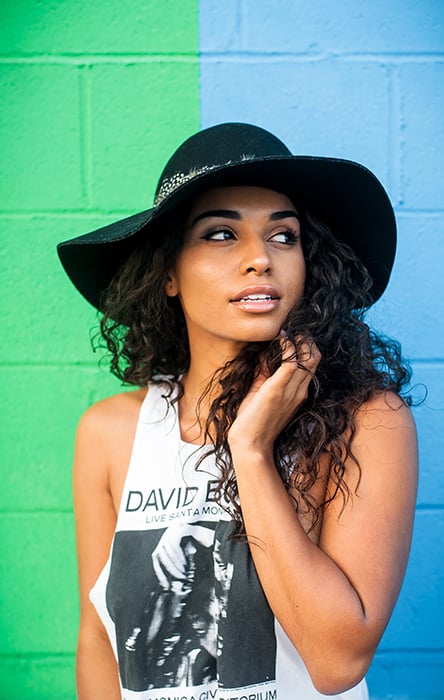
When taking photos in front of a textured background, such as a brick wall, step away from it and try a few apertures until distracting details are blurred out.
Plain Walls
A plain wall will put the spotlight on your subject.

When choosing a plain wall, ensure its colors complement your subject. In this case, the light brown wall works well with the subject’s hair and skin and the cat’s fur.
Nature
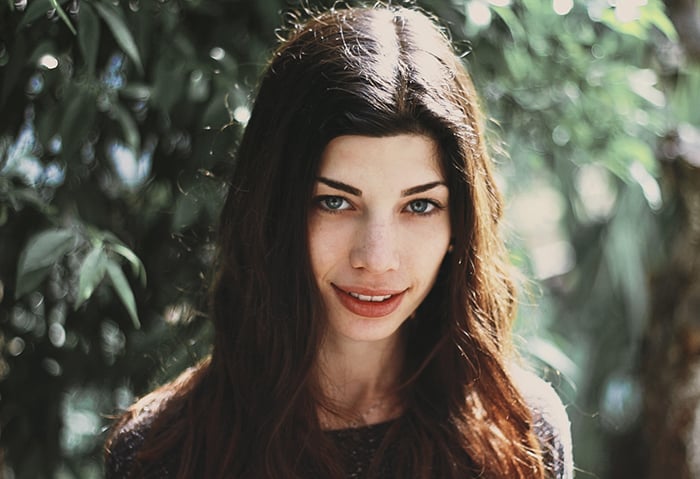
Parks, beaches, and forests offer plenty of outdoor backgrounds. Choose a patch of color or a simple stretch of scenery, then check for bright distractions behind you.
Leave some distance between you and the background if you want it blurred. Use an aperture that keeps the parts of your face you want sharp in focus.
A Mirror
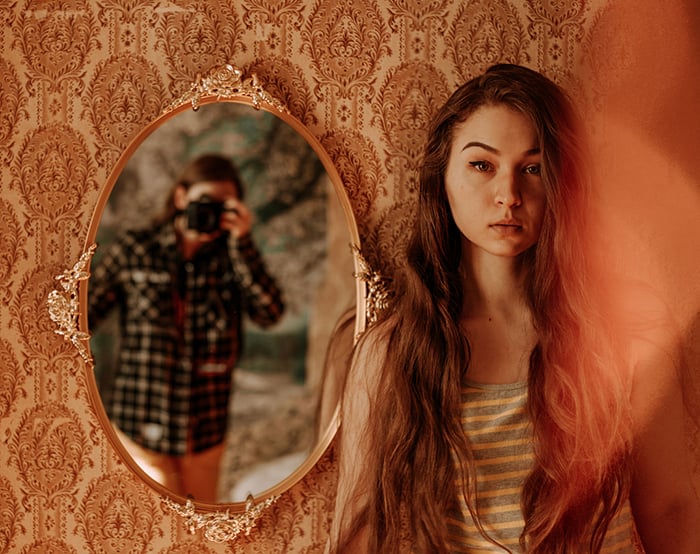
You can use a mirror as part of an ordinary reflection portrait or create surreal effects in Photoshop.
For a composite with two versions of yourself, fix the camera on a tripod. Keep the framing, light, and exposure consistent while you take one frame in each position. Align the frames in your editor and use a layer mask to reveal the parts you want. Plan where the two versions overlap before you shoot.
Profile Picture Myths You Can Ignore
A profile picture does not need to follow every studio-portrait convention. Match these choices to what you want the image to say.
Myth #1: You Must Look at the Camera
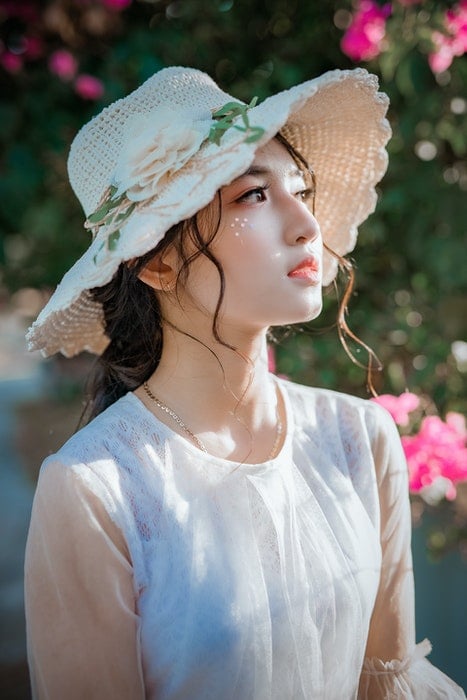
Some of the most endearing and best profile pictures I’ve seen feature people laughing. Or they’re looking down or having fun in their own world. You don’t need to look at the camera if you don’t feel like it.
© Tuấn Kiệt Jr. (Pexels.com)
Myth #2: You Must Stand Still
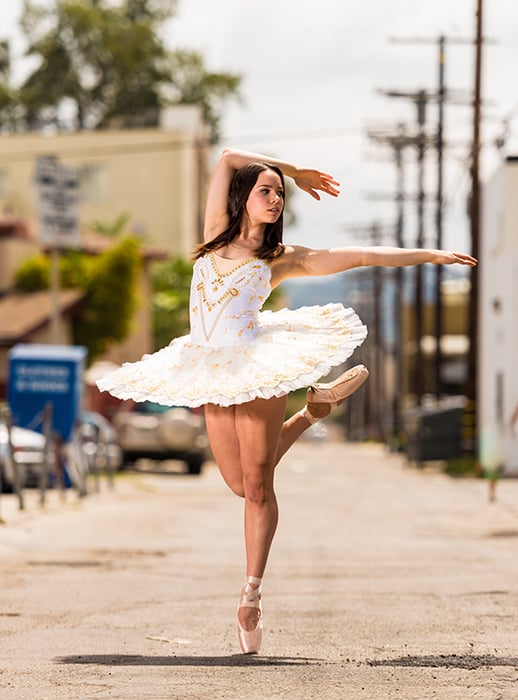
You may have had to sit still for your high school photos. But that’s no longer the case. Do you love dancing? Then dance!
Try movement if it helps you relax. Take a few frames with different gestures, then check for blur. A faster shutter speed can help freeze movement; choose it for the action and light rather than using the same setting for every pose.
Myth #3: You’re Not Allowed to Fake a Smile
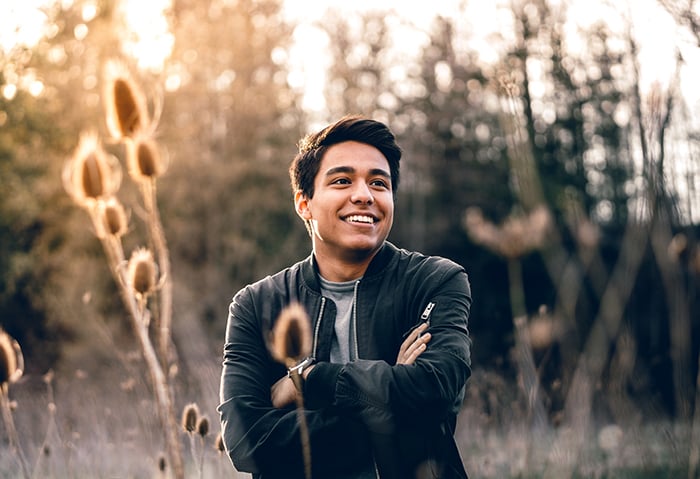
Fake smiles don’t have to look unflattering. You can practice in front of a mirror.
This skill will come in handy in a variety of situations. The best thing is if you imagine making eye contact with somebody!
Myth #4: Self-portrait Editing is Wrong
There’s nothing wrong with light retouching. When I edit my profile pictures, I often lighten dark circles, remove blemishes, and brighten my eyes.
You do not need to blur your skin or remove every pore. Editing is optional. Start with crop, brightness, and color balance, and keep the features that make the portrait look like you.
Crop and Check Your Profile Picture Before Uploading
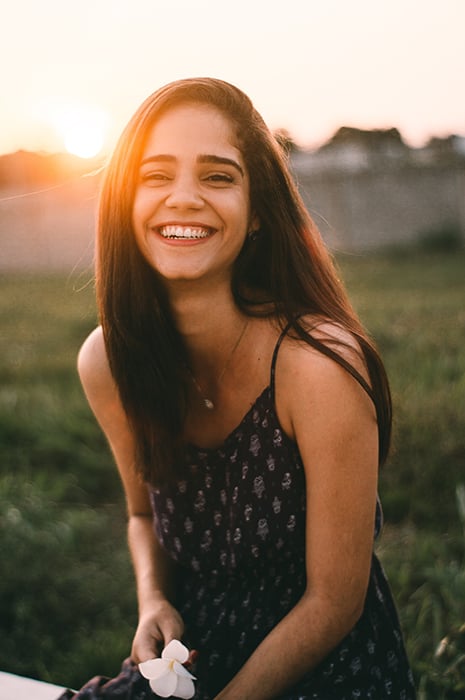
Choose the frame with the expression you like and check sharpness at full size. Then make a separate cropped copy so you keep the original.
- Try a square crop, with some space above your head and around your shoulders.
- Preview the platform’s actual crop. If it is circular, check that it does not cut off your hair, chin, or a prop you want to show.
- View it as a small thumbnail. If your face disappears into the scenery, try a closer crop or a simpler frame.
- Upload a clear image from the original file rather than a screenshot of it. Check the result after upload, since the displayed crop can differ from your editing preview.
For platform-specific dimensions, see our Instagram profile picture size guide.
Conclusion
Start with one profile picture idea, find light that suits it, and take a few variations. A recognizable face, a background that supports the idea, and an expression you like matter more than an elaborate setup. Keep the photo that still works in the final crop.