If you want to create some truly amazing light trail photography, then you need to know a few things about how to shoot and edit them. In this article, we will teach you everything you need to know in order to create photos that will amaze your friends and family. So let’s get started!
Light Trail Photography: What Are Light Trails?
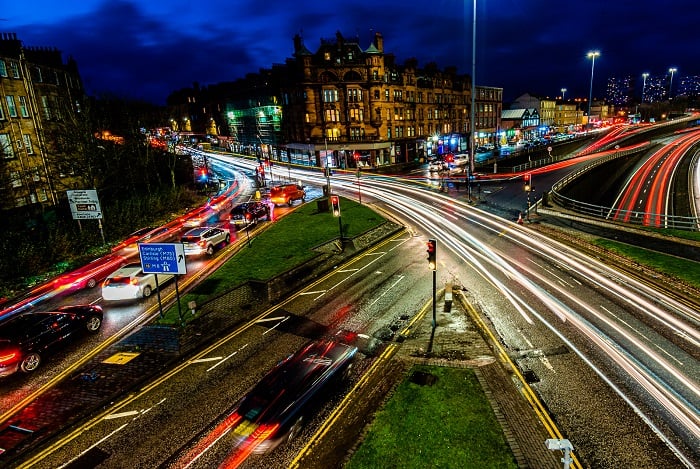
Light trails are one of the best ways to add a wow factor to your urban night photography. Traffic and car light trails show the frenetic rhythm of life in large cities. You can freeze moving lights with a fast enough shutter speed. Or you can record them as luminous trails with long enough shutter speeds.
To illustrate the concept, I borrowed my son’s motorised train and built a short track on a table. The train has front lights that go on when it is moving. The image below shows the result of a 15 seconds long exposure.
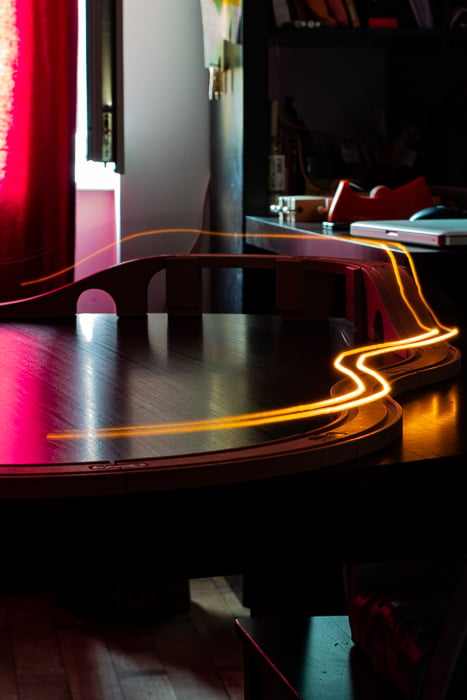
My son has a slow-moving train with front lights. With a 15 second exposure, I could record the light movement of the toy train.
During the time the shutter was open, the train was moving and so were the lights. Those moving lights became trails running across the scene. But where is the train? Because the train was moving and because it is much darker than its light, the sensor barely recorded it.
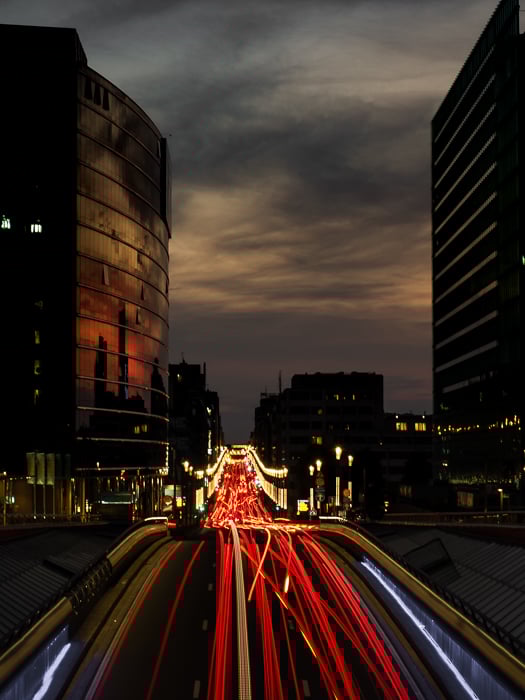
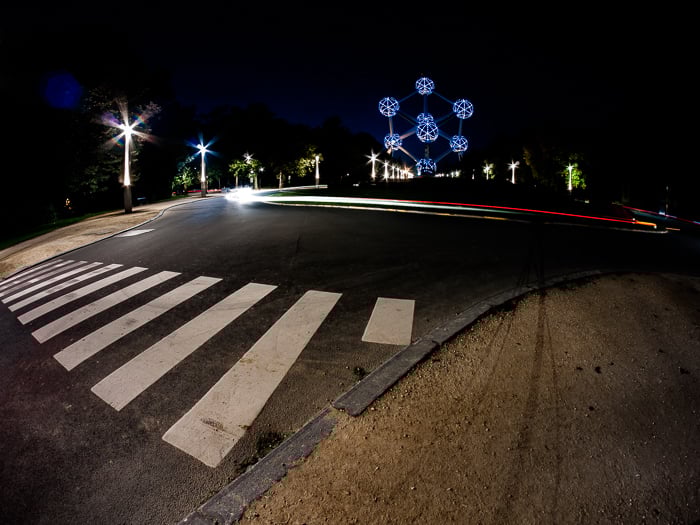
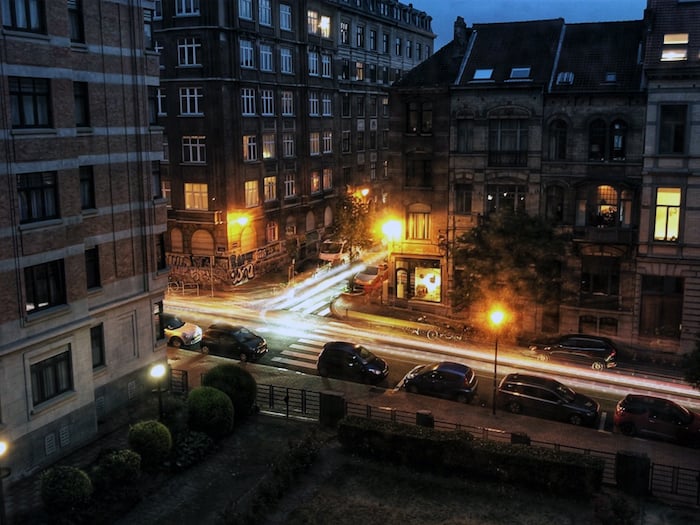
Same goes for car trails. Cars are moving, and their bodies are usually darker than their head/tail lights. Only the trails from the car lights are visible in the final image.
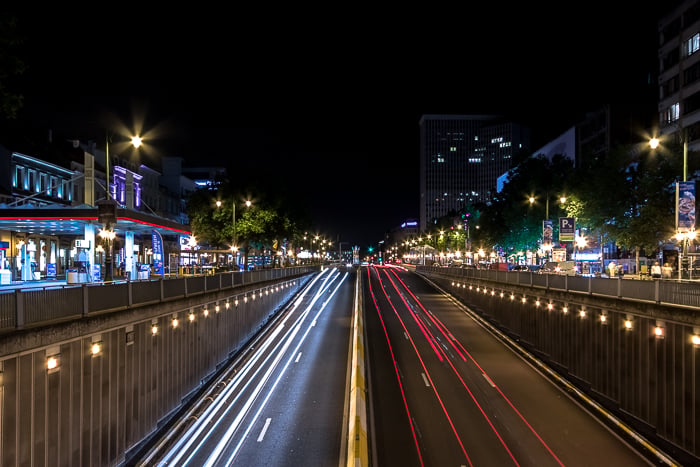
Invisible cars in Brussels.
How to Photograph Light Trails
Light trails photography is not demanding in terms of photographic gear. Any camera will do the job. The location and time of the day are more important than the camera. Also, keep a sturdy tripod handy if you don’t want blurred images.
Camera Settings
The best camera settings for light trails photography are the following.
- Shoot in RAW;
- Choose the lowest ISO values;
- Set your aperture to the sweet spot of your lens, in the f/4 to f/11 range;
- Use a shutter speed of about 10-30 seconds.
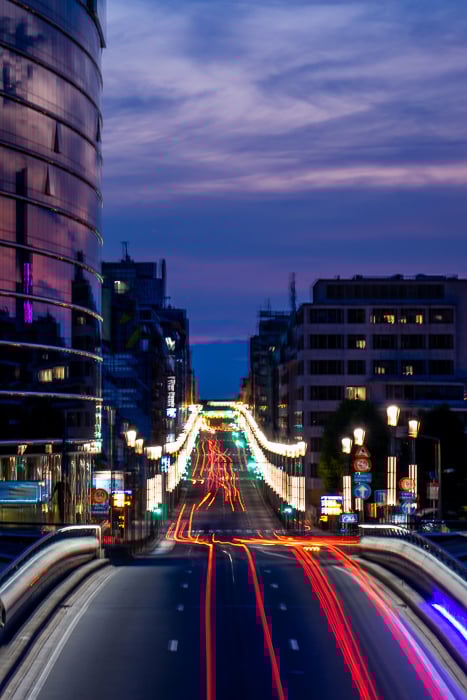
Test your settings and check whether you get trails of a decent length. Also, check that you have not clipped the highlights to pure white.
You want to keep some colors in the trails and avoid patches of pure white that are not pleasant to see.
Trails right before nightfall. f/8, ISO 100, 5 seconds
Because you are on a tripod, it is good practice to disable image stabilization. The exception to this are bridges or similar “floating” structures. Passing traffic can create vibrations here that will cause camera shake and ruin your image.
Experiment with long exposure noise reduction. This will tell you whether you should keep it active or not. This will allow your light streak photography to be sharp and not blurry.
Be aware that the camera will take a second photo. This will be for the same amount of time without opening the shutter when you use this technique. It happens immediately after the first picture.
This can slow down your photographic session.
Not All Light Trails Are Created Equal
Roundabouts are nice locations, but with too much traffic, they can give very messy images.
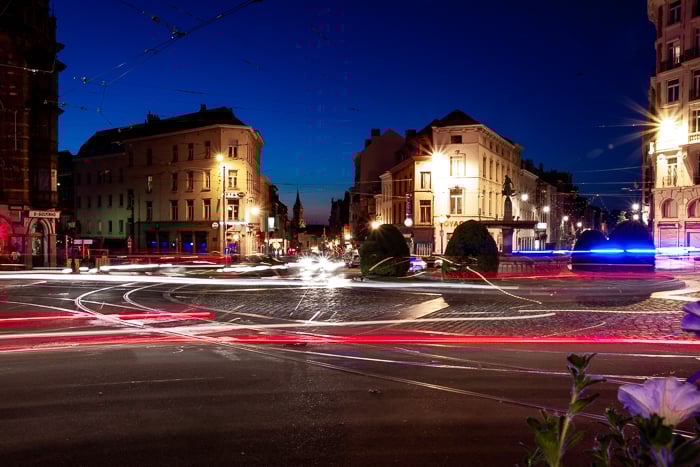
Too many trails going all in different directions create a confusing image.
The best car trails are all going in the same direction to guide the viewer’s eye through the frame. This composition technique is called leading lines.
I also prefer the thin trails you get from relatively wide lenses. Telephoto lenses give thicker ones.
Locations for Light Trails
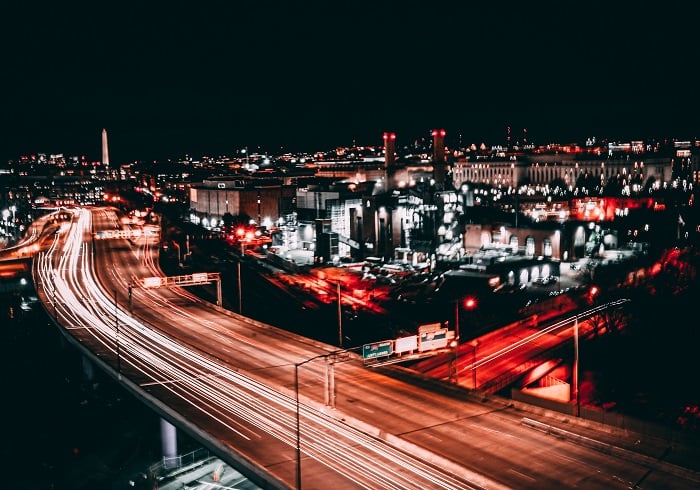
You need moving traffic. This can be from a high vantage point over the city or when you’re walking the streets.
Choose a busy location and the best time with a decent flow of incoming night traffic.
Summer months at high latitudes are not the best times for light trails photography.
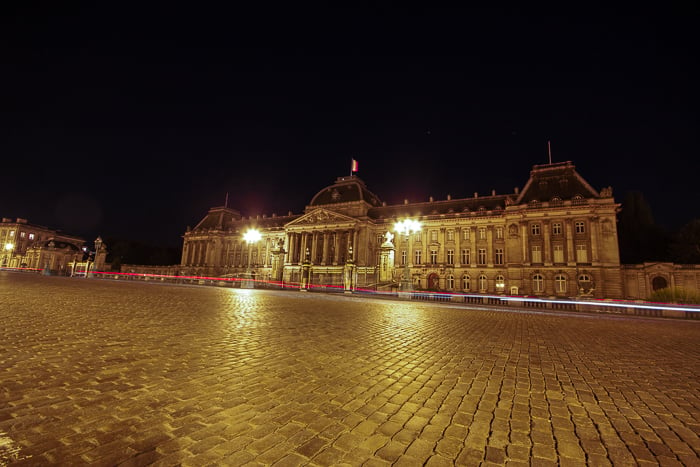
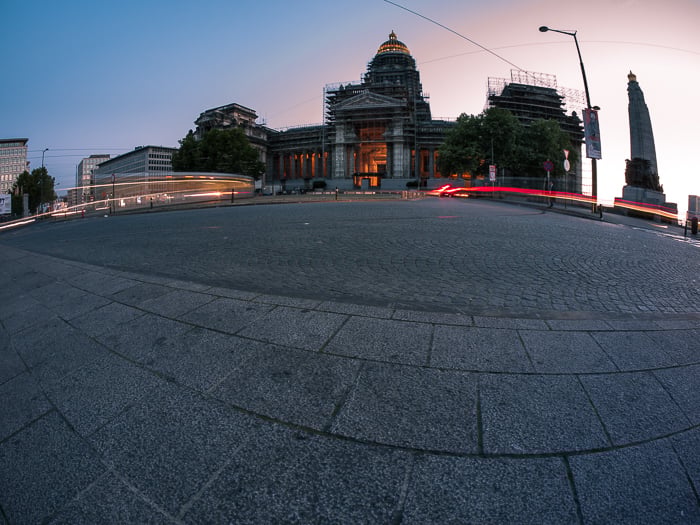
The Palais Royale in Brussels. While the location is interesting, it was too late at night to get a decent amount of traffic.
High Vantage Points
High vantage points are great to get a bird’s eye view over the city. You will be able to get amazing light trails if you can see the streets. Unfortunately, not all vantage points are the same.
I climbed on the roof of my building on top of a hill in Brussels. While the view was breathtaking, I could not see any road.
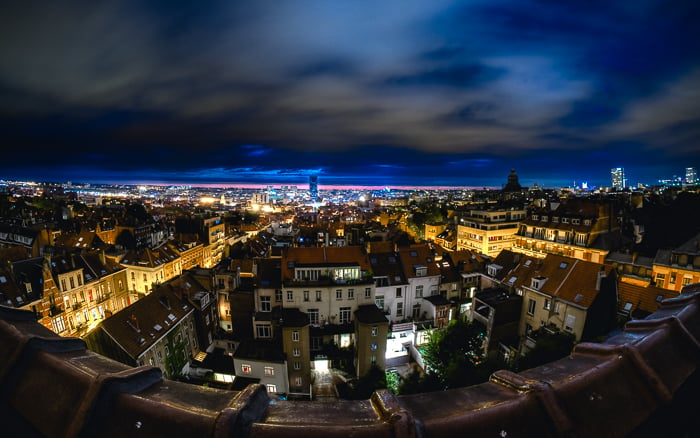
While being high up over the city, this location is not good for light trails, as no streets are visible.
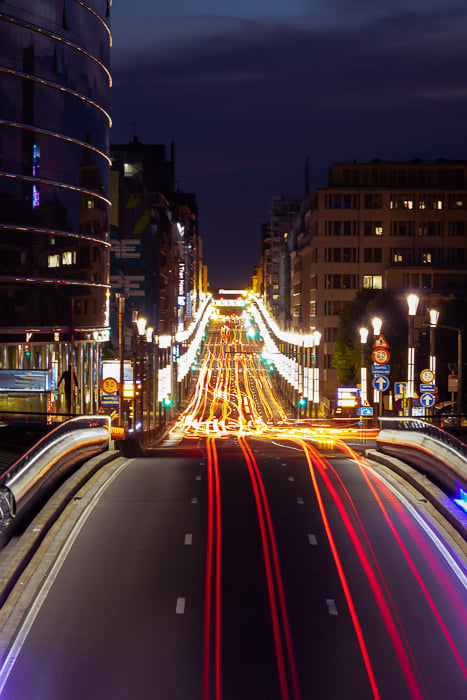
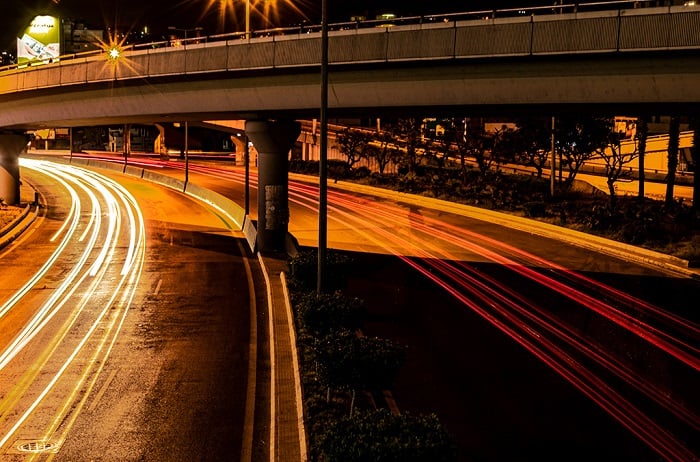
Tunnels and Bridges
If your city has tunnels for cars or bridges, you can photograph the traffic below. You might be using a long telephoto lens for long exposures on a bridge or similar structures. Keep in mind that vibrations from passing traffic can easily blur your images.
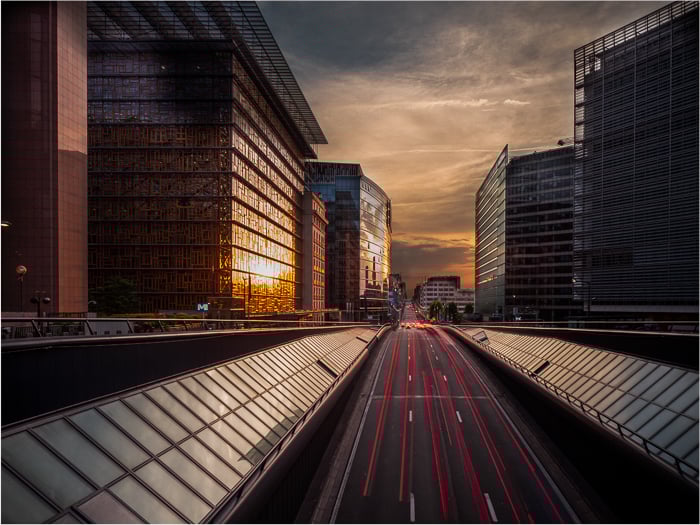
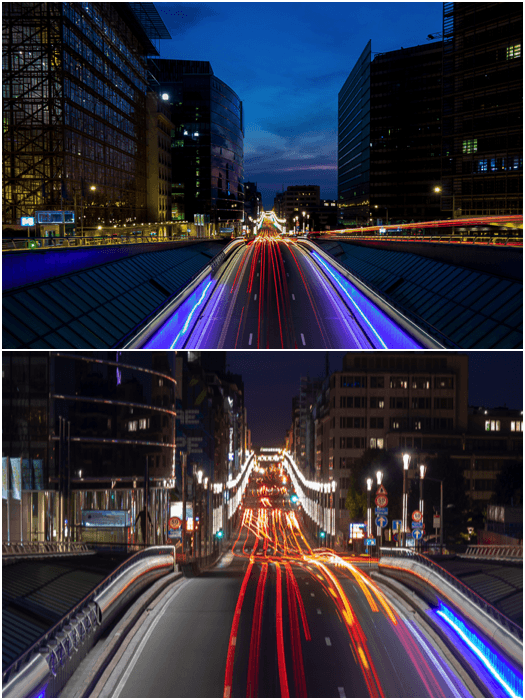
Brussels has many tunnels and it is easy to photograph the traffic below the entrance or the exit of a tunnel.
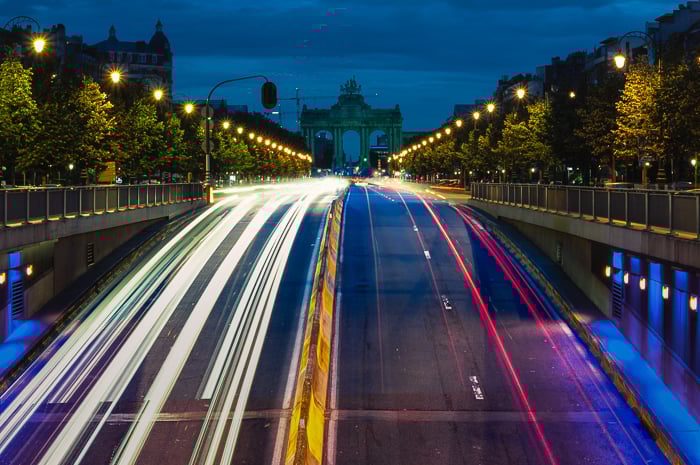
Long Avenues
Long, straight avenues are the perfect locations. You’ll see the trails getting lost into the distance.
A telephoto lens is a must for this kind of light streak photography.
Roundabouts
Roundabouts are interesting locations to create a different kind of trails. Particularly with a fisheye lens.
Try capturing the cars while circling the roundabout. You will get a kind of urban carousel, particularly if you can elevate your camera high above the ground.
Monuments and Buildings
There are a few notable exceptions, such as light trails running all along a winding road on a mountain peak. But light trails alone are rarely interesting enough.
Include famous landmarks, such as monuments or a characteristic building. These are the perfect subjects for strong light trails photography.
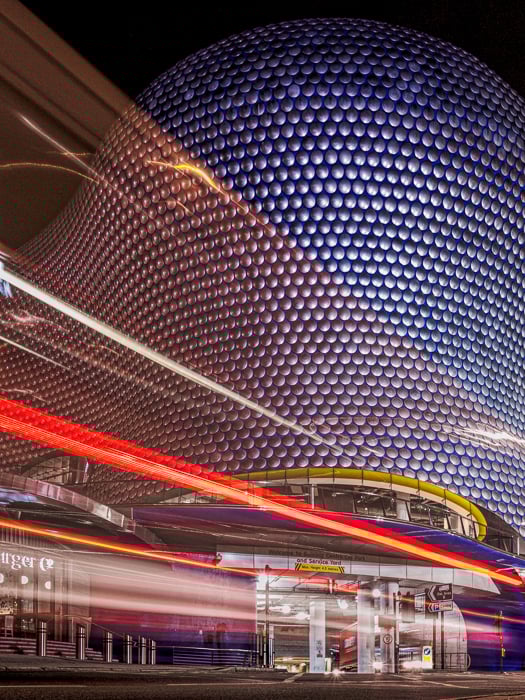
The light trails from a double-decker bus passing in front of the Bullring Shop Center in Birmingham.
Railways
There might be some railways passing in your city. If you have a bridge over them, you can take light trails from passing trains.
It is not common to photograph two trains crossing. Photograph the first. Then wait until you can photograph a second train coming from the opposite direction. Then combine the two images in Photoshop. This way you will get both red and yellow trails. This is why car trail lights are perfect, as they have two different sets of lights.
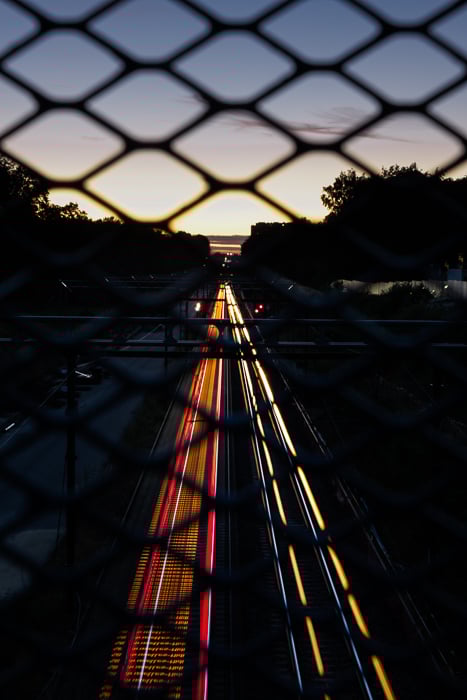
A bridge on a railway in Brussels suburbs. Brussels is visible far in the distance.
Airports
If you have a nice view of some runaways of a busy airport, you are in for fantastic plane trails.
Usually, trails from passing planes are visible in night light trail photography. They appear as a series of dots in the sky.
But at landing or take off, pilots switch on a strong front light that does not blink. This leaves a continuous light trail that climbs into the sky.
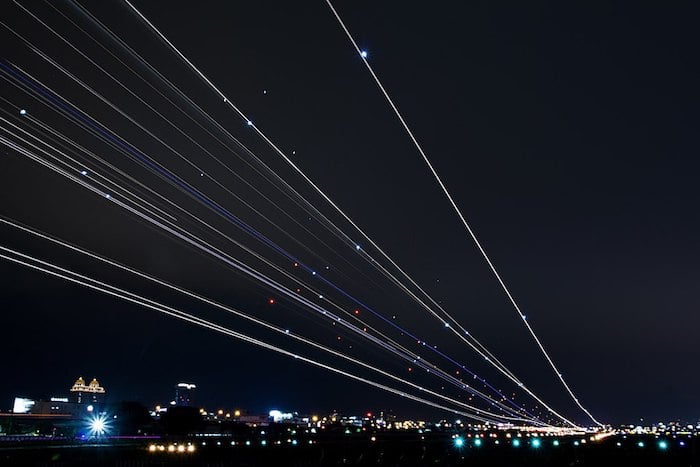
Light trails from landing/taking off planes. Image credits: 胚卓's photography from Taipei, Taiwan (R.O.C.) from Wikimedia Commons.
Landscapes
You can add light trails to a nocturnal landscape. Light trail photography further emphasises your chosen landscape, adding light and extra interest.
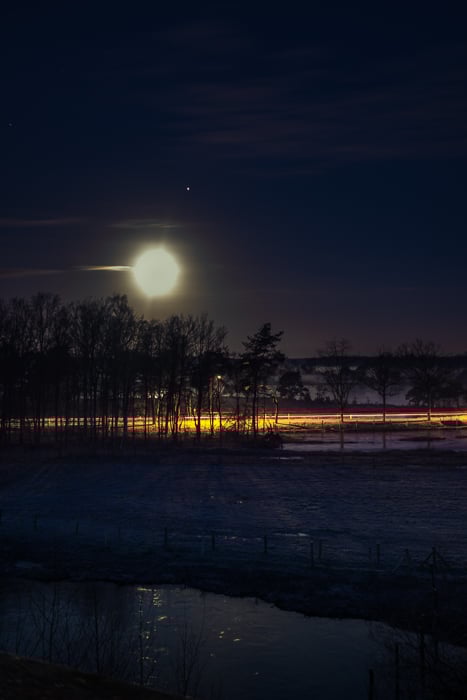
Light trails in a winter night under a full Moon (with Jupiter next to it). I took this with my Sony RX100 Mk ii pocketable compact camera. Exif: 43mm EFL, f/3.2, ISO 100, 20s.
There may be no passing cars, but more often than not, there is at least one car nearby: yours. This still gives you a chance for light streak photography.
It is easier if you can get help from a friend. But you could also drive your car and use a remote shutter release cable to fire the shutter.
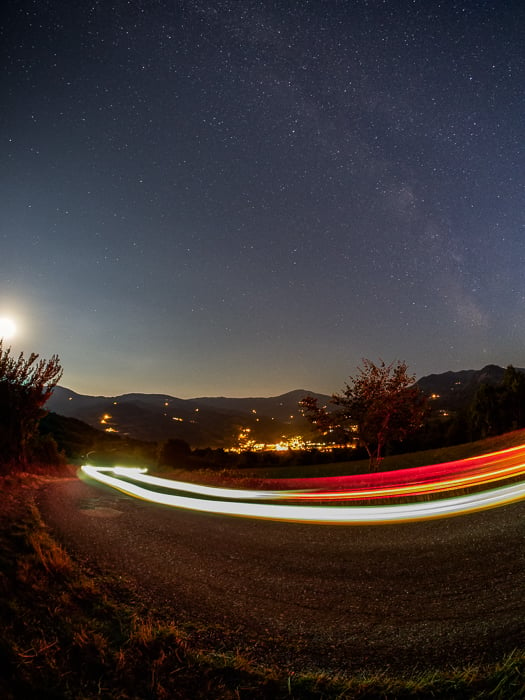
While packing up after a Milky Way photography session, I had the idea to take a nocturnal landscape including light trails from my car running on the road in front of me.
Gear and Accessories for Light Trails
To capture light trails, you do not need any fancy equipment or a lot of gear. You only need to know how to shoot light trails, starting with a long exposure.
Camera
Any camera. From the cheapest compact camera up to the most expensive pro graded DSLR. All it needs to have is the manual mode for the slowest shutter speed of a few seconds at least.
The slowest shutter speed of 30 seconds is quite standard, and this is plenty of time to create light trails.
You can even use modern camera phones. There are many apps available that will help you to capture light trails. On iOS devices, you can try Slow Shutter Cam, which allows you to use shutter speeds of up to 60 seconds and even Bulb.
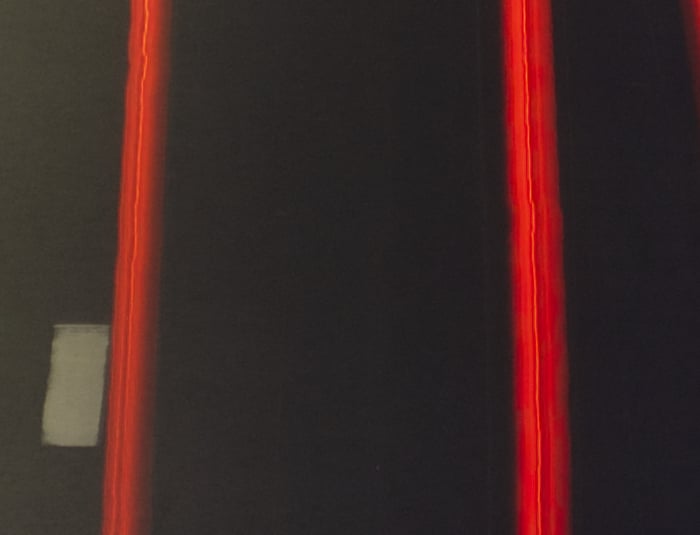
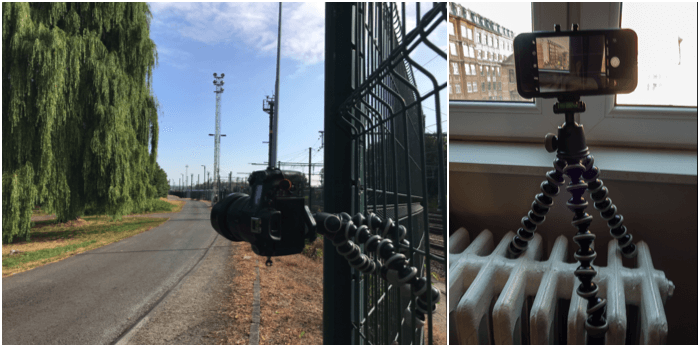
A proof of concept for light trails photography with iPhone 7 and Slow Shutter Cam app.
Sensor Size and Image Quality
It is often said that full frame cameras are better for low light photography. This is particularly true when you cannot use very slow shutter speeds and have to increase the ISO.
In light trail photography, we are not in a hurry when it comes to collecting the light. Instead, we want to expose for several seconds at least.
You do not need to increase the ISO from its lowest setting. And you can use the aperture that ensures the best image quality for your lens. Whether this is f/4 or f/8. In these conditions, small sensor cameras can give quite clean files. Particularly if you can shot in RAW.
This is a 100% crop from a raw file straight from my Sony RX10, which has a 1″ type sensor. With a crop factor of 2.7x, this sensor is large for compact camera standards but rather small compared to a full frame sensor.
Lenses for Light Trails
Any lens will work for light trails.
- Lens Aperture: Light trails are best done in low light conditions. They are the result of capturing long exposures of the traffic flowing along the city streets. This means you don’t need a fast lens;
- Autofocus and IS: Manual lenses are great too. You do not need autofocus nor lens stabilization. You will be using a tripod;
- Focal length: This depends on your location. You can use anything from an ultra-wide-angle to a telephoto lens.
Fisheye and wide-angle lenses are best used for bird’s eye views over city streets. Use these from a high vantage point or to get tall monuments in the frame.
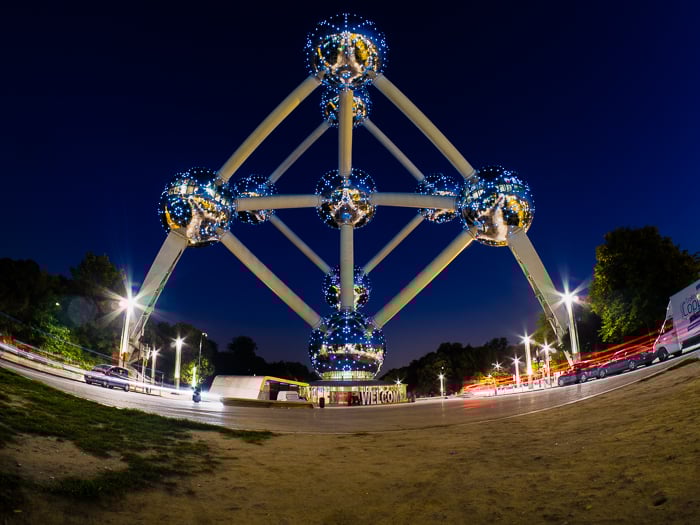
With traffic passing under Brussels' most iconic landmark, I had to use a fisheye lens to get the entire Atomium in the frame.
Telephoto lenses work best when you look down a road. The trails get lost into the distance, thanks to their perspective compression effects. The comparisons below show the same scene taken at 38mm and 152mm.
The perspective compression on the road is quite evident. And we can make out the individual trails all the way to the end of the road. But the wide-angle lens lets you see more of the surroundings. The trails get thinner and, to me, more elegant.
The choice of focal length often depends on location and on your personal taste. But a superzoom lens, like the Sigma 18-200m f3.5-6.3, is a good choice for light trail photography.
In this respect, super-zoom bridge cameras are also great. The Nikon P900 is a very interesting choice.
38mm (top) and 152mm (bottom) focal lengths on the same scene.
Must-Have Accessories For Light Trails
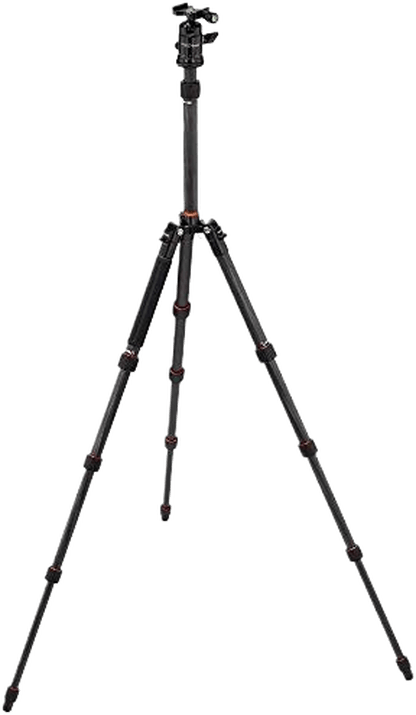
Tripod
You’ll photograph light trails at dusk or at night with slow shutter speed. A tripod is essential. Be aware that in some locations the use of tripods is against the law.
In this case, if someone asks you to pack your tripod away, it is best to apologise and move on. Find another location for your light trail photography.
One of the best compact travel tripods is the Peak Design Travel Tripod. It is stable and can go very high. This allows me to take photos from above fences and railings. Or it can go very low, allowing me to photograph from ground level.
 The Joby Gorillapod SLR Zoom is a great compact and lightweight tripod for city walks. Particularly if you are using a camera phone or a small mirrorless. It will allow you to fix your camera to rails, fences, poles etc.
The Gorillapod SLR Zoom, with the Gorillapod Ball Head, can easily support the weight of my Sony RX10. It is also great for mobile phone light trail photography, with the proper mobile holder.
Remote Shutter
To avoid camera shake, use a remote shutter or Wi-Fi app to fire the shutter. If you can’t control your camera remotely, use the self-timer set to 2 seconds. You can either use a cable release or a wireless one.
Graduated and ND filters
Filters have little use in light trail photography. Even with a graduated filter at dusk, you will not be able to take long enough exposures. Nighttime is what you need.
You can use a strong ND filter, like the 10-stops B+W ND3 (110) or the Lee Big Stopper, as in the example below. To record the trail I clipped the sky (first photo).
So I took a second image with the 10-stops ND filter on. This was to keep and saturate the colors in the sky and buildings (second photo). Then I combined the two in the final image with a good sky and some trails (third photo).
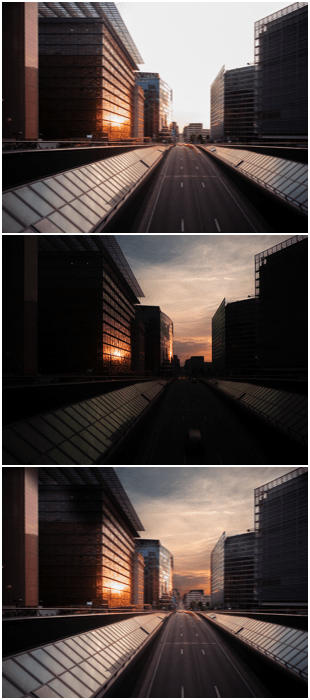 You may have noticed that the trails are very faint and no trails are visible in the image with the ND filter on. This is because there is not enough contrast between the brightness of the ambient light at dusk and the car’s taillights.
After sunset, the ambient light is much dimmer. You can use a light ND filter to reach longer exposures and have longer trails.
Some high-end bridge and compact camera may have a build-in (electronic) ND filter. Check your manual if you have such a function. HDR photography can also help at dusk if you have no filters with you.
Image Stacking for Light Trails
Stack together different long exposures, same as you would do to create a starlight trail. This is a simple way to increase the number of trails and their length.
Snap many photos of the scene, load them into Photoshop as layers and blend them in Lighten mode. This way you blend only the brightest pixels and will have more trails than in the single images.
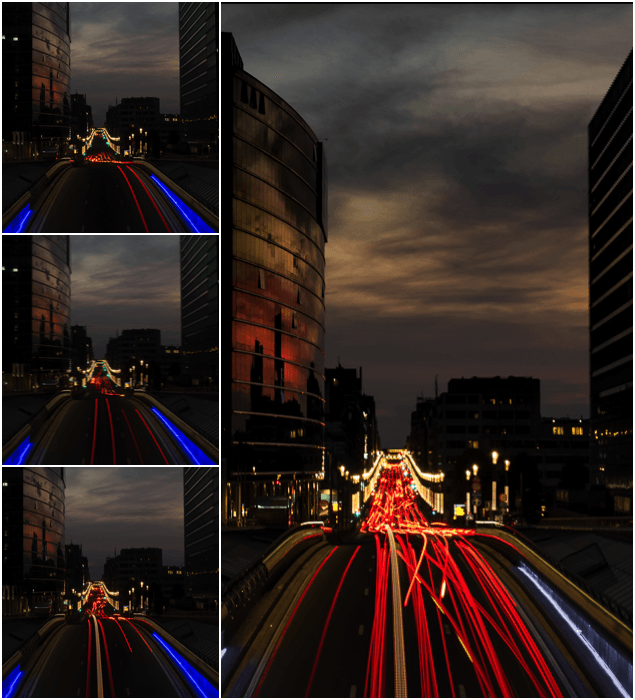
An example of image stacking with light trails. The resulting image has more, longer, trails.
If you are using a camera phone with the Slow Shutter Cam app, you can stack images in real-time within the app. You do this by recording several long exposures before clearing the captured image.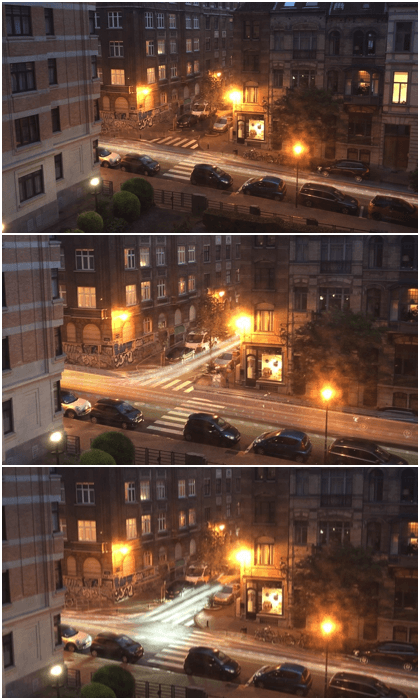
Olympus Live Composite
If you have an Olympus mirrorless camera, there is a function called Live Composite. It’s meant for long exposures, star trails, fireworks, lightning and light trails photography.
It allows you to follow the formation of the image live. You can stop the recording process when happy with the result. The electronics will take care to avoid clipping the highlights.
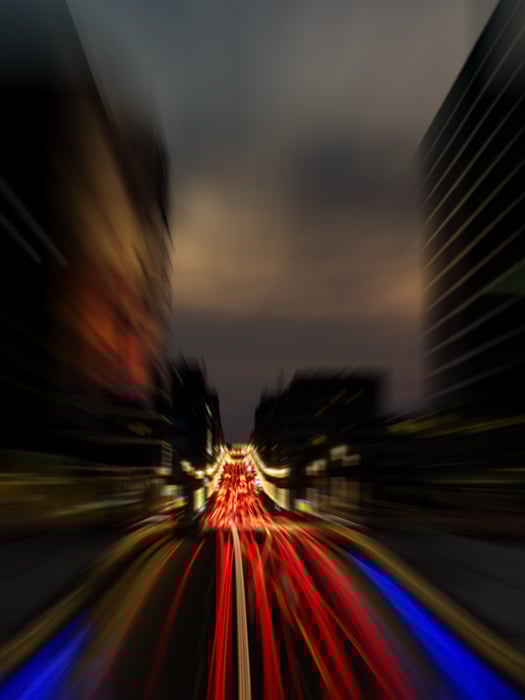
Try using a radial blur filter in Photoshop with the zoom blur to simulate zoom blurring for more artistic images.
Conclusion
Light trails photography does not require tons of expensive photography gear. And it’s simple to create.
If you love urban photography, you will have great fun. And you’ll get to see the city come to life as you have never seen before. Don’t be afraid to experiment!
Examples of Light Trails Photography
Light Trails is one of the topics we cover in our creative photography course, Wow Factor Photography.
Below are some of the photos taken by our students. If you'd like to learn more, check out the course here.
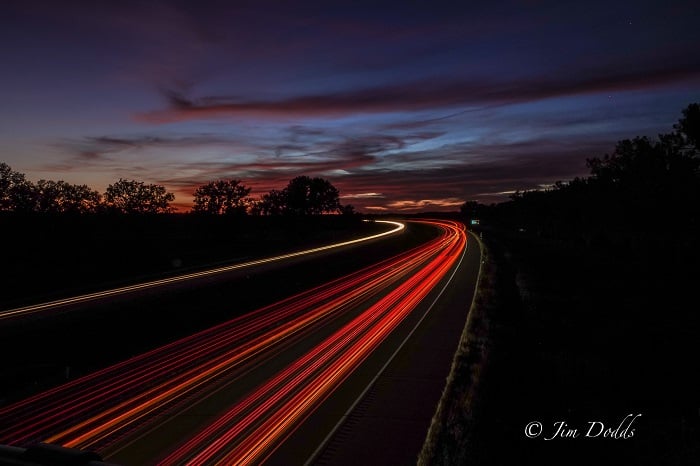
Light Trails Photo by Jim Dodd
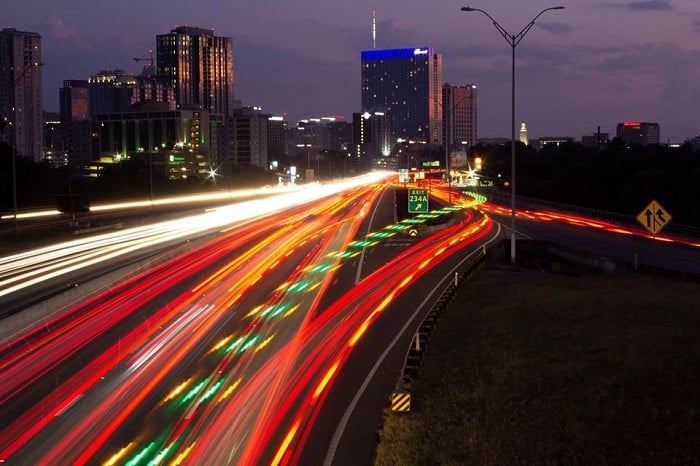
Light Trails Photo by Gary Wiley
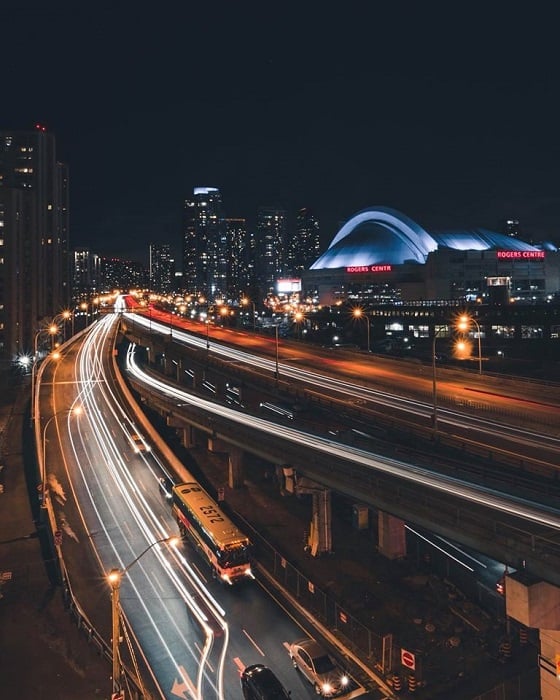
Light Trails Photo by Jonathan Adediji
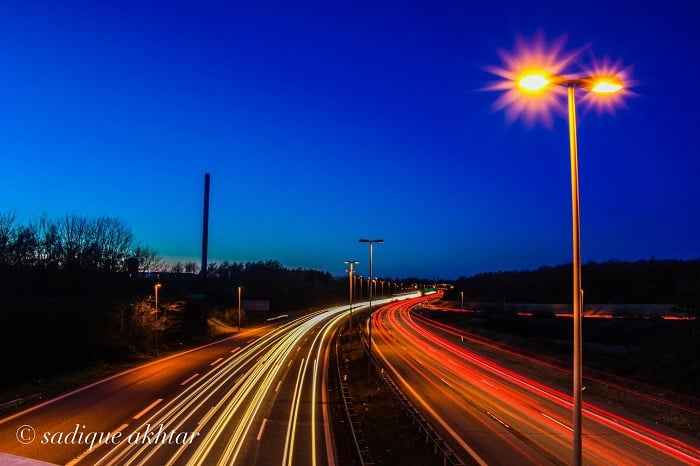
Light Trails Photo by Sadique Mohammad Akhtar
Light Trails Photo by Stuart
Light Trails Photo by Dineda Nyepan
Light Trails Photo by Rosana Joubanian